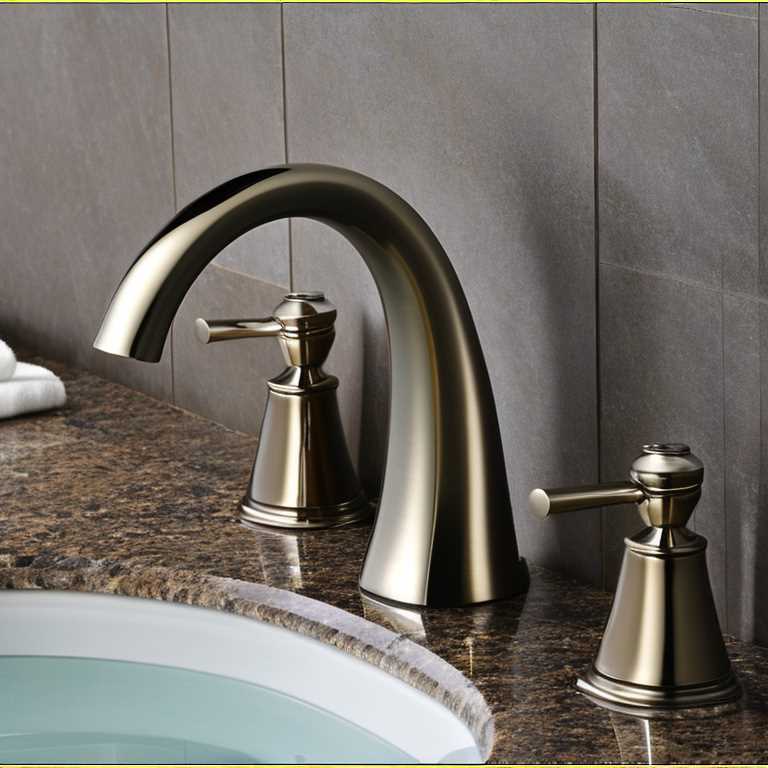
Installing a 3 hole bathroom faucet may seem like a daunting task, but with the right tools and instructions, it is actually quite simple. Follow these steps to successfully install your new faucet and give your bathroom a fresh and updated look.
Step 1: Gather Your Tools
Before beginning the installation process, it is important to gather all the necessary tools. You will need a basin wrench, adjustable wrench, screwdriver, Teflon tape, plumber’s putty, and a towel or rag. Having these tools on hand will make the installation process smoother and more efficient.
Step 2: Turn Off Water Supply
The next step is to turn off the water supply to the bathroom. This can usually be done by turning off the main water valve or by turning off the valve under the sink. Once the water supply is turned off, turn on the faucet to release any remaining water in the pipes.
Step 3: Remove the Old Faucet
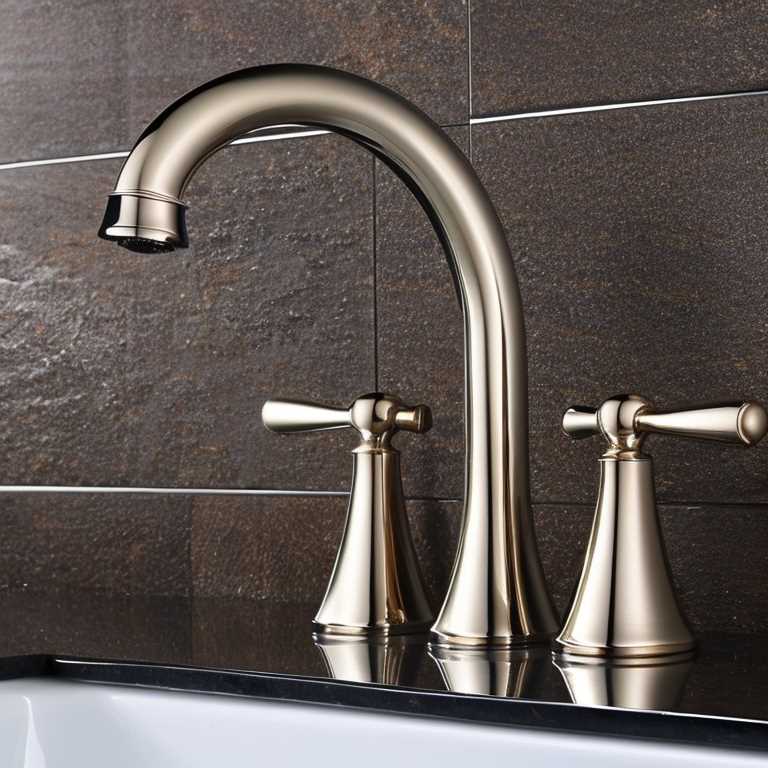
Before installing your new faucet, you must first remove the old one. Begin by removing any decorative caps or mounting nuts from the top of the old faucet. Once these are removed, use a basin wrench to loosen and remove the mounting nuts underneath the sink. Carefully lift the old faucet out of its base and discard.
Step 4: Install New Faucet Base
With the old faucet removed, it is time to install the new faucet base. Begin by placing a small amount of plumber’s putty around the bottom of the base plate. Carefully position the base plate over the mounting holes in the sink and press down firmly to secure it in place.
Step 5: Install New Faucet Handles
Once the base is in place, it is time to install the faucet handles. Start by attaching any necessary components, such as washers or gaskets, to each handle assembly. Then insert each handle assembly into its respective mounting hole on top of the base plate.
Step 6: Install New Spout
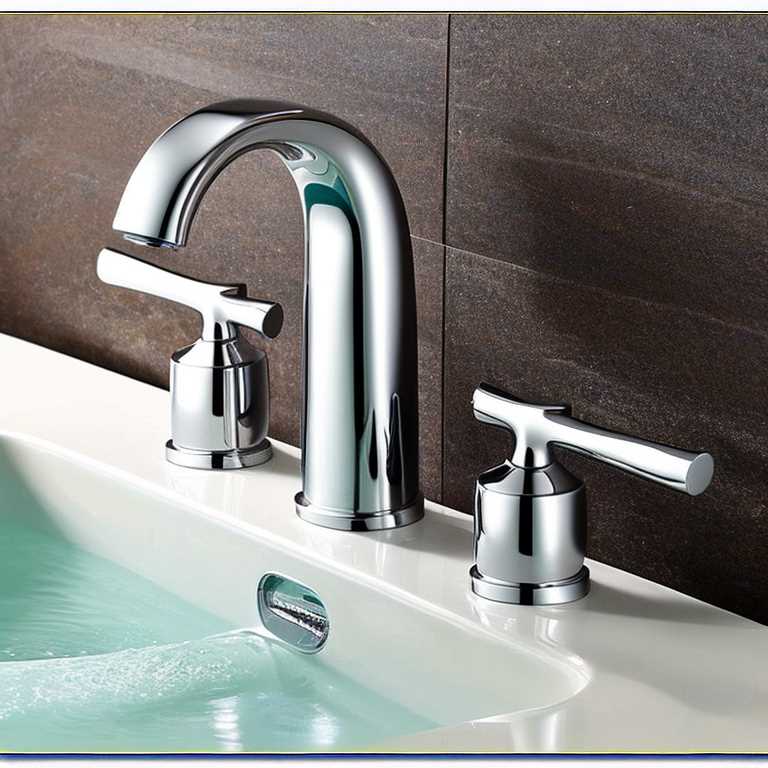
The next step is to install the new spout. Begin by inserting any necessary components, such as washers or gaskets, onto the bottom of the spout. Then insert the spout into the mounting hole in the center of the base plate.
Step 7: Connect Water Supply Lines
With the faucet components in place, it is time to connect the water supply lines. Begin by wrapping Teflon tape around the threads of each water supply line. Then attach each water supply line to its respective component on the underside of the faucet base plate. Tighten each connection with an adjustable wrench.
Step 8: Test for Leaks
Once all connections have been made, turn on the water supply and test for leaks. If any leaks are present, turn off the water supply and tighten connections as necessary.
Step 9: Attach Mounting Nuts and Decorative Caps
With all connections secure and leaks fixed, it is time to add finishing touches to your new faucet. Attach the mounting nuts to each handle assembly and tighten with a basin wrench. Then attach any decorative caps or components to the top of each handle assembly.
Step 10: Clean Up
Clean up any excess putty or tape around the base plate and handles using a towel or rag. Turn on the water supply and test your new faucet once more to ensure everything is working properly.
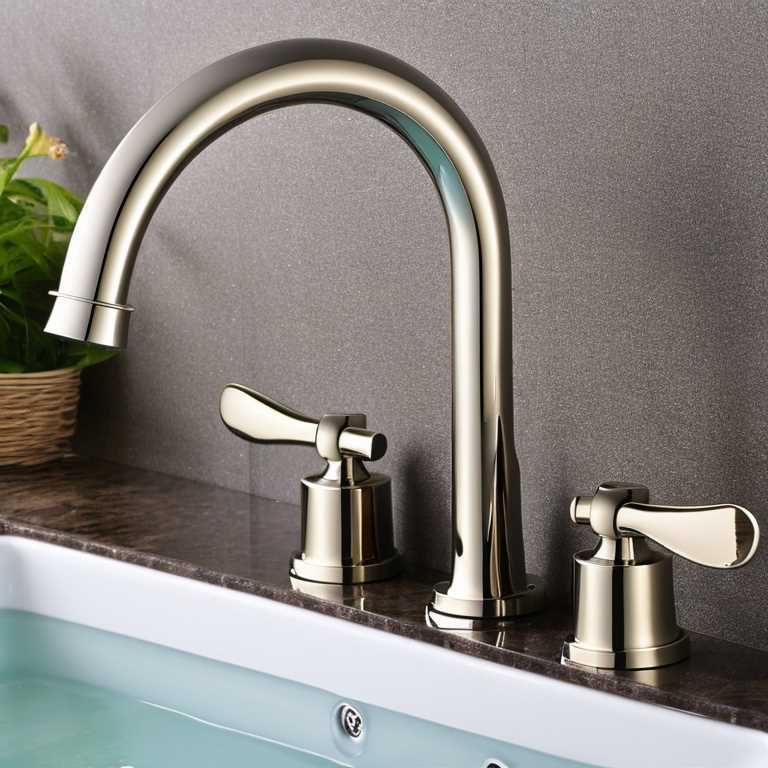
Installing a 3 hole bathroom faucet may seem overwhelming at first, but by following these steps and having the proper tools on hand, it can be a simple and straightforward process. With your new faucet installed, you can enjoy a fresh and updated look in your bathroom for years to come.
