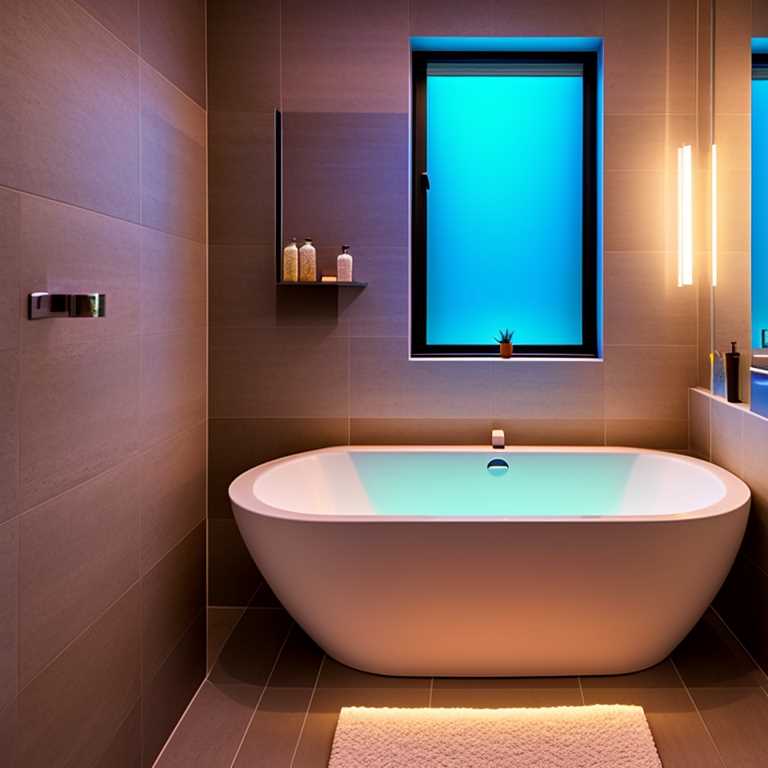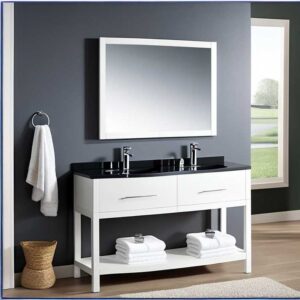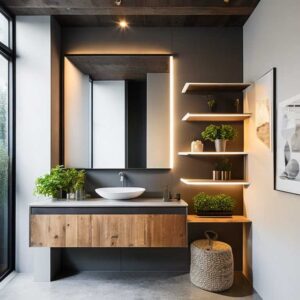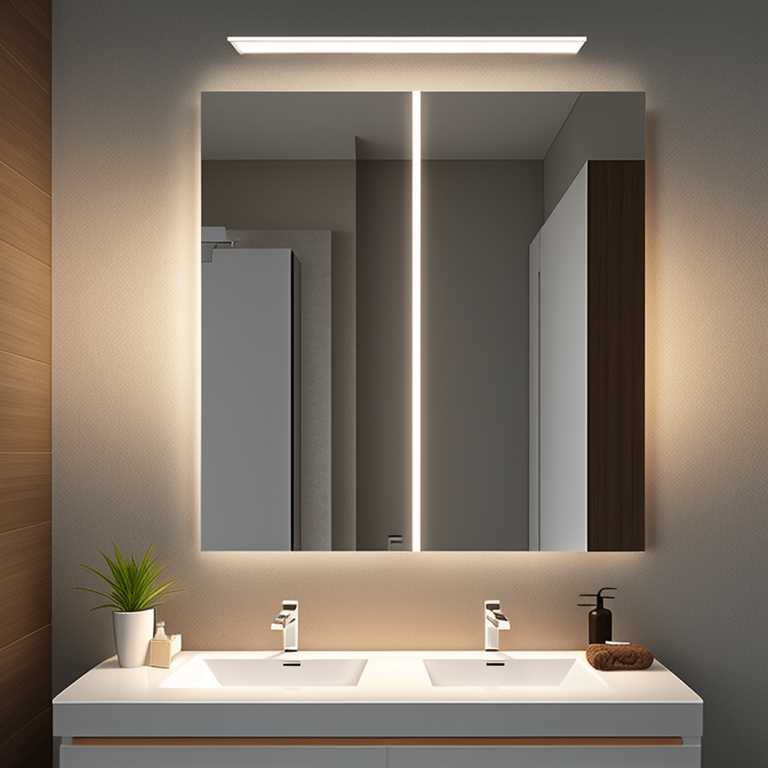
When it comes to home renovation, bathroom upgrades are often at the top of the list. A well-designed bathroom not only adds value to your home but also creates a relaxing and comfortable space. One of the most important elements of bathroom lighting is the vanity strip light. However, if you find that your bathroom vanity light is too harsh or simply outdated, you may be wondering how to cover it up. Here is a step-by-step guide on how to cover a bathroom vanity strip light.
Step 1: Choose Your Covering Material
The first step in covering a bathroom vanity strip light is to choose the covering material. There are many options available, such as fabric, wallpaper, contact paper, and even decorative tile. Consider your personal style and the overall aesthetic of your bathroom when choosing your covering material. You want something that complements the space without overpowering it.
Step 2: Measure Your Vanity Light
Before you begin covering your bathroom vanity strip light, you need to measure it. Measure the length and width of the light fixture so that you can accurately cut your covering material to size. It’s important to get precise measurements to ensure that your covering fits snugly over the light fixture.
Step 3: Cut Your Covering Material
Using the measurements you took earlier, cut your covering material to size. Make sure to leave a little bit of excess material around the edges so that you can wrap it around the sides of the light fixture.
Step 4: Apply Adhesive
Once your covering material is cut to size, you need to apply adhesive to the backside. Depending on the type of material you’re using, this could be double-sided tape or an adhesive spray. Make sure that the adhesive is evenly distributed across the entire backside of the covering material.

Step 5: Attach Your Covering Material
With adhesive applied, it’s time to attach your covering material to the bathroom vanity strip light. Carefully position the covering over the light fixture, making sure that it’s centered and even. Then, press down firmly on the edges of the covering to secure it in place.
Step 6: Trim Any Excess Material
After attaching your covering material, you may have excess material around the edges that needs to be trimmed. Use a sharp pair of scissors or a utility knife to carefully trim away any excess material. Be careful not to cut into the light fixture itself.
Step 7: Test Your Vanity Light
Before calling it a day, it’s important to test your bathroom vanity strip light to make sure that it’s still functioning properly. Turn on the light switch and check that the light is shining through your new covering material. If there are any issues, such as the light being too dim or not shining through at all, you may need to adjust or replace your covering material.
Covering a bathroom vanity strip light is a relatively simple DIY project that can completely transform the look of your bathroom. By following these steps, you can easily update an outdated or harsh vanity light with a stylish and personalized covering. Just remember to choose your covering material carefully, measure accurately, and apply adhesive evenly for the best results.