If you ever need to perform maintenance or repair work on your bathroom plumbing fixtures, you will need to know how to turn off the water supply. Turning off the water supply is an essential step in preventing water damage and ensuring a safe and dry work environment. In this article, we will provide you with step-by-step instructions on how to turn off the water supply to a bathroom.
Step 1: Locate the Water Shut-Off Valve
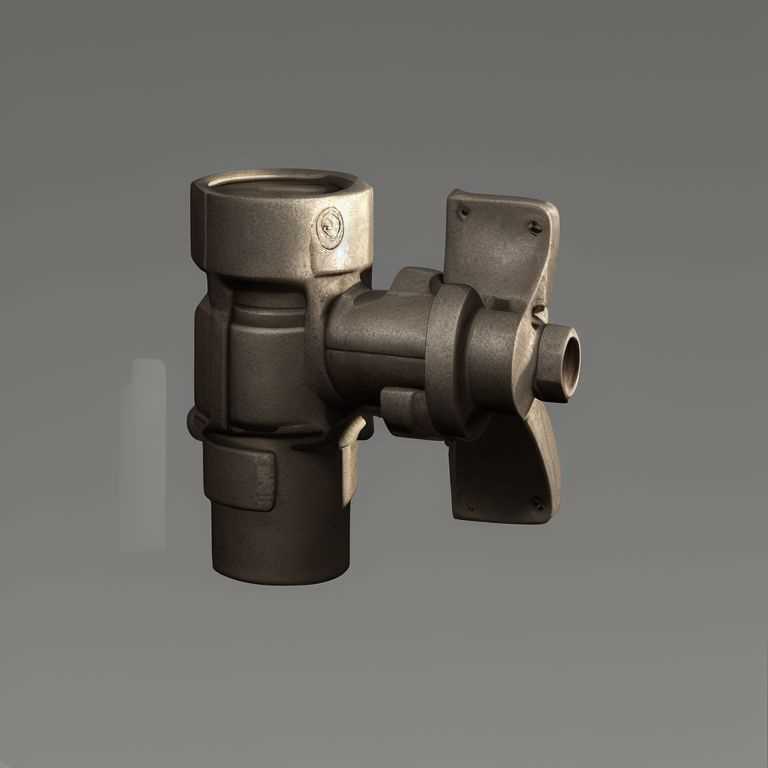
The first thing you need to do is find the water shut-off valve. The shut-off valve is usually located near the bathroom or in the basement. If you have a newer home, the shut-off valve may be located in a utility closet or mechanical room.
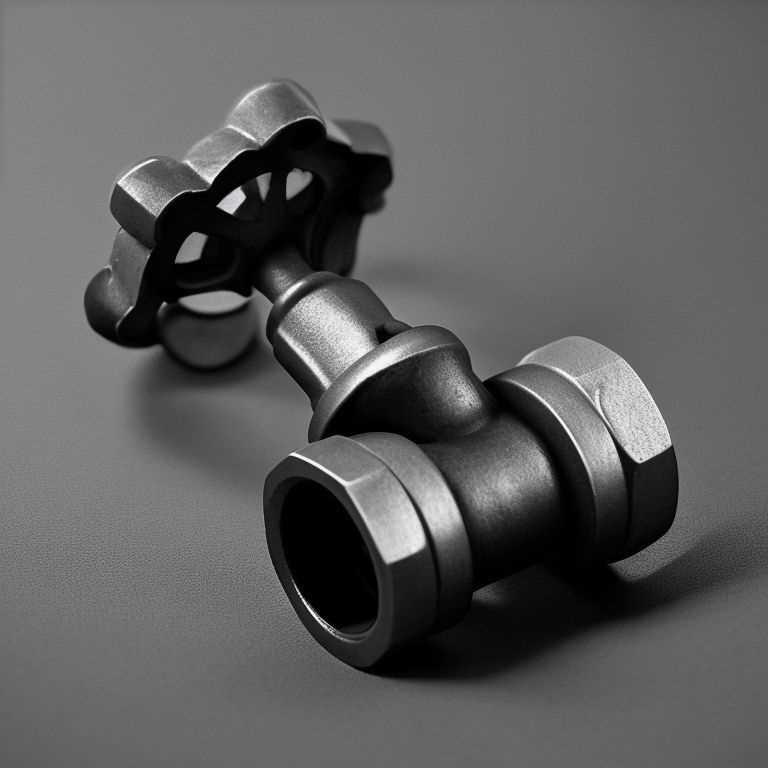
In most cases, the shut-off valve will be a round knob or lever. If you cannot locate the shut-off valve, you can turn off the main water supply to your home. The main shut-off valve is usually located near the water meter, and it controls the water supply to your entire home.
Step 2: Turn Off the Water Supply
Once you have located the shut-off valve, turn it clockwise to shut off the water supply. If the valve is a lever, turn it so that it is perpendicular to the pipe. If the valve is a knob, turn it clockwise until it stops.
If you are having difficulty turning off the water supply, try using pliers or a wrench to help you turn the valve. Be careful not to overtighten the valve, as this can cause damage to the valve or pipe.
Step 3: Test the Water Supply
After you have turned off the water supply, test to make sure that the water is no longer flowing. Turn on the faucet in your bathroom and let it run for a few seconds. If no water comes out, then you have successfully turned off the water supply.
If water continues to flow from the faucet, then there may be another shut-off valve that you need to find and turn off. Check for additional shut-off valves under the sink or behind the toilet.
Step 4: Perform Plumbing Maintenance or Repairs
Now that you have successfully turned off the water supply, you can perform plumbing maintenance or repairs. Whether you need to replace a faucet, fix a leaky pipe, or install a new toilet, turning off the water supply is an essential step in ensuring a safe and dry work environment.
When performing plumbing repairs, it is important to follow safety guidelines and use caution when working with pipes and fixtures. Always wear protective gear such as gloves and safety glasses, and make sure that your work area is well-lit and free of clutter.
Step 5: Turn On the Water Supply
After you have completed your plumbing maintenance or repairs, it is time to turn on the water supply. To do this, simply turn the shut-off valve counterclockwise until it is fully open.
Turn on the faucet in your bathroom and let it run for a few minutes to flush out any air bubbles or debris that may have accumulated in the pipes. Once the water runs clear, turn off the faucet and check for any leaks or drips.
If you notice any leaks or drips, turn off the water supply again and check your work. Make sure that all fittings are tight and secure, and that there are no cracks or damage to the pipes.
Turning off the water supply to a bathroom is an essential step in preventing water damage and ensuring a safe and dry work environment. By following these simple steps, you can easily turn off the water supply and perform plumbing maintenance or repairs with confidence. Always remember to follow safety guidelines and use caution when working with pipes and fixtures.
