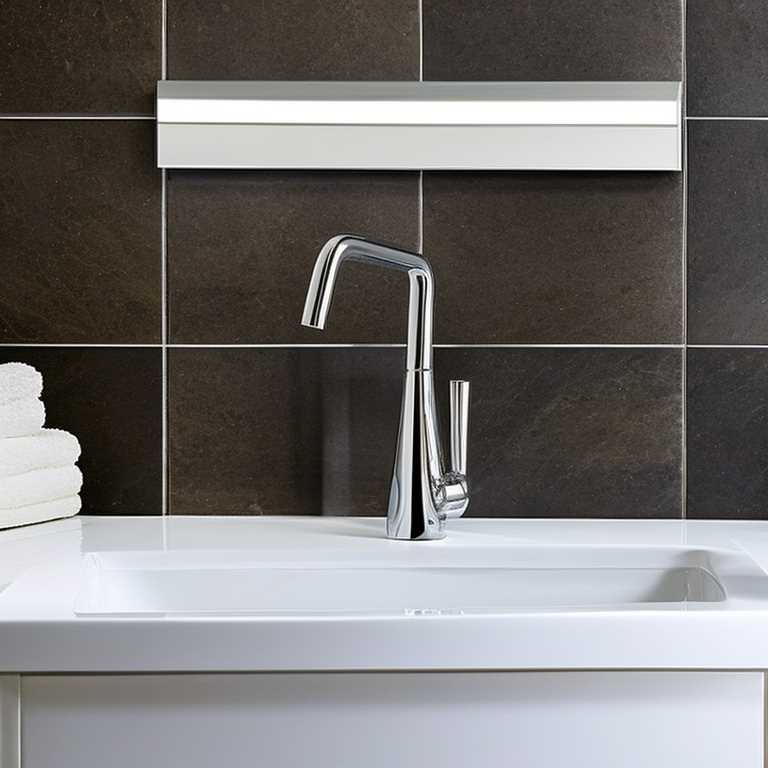
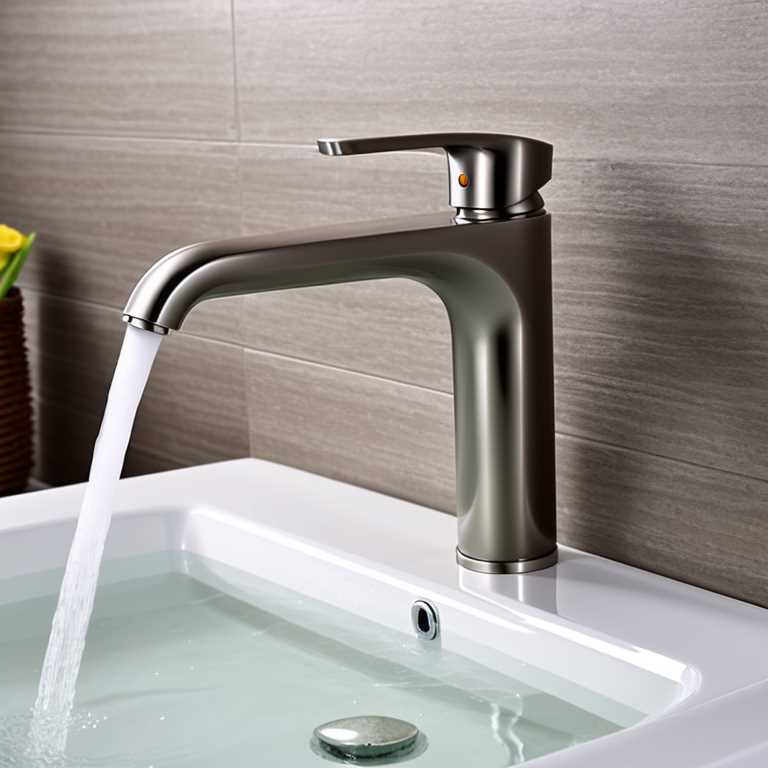
Chrome bathroom fixtures are a popular choice among homeowners, thanks to their sleek and shiny appearance. However, over time, these fixtures may become dull, tarnished, or even rusty. This can detract from the overall look and feel of your bathroom, and may even cause damage to the fixtures themselves. Fortunately, restoring chrome bathroom fixtures is a relatively simple process that can be done with a few basic tools and materials. In this article, we will walk you through the steps required to restore your chrome bathroom fixtures to their former glory.
Step 1: Gather Your Materials
Before you begin the restoration process, you will need to gather some materials. These include:
– A soft-bristled brush
– A microfiber cloth
– White vinegar
– Baking soda
– Lemon juice
– Olive oil
– Chrome polish
– Water
You may also want to consider purchasing a chrome repair kit, which can help to address any scratches or other damage to the fixture’s surface.
Step 2: Clean the Fixture
The first step in restoring your chrome bathroom fixtures is to clean them thoroughly. Start by using a soft-bristled brush to remove any loose debris or dirt from the surface of the fixture. Next, fill a bowl or basin with white vinegar and soak a microfiber cloth in it. Wring out the cloth and use it to wipe down the fixture, paying special attention to any areas that are particularly dirty or stained.
If your fixture has rust stains, you can use lemon juice to help remove them. Simply apply a small amount of lemon juice to a microfiber cloth and rub it onto the affected area. Let it sit for a few minutes, then rinse the fixture with water.
Step 3: Apply Baking Soda
Once the fixture is clean, it’s time to apply baking soda. Baking soda is an effective natural cleaner that can help to remove stains and restore shine to chrome surfaces. To use it, sprinkle a small amount of baking soda onto a microfiber cloth and rub it onto the surface of the fixture. Use a circular motion to work the baking soda into the chrome. Be sure to cover all areas of the fixture, including any crevices or hard-to-reach spots.
Step 4: Apply Olive Oil
After you’ve applied baking soda, it’s time to apply olive oil. Olive oil is an effective natural conditioner that can help to protect and nourish chrome surfaces. To use it, apply a small amount of olive oil to a microfiber cloth and rub it onto the surface of the fixture. Use a circular motion to work the oil into the chrome. Be sure to cover all areas of the fixture, including any crevices or hard-to-reach spots.
Step 5: Apply Chrome Polish
Once you’ve applied olive oil, it’s time to apply chrome polish. Chrome polish is a specialized product that is designed specifically for restoring and protecting chrome surfaces. To use it, apply a small amount of chrome polish to a microfiber cloth and rub it onto the surface of the fixture. Use a circular motion to work the polish into the chrome. Be sure to cover all areas of the fixture, including any crevices or hard-to-reach spots.
Step 6: Buff and Shine
After you’ve applied chrome polish, it’s time to buff and shine the fixture. Use a clean microfiber cloth to buff the surface of the fixture, using a circular motion. This will help to remove any excess polish and reveal the shiny chrome underneath.
Step 7: Rinse and Dry
Finally, rinse the fixture with water to remove any remaining polish or residue. Use a clean microfiber cloth to dry the surface of the fixture thoroughly.
Restoring your chrome bathroom fixtures doesn’t have to be a difficult or expensive process. With a few basic tools and materials, you can easily bring your fixtures back to their original shine and luster. By following these simple steps, you can enjoy beautiful and functional bathroom fixtures for years to come.
