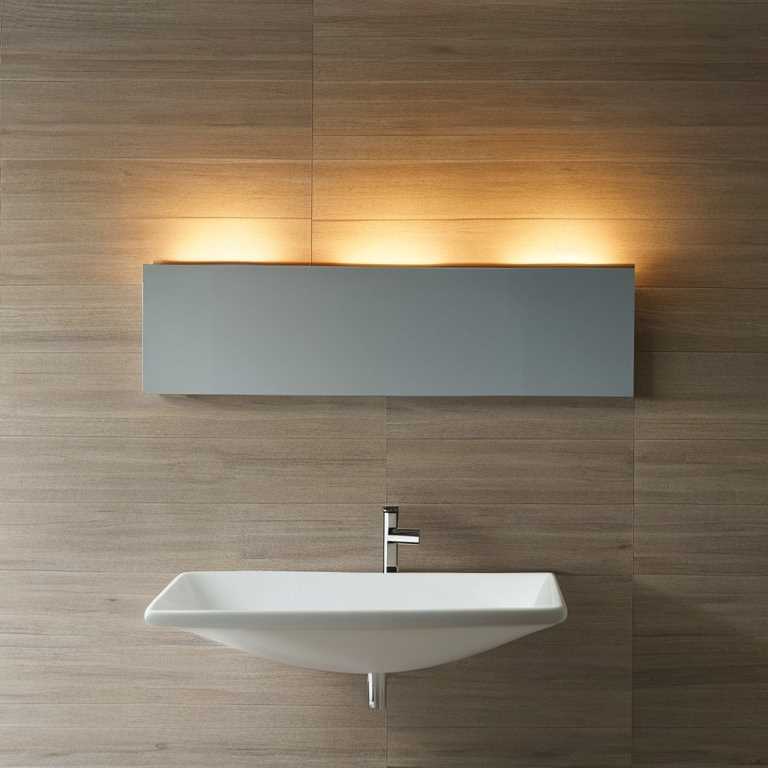
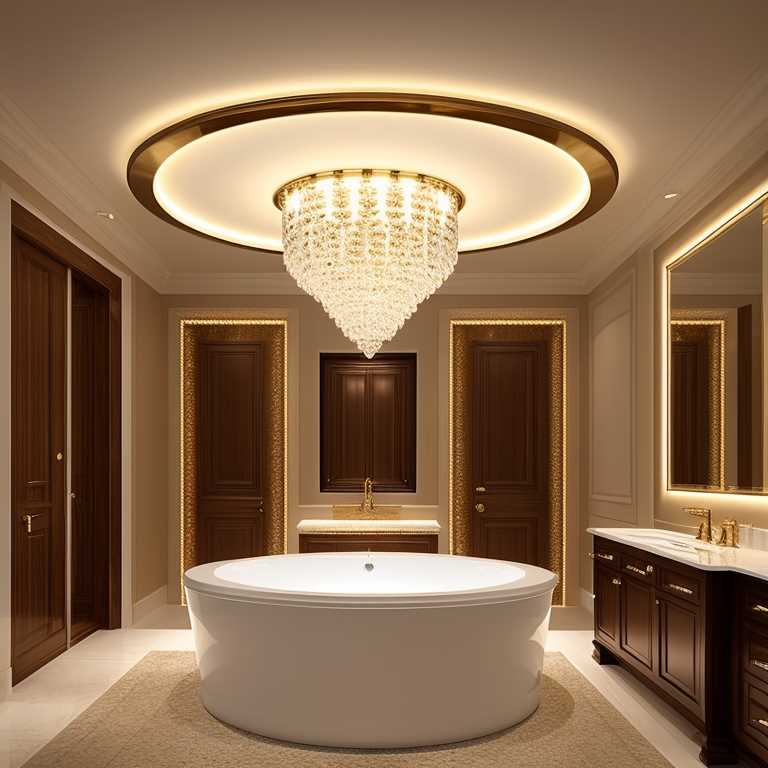
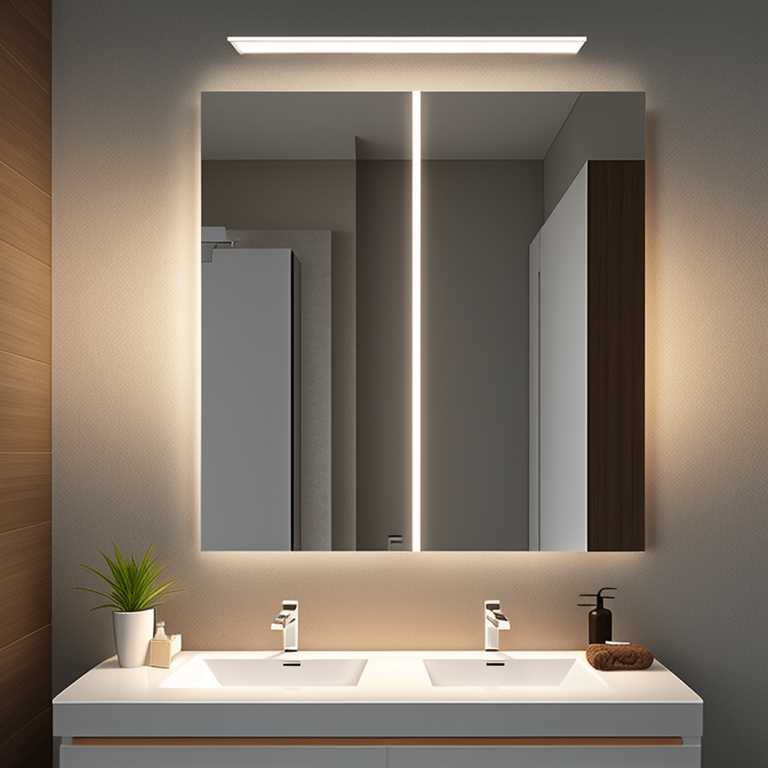
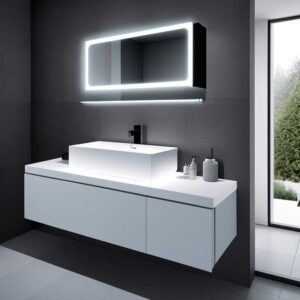
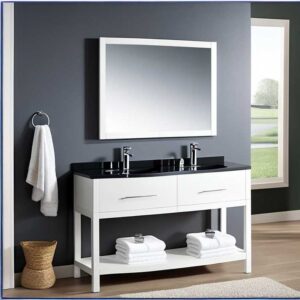
Changing a bathroom light fixture is a simple task that can make a big difference in the overall look and functionality of your bathroom. Whether you’re upgrading to a more stylish fixture or simply replacing a broken one, this guide will walk you through the steps to safely and effectively change a bathroom light fixture.
Step 1: Turn off the power
Before you start working on the light fixture, it’s important to turn off the power to the bathroom. Locate your home’s circuit breaker panel and turn off the circuit that controls the bathroom’s power. If you’re unsure which circuit controls the bathroom, turn off the main breaker to be safe.
Step 2: Remove the old fixture
Once the power is off, remove the old light fixture. Most fixtures are attached to the ceiling or wall with screws or bolts. Use a screwdriver or wrench to remove these fasteners and gently pull the fixture away from the wall or ceiling. If the fixture is stuck, gently wiggle it back and forth while pulling it away from the wall.
Step 3: Disconnect the wiring
After you’ve removed the fixture from the wall or ceiling, locate the wiring that connects it to the power source. The wiring will typically consist of three or four color-coded wires: black (hot), white (neutral), green or bare (ground), and sometimes red (secondary hot). Carefully disconnect each wire by unscrewing the wire nuts holding them together. Be sure to keep the wires separated to avoid confusion when installing the new fixture.
Step 4: Install the mounting bracket
Most new light fixtures come with a mounting bracket that must be installed before attaching the fixture itself. To install the bracket, hold it against the wall or ceiling and use a pencil to mark where the screws will go. Then, use a drill to make holes for the screws and attach the bracket using screws provided with the fixture.
Step 5: Connect the wiring
With the mounting bracket securely in place, it’s time to connect the wiring for your new fixture. Begin by connecting the ground wire (usually green or bare) to the green or bare wire in your electrical box. Twist the wires together clockwise and secure them with a wire nut. Next, connect the white wire from your new fixture to the white (neutral) wire in your electrical box. Again, twist these wires together clockwise and secure them with a wire nut.
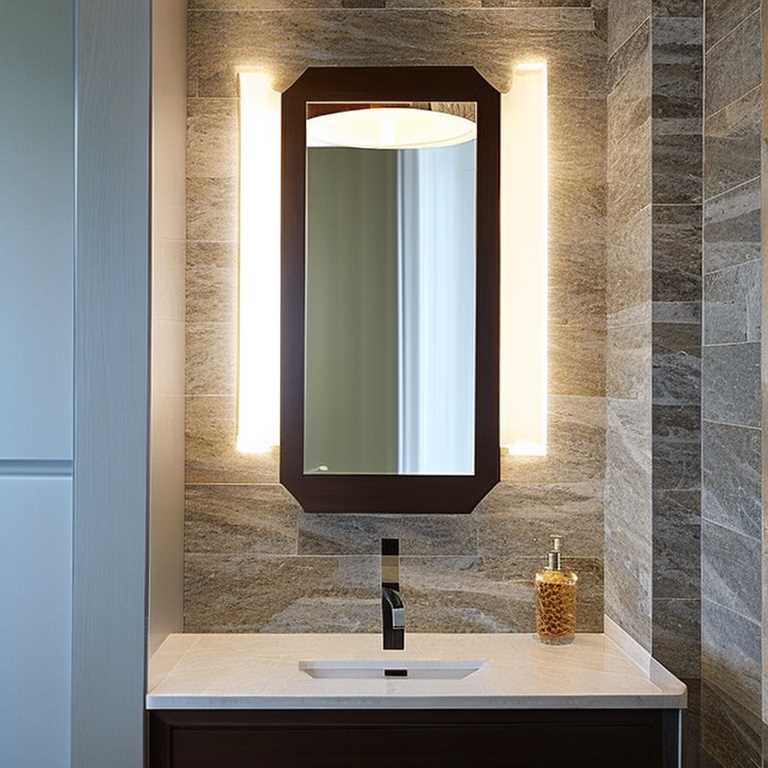
If your new fixture includes a red wire, connect it to the black (hot) wire in your electrical box. If your electrical box does not have a red wire, simply cap off the red wire using a wire nut and do not connect it to anything. Finally, connect the black wire from your new fixture to the black (hot) wire in your electrical box using a wire nut.
Step 6: Attach the fixture
With all wiring securely connected, it’s time to attach your new light fixture to the mounting bracket. Begin by carefully threading any wires through any holes in the fixture that are meant for them. Then, align any screw holes in the fixture with those in your mounting bracket and use screws provided with your new fixture to attach it securely.
Step 7: Turn on power and test
Once your new light fixture is securely attached to your mounting bracket, turn on the power to your bathroom at your circuit breaker panel. Then, test your new fixture by turning it on and off using any switches or pull chains that may be built into it.
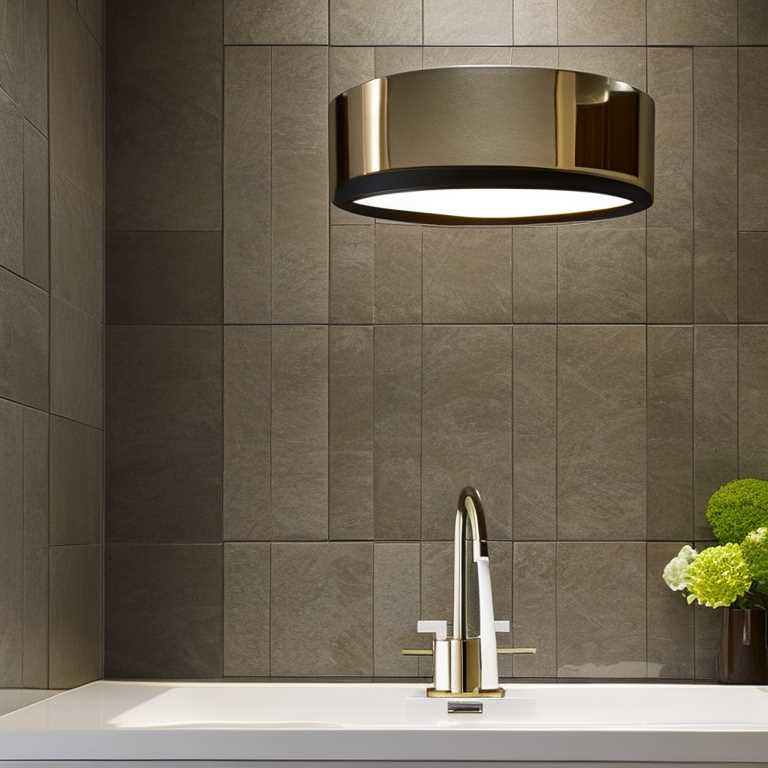
Changing a bathroom light fixture is a simple task that can be completed with just a few basic tools and some patience. By following these steps, you can safely and effectively replace an old or broken fixture with a new one that better suits your needs and style preferences. Remember to always turn off power before working with electricity and take care when handling wiring to avoid injury or damage to your home’s electrical system.
