Bathrooms can be a breeding ground for bacteria, mold, and mildew due to the high levels of moisture and humidity. Installing an exhaust fan in your bathroom window is a great way to prevent the growth of harmful bacteria while improving the air quality in your home. In this article, we will provide a step-by-step guide on how to install an exhaust fan in a bathroom window.
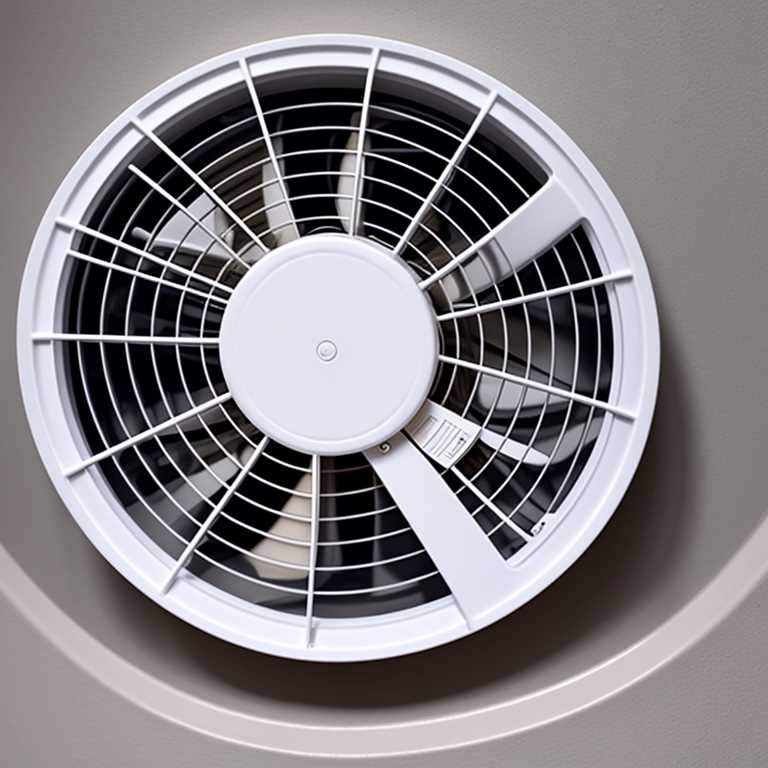
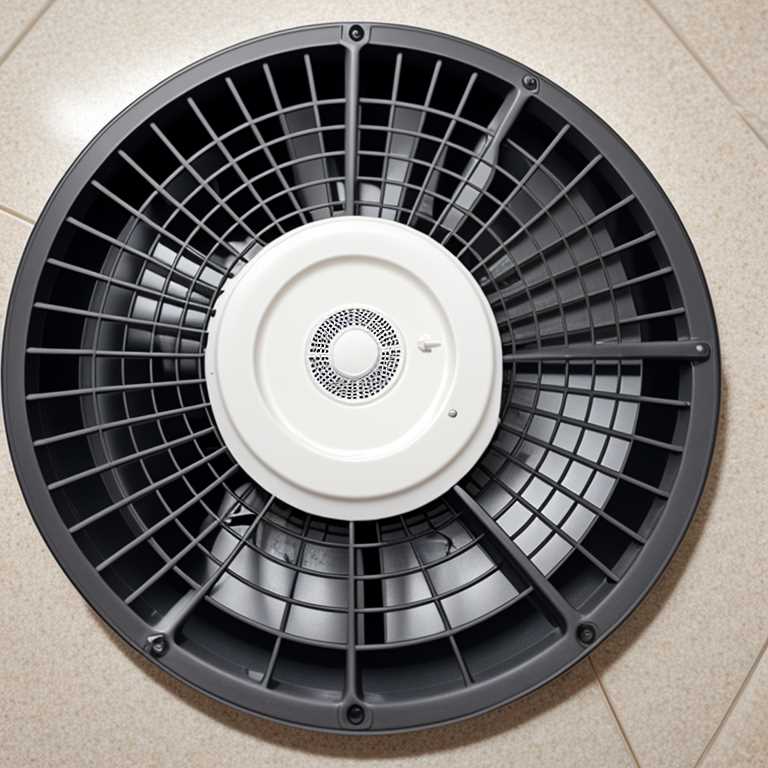
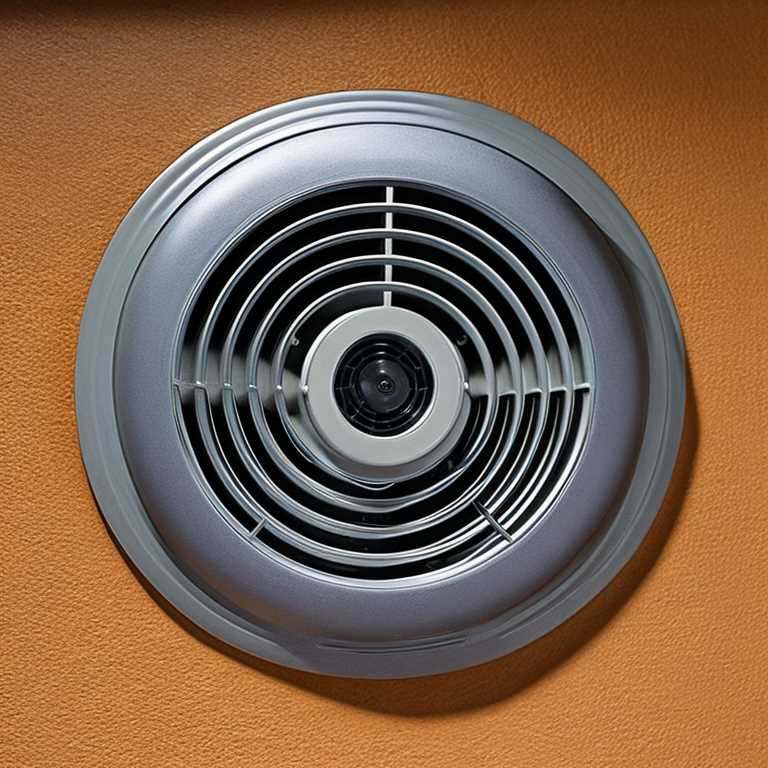
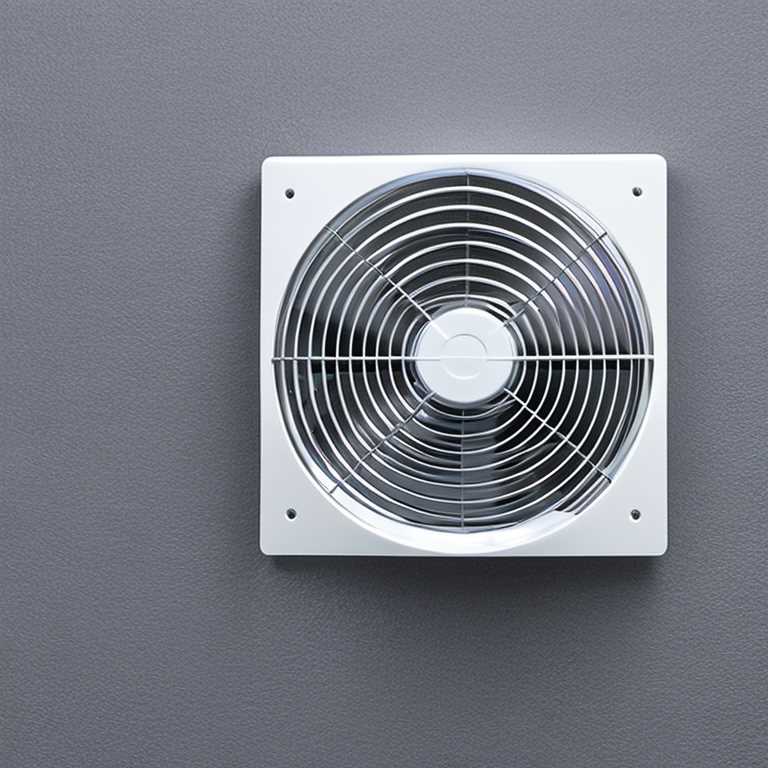
Step 1: Choose the Right Exhaust Fan
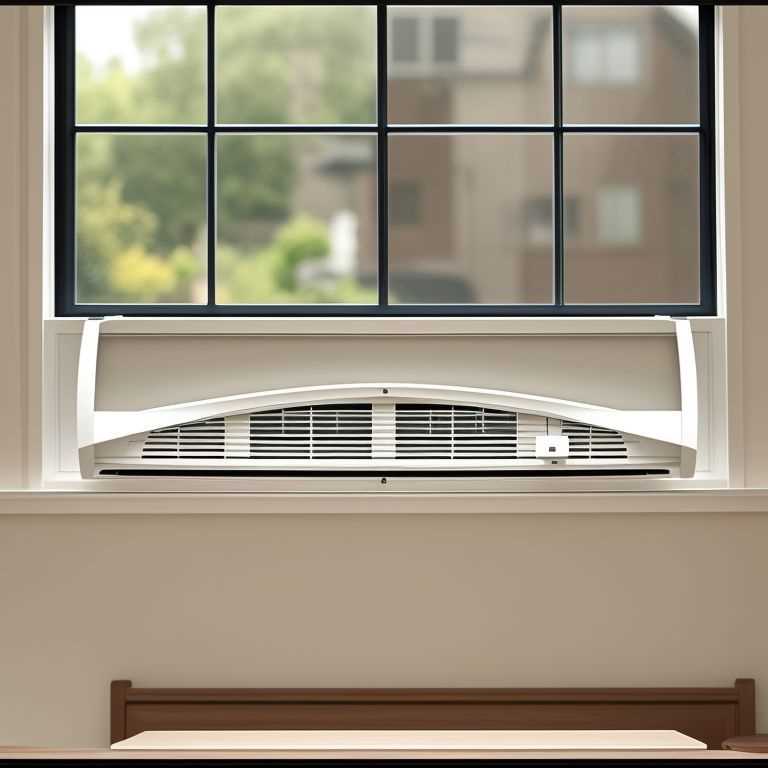
Before you begin the installation process, you need to choose the right exhaust fan for your bathroom. The size of your bathroom will determine the size of the fan you need. For bathrooms that are 100 square feet or less, a fan with 50 CFM (cubic feet per minute) is sufficient. For larger bathrooms, you may need a fan with 100 CFM or more.
You also need to consider the noise level of the fan. Look for a fan with a low sone rating (less than 1.5) if you want a quieter fan. Lastly, make sure that the fan you choose is designed for window installation.
Step 2: Measure and Mark the Window
Measure the dimensions of your bathroom window and mark where you will install the exhaust fan. The location should be at least 6 inches from the top of the window and 6 inches from each side. This will ensure that the fan is properly ventilated.
Step 3: Remove the Window
Remove the window from its frame by unscrewing any screws or clips that hold it in place. If your window has any caulking or sealant, use a putty knife to carefully remove it.
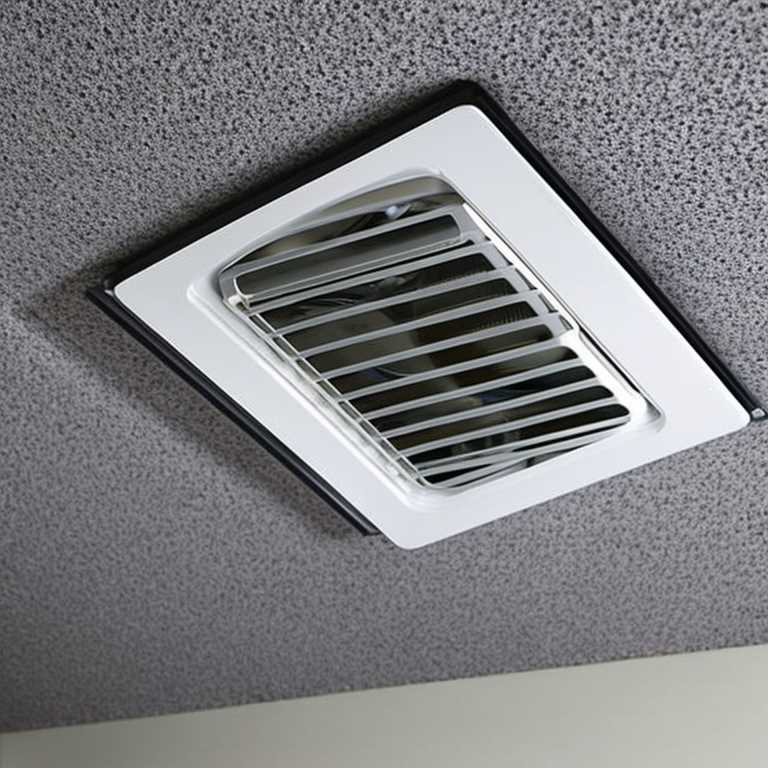
Step 4: Install the Exhaust Fan
Place the exhaust fan in the opening and secure it with screws or clips provided by the manufacturer. Make sure that it is level and flush against the window frame.

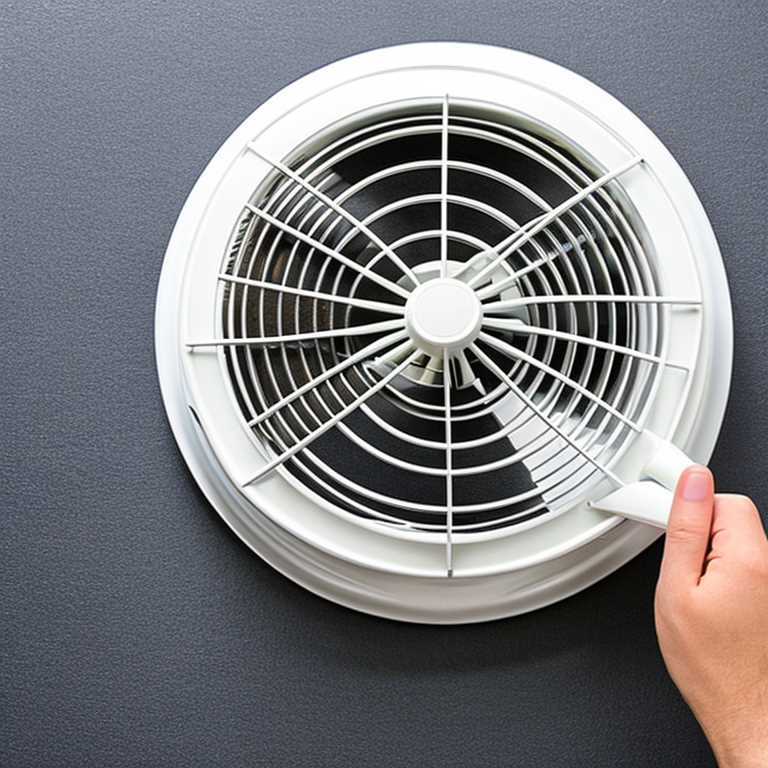
Step 5: Seal the Window
Use silicone caulk to seal around the fan. This will prevent any air or moisture from entering your home. Make sure that you seal all gaps and cracks.
Step 6: Connect the Wiring
The final step is to connect the wiring for the exhaust fan. Turn off power to your bathroom before doing any electrical work. Run a cable from your electrical panel to the new exhaust fan location. Connect the wires according to the manufacturer’s instructions.
Test your new exhaust fan by turning on the power and making sure that it is working properly.
Installing an exhaust fan in a bathroom window is a great way to improve air quality and reduce moisture in your home. By following these eight steps, you can install a new exhaust fan in your bathroom window quickly and easily. Remember to choose the right size and noise level for your bathroom and follow all safety precautions when working with electricity. With a little bit of effort, you can enjoy a cleaner, healthier bathroom in no time!