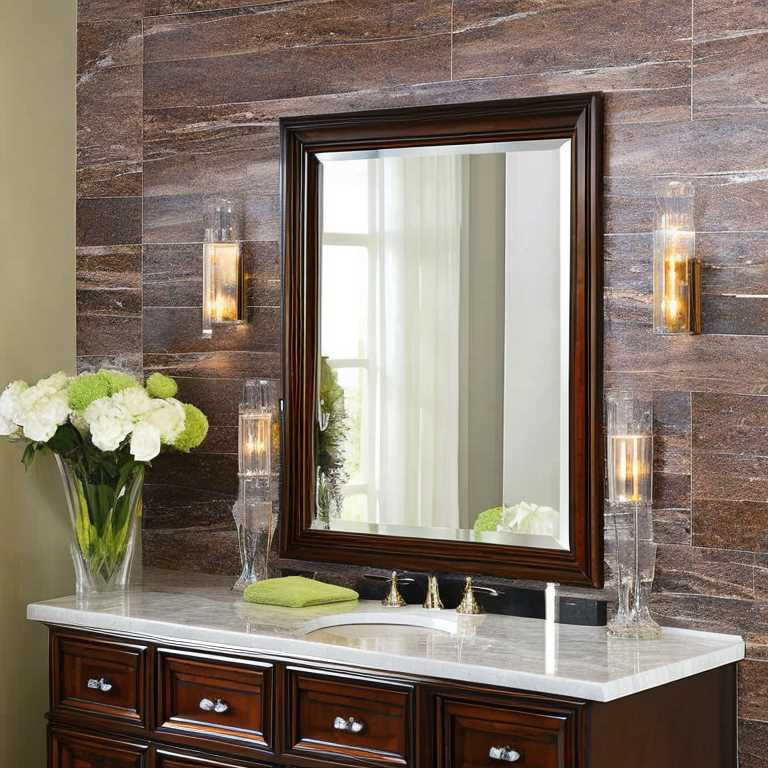
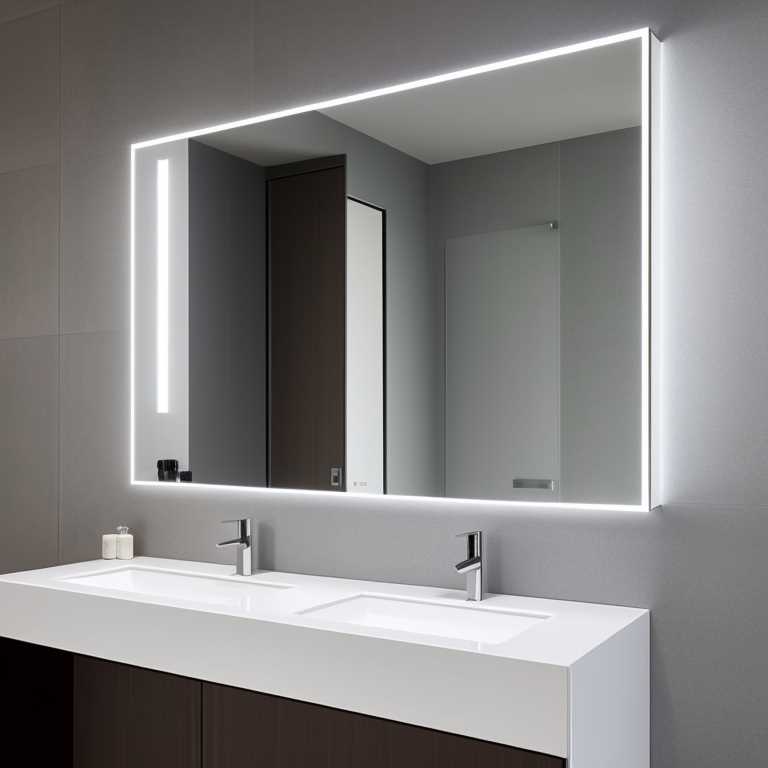
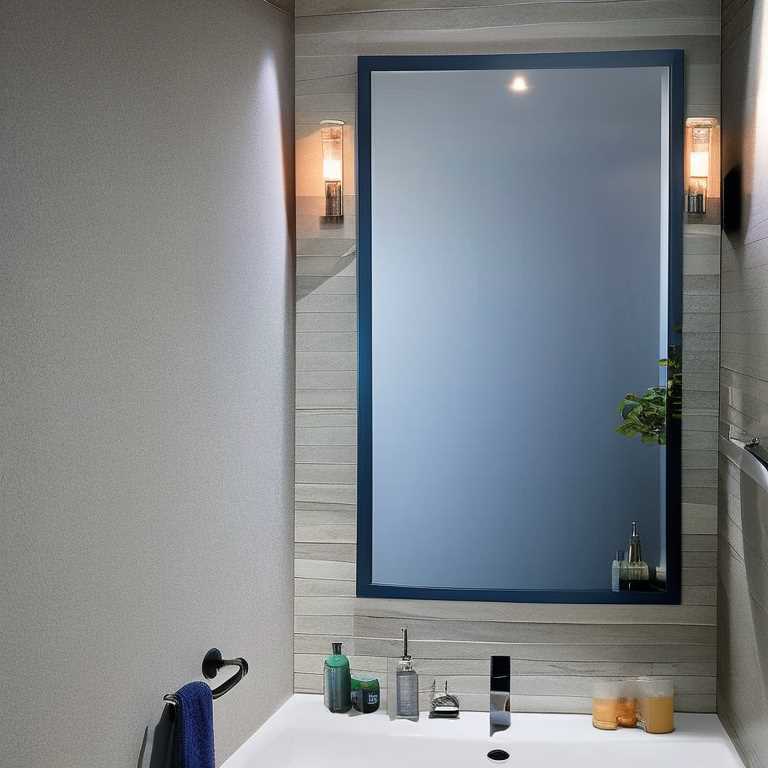
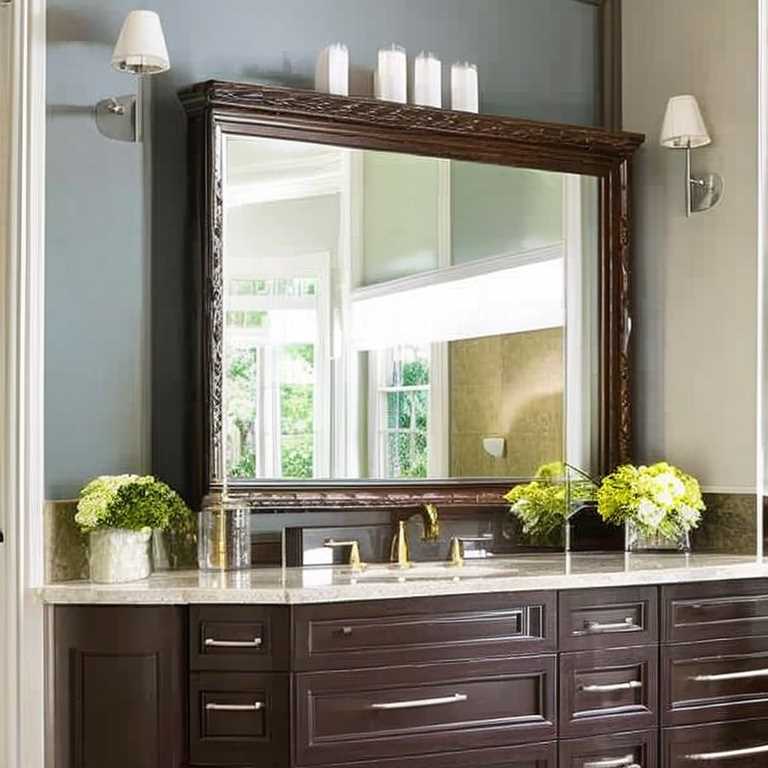
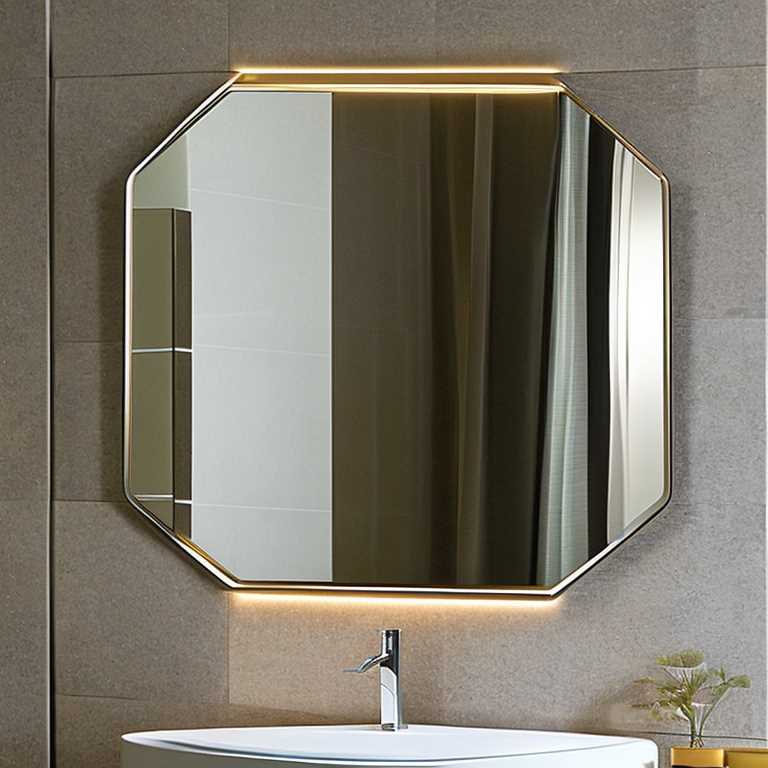
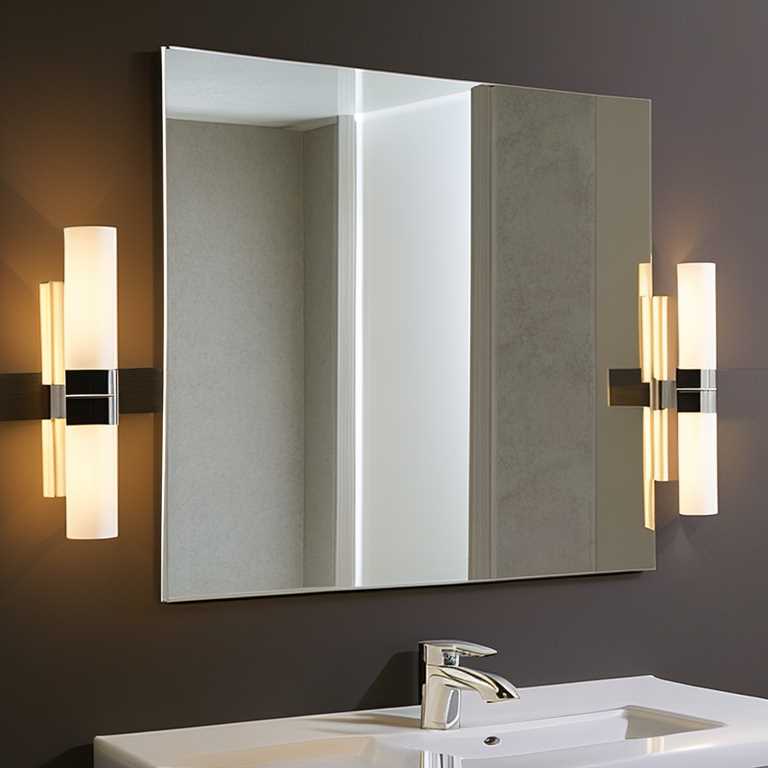
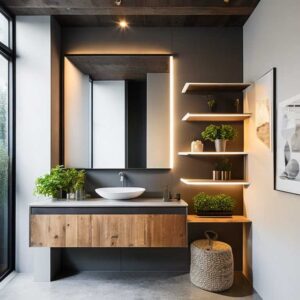
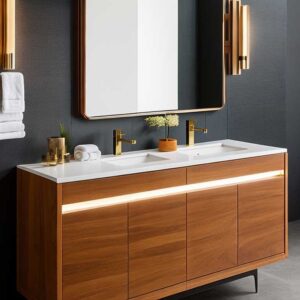
Framing a bathroom mirror can be a simple and cost-effective way to update the look of your bathroom. A framed mirror can add style, depth, and dimension to your space. In this article, we will guide you on how to frame a bathroom mirror in 10 easy steps.
Step 1: Measure your mirror
The first thing you need to do is measure your mirror. Measure the width and height of the bathroom mirror and write down the measurements. This will help you determine the size of the frame you need to purchase.
Step 2: Choose the type of frame
There are different types of frames available in the market, such as wood, metal, and plastic. Choose a frame that complements your bathroom decor and matches your personal style. You can also choose a frame that matches your vanity or other fixtures in your bathroom.
Step 3: Purchase the frame
Once you have chosen the type of frame, purchase it from a hardware store or online. Make sure that you buy a frame that is slightly larger than your mirror to ensure that it covers the edges of the mirror.
Step 4: Gather the necessary tools
To install the frame, you will need a saw, a drill, screws, a measuring tape, a level, and a pencil. Make sure that you have all these tools before you start framing the mirror.
Step 5: Cut the frame to size
Using a saw, cut the frame to the exact size of your bathroom mirror. Make sure that you cut the frame accurately and smoothly. If you are not confident in your sawing skills, you can ask a professional to do it for you.
Step 6: Sand the edges of the frame
After cutting the frame, sand the edges of the frame to smoothen them out. This will ensure that there are no rough edges that can cause harm.
Step 7: Paint or stain the frame
If you want to paint or stain the frame, do it before installing it on the mirror. This will make it easier for you to paint or stain without getting any on the mirror.
Step 8: Install the frame
Using screws and a drill, install the frame onto the mirror. Make sure that the frame is level and straight. If needed, use a level to ensure that it is properly aligned.
Step 9: Fill in any gaps
If there are any gaps between the mirror and the frame, use caulk or silicone to fill them in. This will help to prevent moisture from getting behind the mirror.
Step 10: Enjoy your new framed bathroom mirror
Once you have completed all these steps, step back and admire your new framed mirror. You will be surprised at how much difference a simple frame can make in transforming your bathroom.
Framing your bathroom mirror is an easy and affordable way to update your bathroom decor. By following these simple steps, you can achieve a beautiful and stylish framed mirror that will enhance the look of your bathroom. So go ahead and give your bathroom a makeover today!
