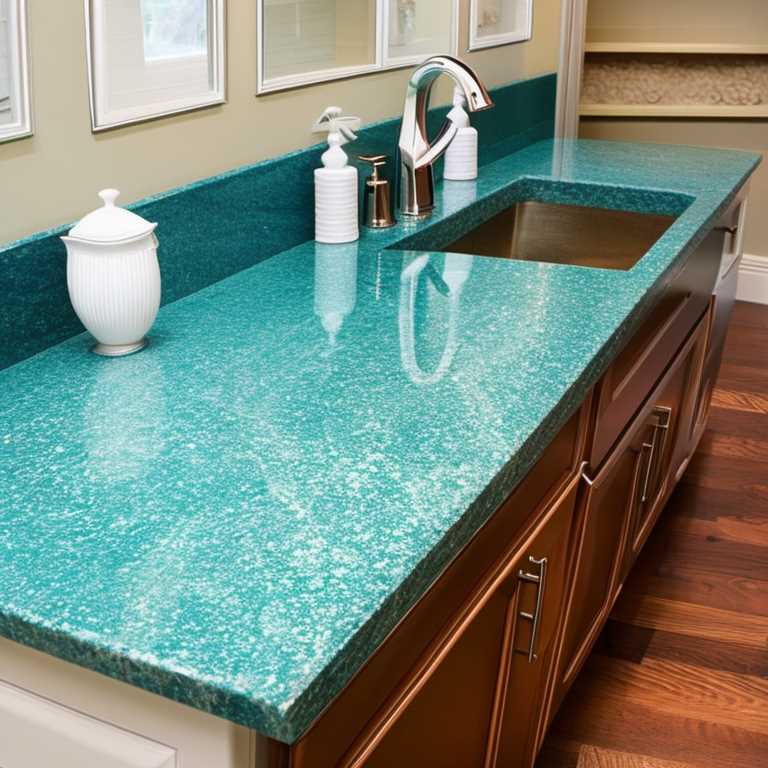
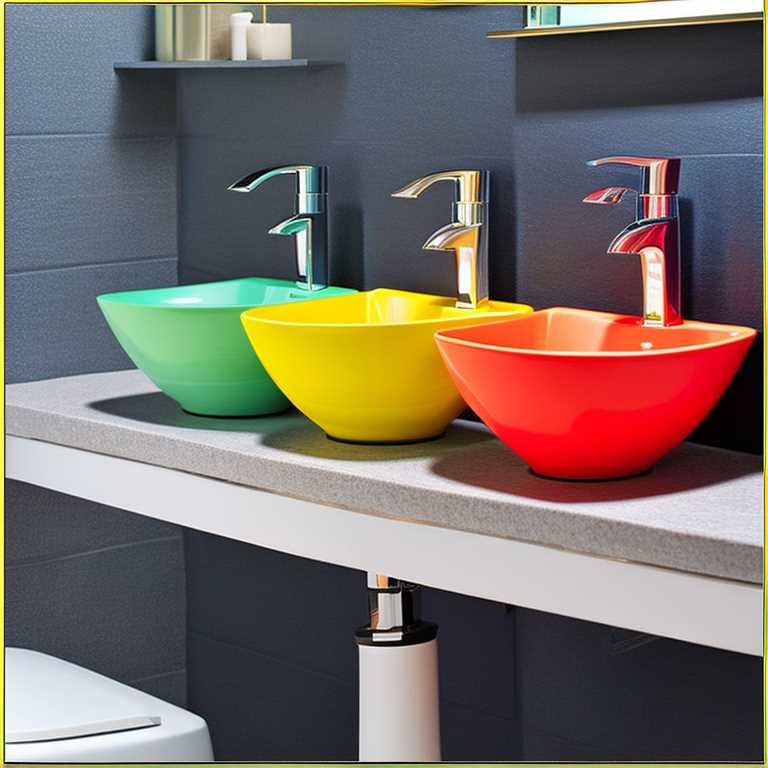
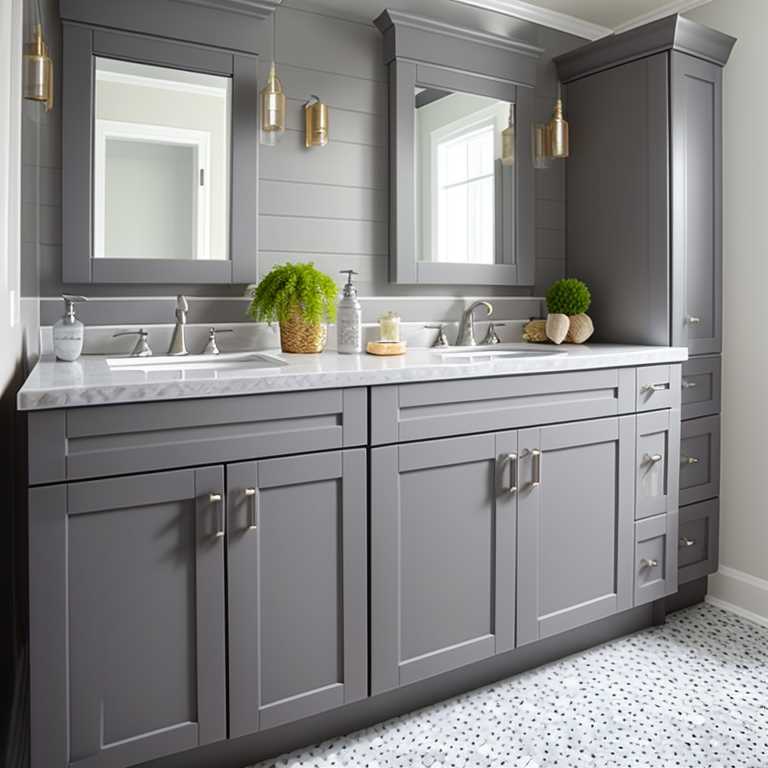
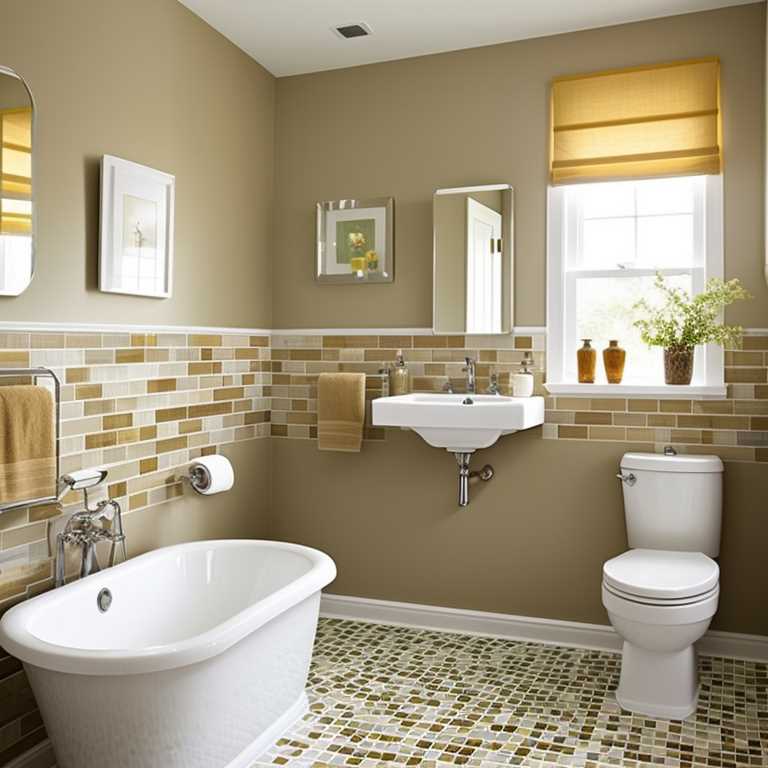
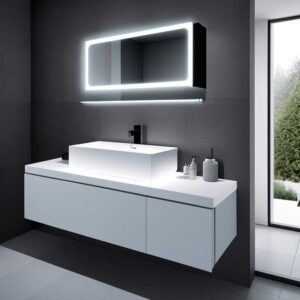
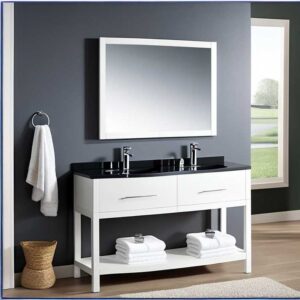
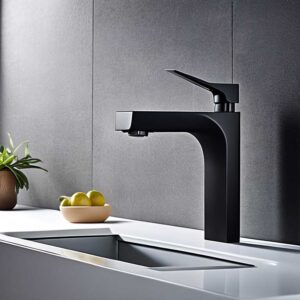
Bathroom countertops are an essential part of any bathroom. They are the focal point that sets the tone for the entire bathroom. And while replacing them might seem like the only solution, painting bathroom countertops is a cost-effective way to give your bathroom a fresh new look without breaking the bank.
But how do you paint bathroom countertops? This article will provide you with a step-by-step guide on how to paint bathroom countertops.
Step 1: Choose the Right Paint
The first step in painting bathroom countertops is to choose the right paint. You need to select a paint that is designed for use on countertops and is resistant to water, heat, and chemicals.
One of the best paints for bathroom countertops is epoxy paint. It is durable, long-lasting, and resistant to water and chemicals. It also comes in a variety of colors and finishes, making it easy to match your bathroom décor.
Step 2: Prepare Your Countertop
Before you start painting your countertop, you need to prepare it properly. This involves cleaning and sanding the surface to ensure that the paint adheres properly.
Start by thoroughly cleaning your countertop with a degreaser and warm water. This will remove any dirt, grime, or grease that may be on the surface. Once the countertop is clean, use a sandpaper to sand the surface lightly. This will create a rough surface that will help the paint adhere better.
Step 3: Mask Off the Area
Once your countertop is clean and sanded, you need to mask off the surrounding area to protect it from paint splatters. Use painter’s tape to cover any areas that you don’t want to paint, such as the sink, faucet, and backsplash.
Step 4: Apply Primer
The next step is to apply primer to your countertop. This will help the paint adhere better and give you a smooth, even surface to work with.
Choose a primer that is specifically designed for use on countertops. Apply it evenly using a brush or roller. Be sure to follow the manufacturer’s instructions and allow the primer to dry completely.
Step 5: Apply Epoxy Paint
Once the primer is dry, it’s time to apply the epoxy paint. This is where you can get creative and choose the color and finish that best suits your bathroom décor.
Apply the epoxy paint evenly using a brush or roller. Be sure to follow the manufacturer’s instructions and allow the first coat to dry completely before applying a second coat. Depending on the color and finish you choose, you may need to apply more than one coat of paint.
Step 6: Allow the Paint to Cure
Once you’ve applied the final coat of epoxy paint, you need to allow it to cure properly. This can take anywhere from 24-72 hours depending on the manufacturer’s instructions.
During this time, avoid using your countertop as much as possible to allow the paint to cure properly.
Step 7: Seal Your Countertop
Once the paint has cured, it’s time to seal your countertop. This will help protect the paint from scratches, stains, and other damage.
Choose a sealant that is specifically designed for use on countertops. Apply it evenly using a brush or roller and be sure to follow the manufacturer’s instructions.
Step 8: Remove Masking Tape
Once your countertop has been sealed, you can remove the masking tape from around the sink, faucet, and backsplash. Be sure to take your time and remove it slowly to avoid damaging the paint.
And that’s it! You now have a beautifully painted bathroom countertop that looks brand new.
Painting bathroom countertops is an easy and cost-effective way to give your bathroom a fresh new look without breaking the bank. By following these simple steps, you can transform your old and tired bathroom countertop into a beautiful feature that sets the tone for your entire bathroom décor.
