When it comes to bathroom renovation or remodeling, one of the most crucial parts is connecting the countertop. The countertop is the centerpiece of the bathroom and it’s important to ensure that it’s connected properly.
Connecting a bathroom countertop may seem like a daunting task, but with the right tools and knowledge, it can be a straightforward process. In this article, we’ll guide you through the step-by-step process of connecting a bathroom countertop.
Step 1: Measure and Cut the Countertop

The first step in connecting a bathroom countertop is to measure and cut the countertop according to your bathroom’s specifications. Measure the length and width of your vanity and ensure that your countertop will fit perfectly. Once you have your measurements, use a circular saw or jigsaw to cut the countertop to size.
Step 2: Install the Sink
Once you have cut the countertop to size, it’s time to install the sink. Start by placing the sink in the hole you’ve cut in the countertop. Make sure that it’s level and centered before securing it in place with silicone adhesive or clips.
Step 3: Install Faucets and Drain
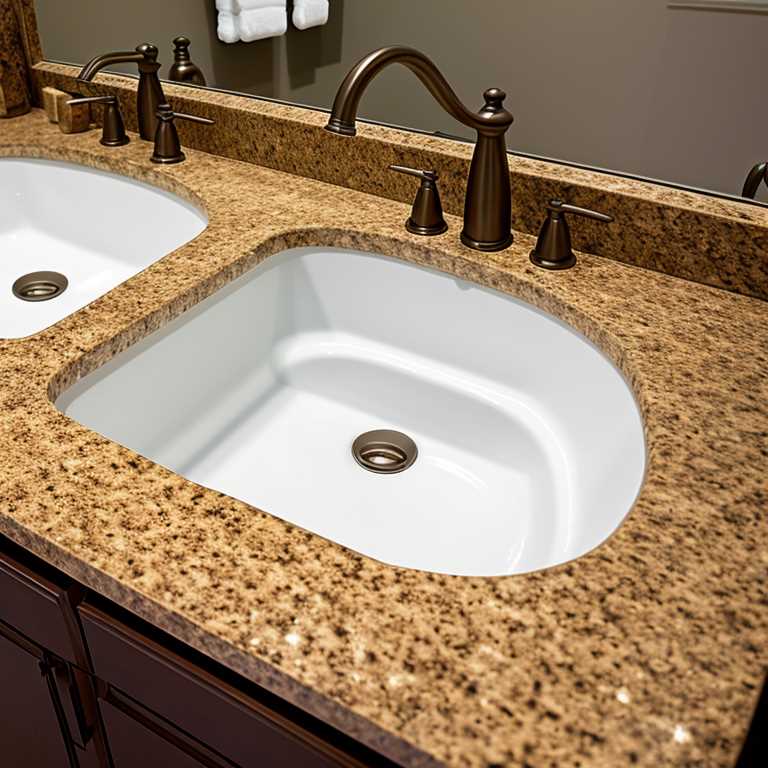
After installing the sink, it’s time to install the faucets and drain. Start by drilling holes in the countertop for your faucet and drain. Make sure that you drill the holes in the right location, according to your sink’s specifications.
Once you’ve drilled the holes, install your faucet and drain by following the manufacturer’s instructions. Make sure that they are securely attached to prevent any leaks.
Step 4: Connect Water Supply Lines
Next, it’s time to connect the water supply lines. Connect one end of each supply line to your faucet and connect the other end to your water supply valves. Make sure that you tighten all connections with a wrench to prevent any leaks.
Step 5: Attach Countertop to Vanity
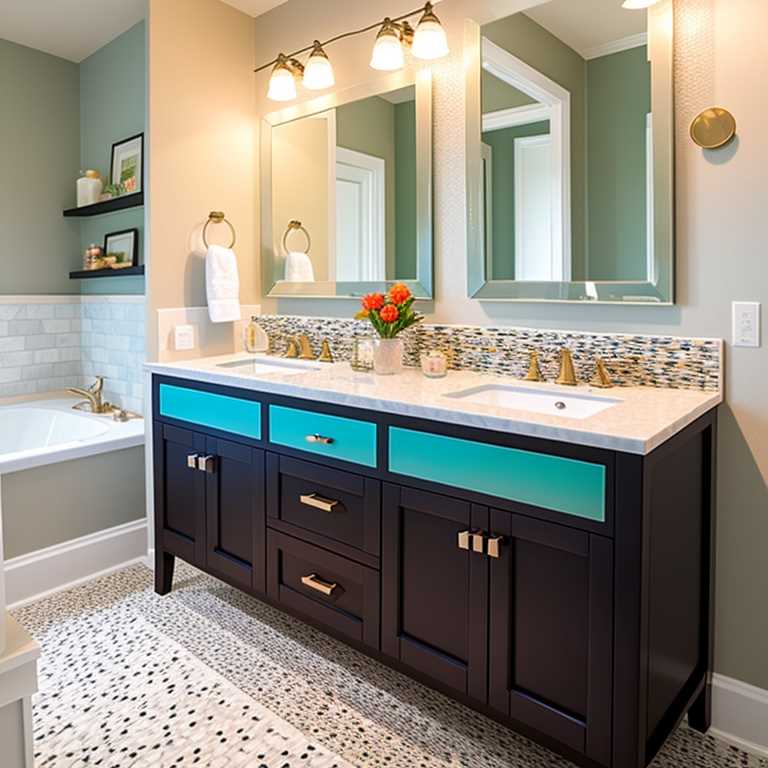
Now that your sink, faucet, and drain are connected, it’s time to attach the countertop to the vanity. Apply silicone adhesive to the top of the vanity and carefully place the countertop on top. Make sure that the countertop is centered and level before securing it in place with clips.
Step 6: Secure Countertop to Vanity
Once you have placed the countertop on top of the vanity, it’s time to secure it in place. Use a drill to screw brackets into the underside of the countertop and into the vanity. Make sure that you use enough brackets to keep the countertop securely in place.
Step 7: Apply Sealant
The final step in connecting a bathroom countertop is to apply sealant. Use a silicone caulk to seal around the edges of the sink and between the countertop and vanity. This will prevent water from seeping into any gaps and causing damage.
Connecting a bathroom countertop requires careful planning and attention to detail. By following these steps, you can ensure that your bathroom countertop is securely attached and will provide years of trouble-free use. With a little patience and some basic tools, you can create a beautiful and functional bathroom.
