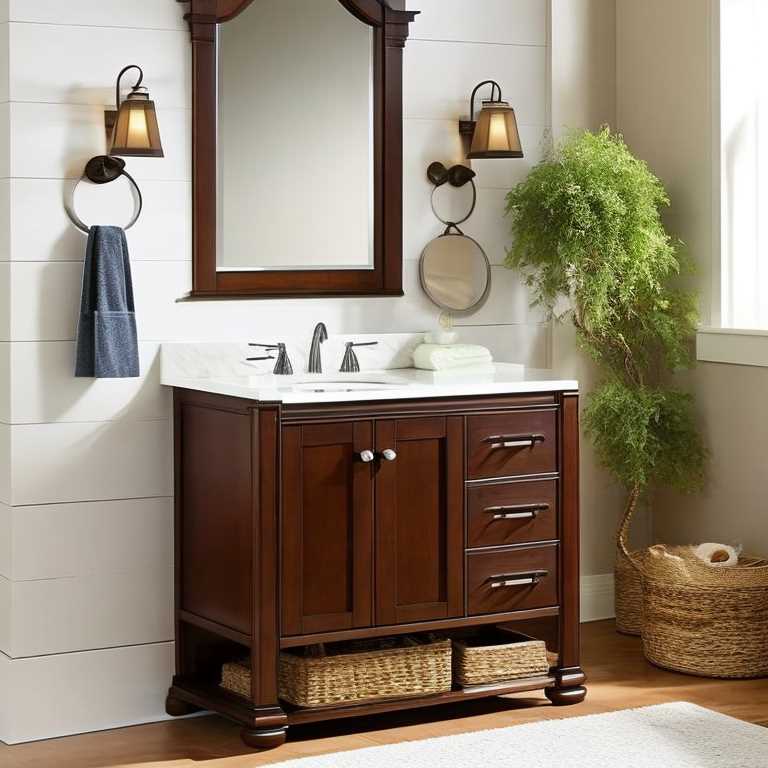
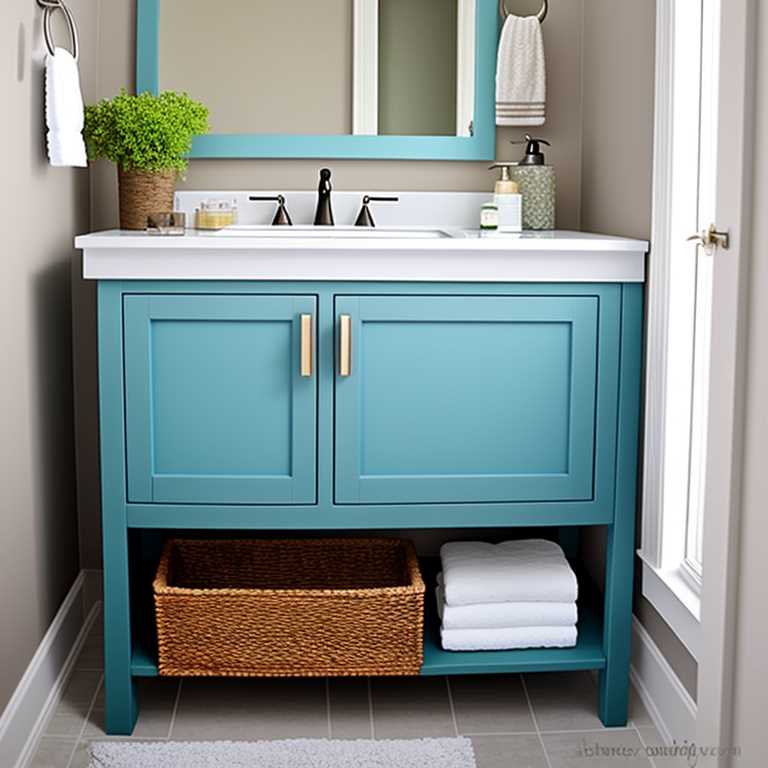
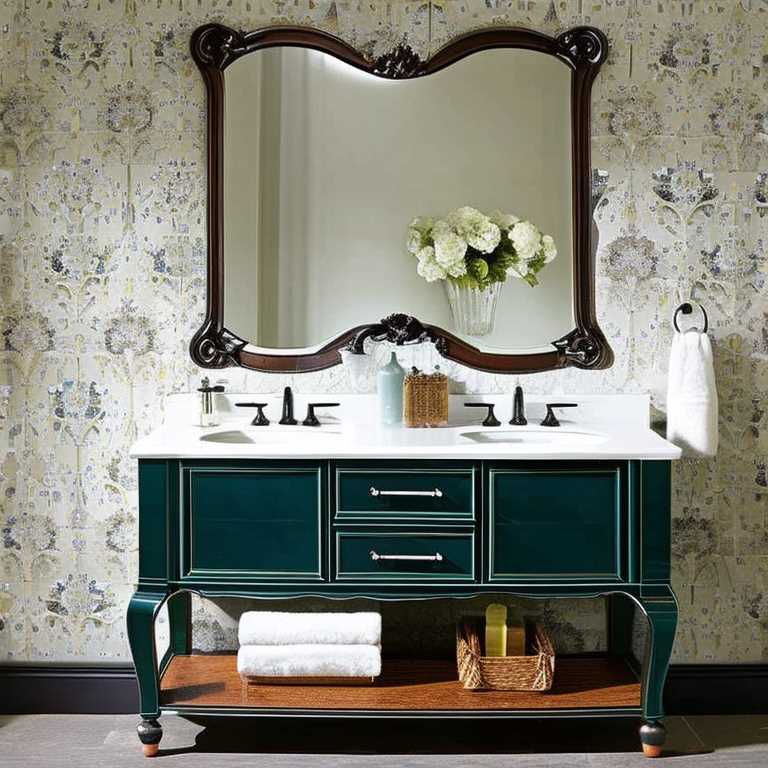
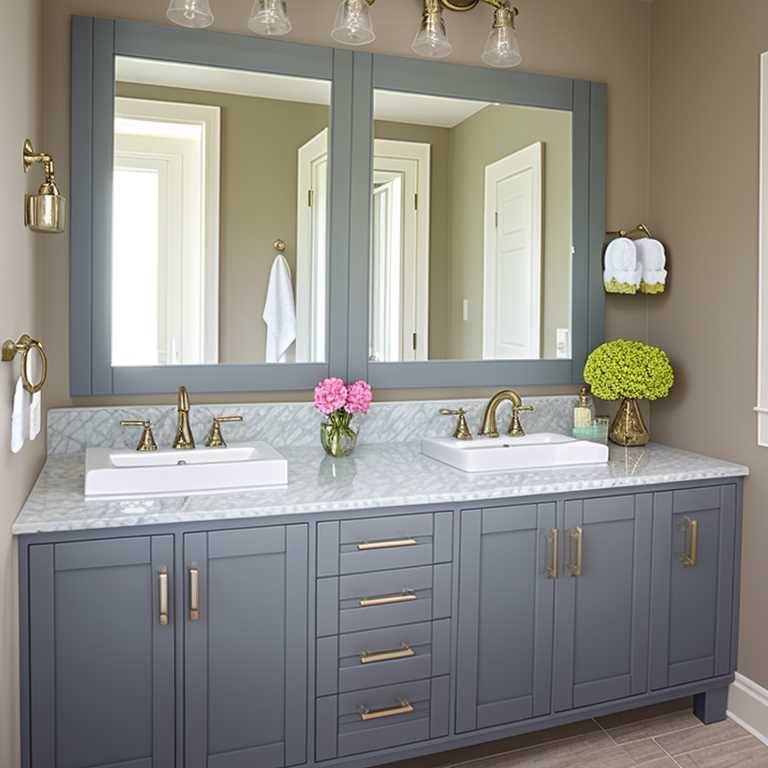
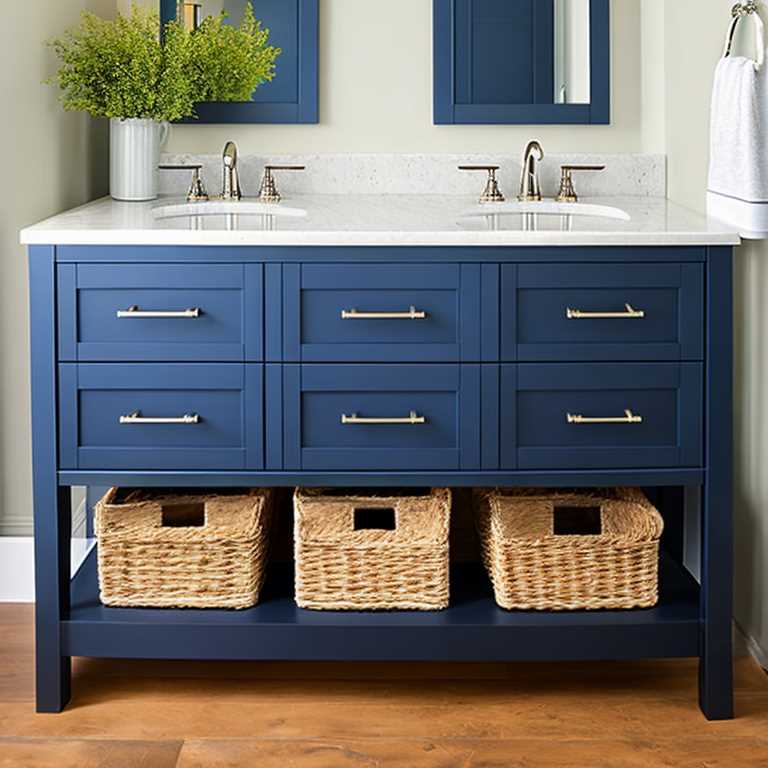
A bathroom vanity is a crucial component of any bathroom as it not only adds to the aesthetics but also provides storage space. While buying one can be an option, building your own can be a great way to add a personal touch and create a custom design that suits your needs. Building a bathroom vanity is not as complicated as it may seem, and with the right tools and materials, it can be accomplished by anyone.
Here is a step-by-step guide on how to build a bathroom vanity:
1. Plan and Design
Before starting construction, it’s essential to plan and design your vanity. This includes deciding on the size and shape of the vanity, the materials required, and the layout of the drawers and cabinets. Choose a style that complements your bathroom’s décor and matches your personal taste.
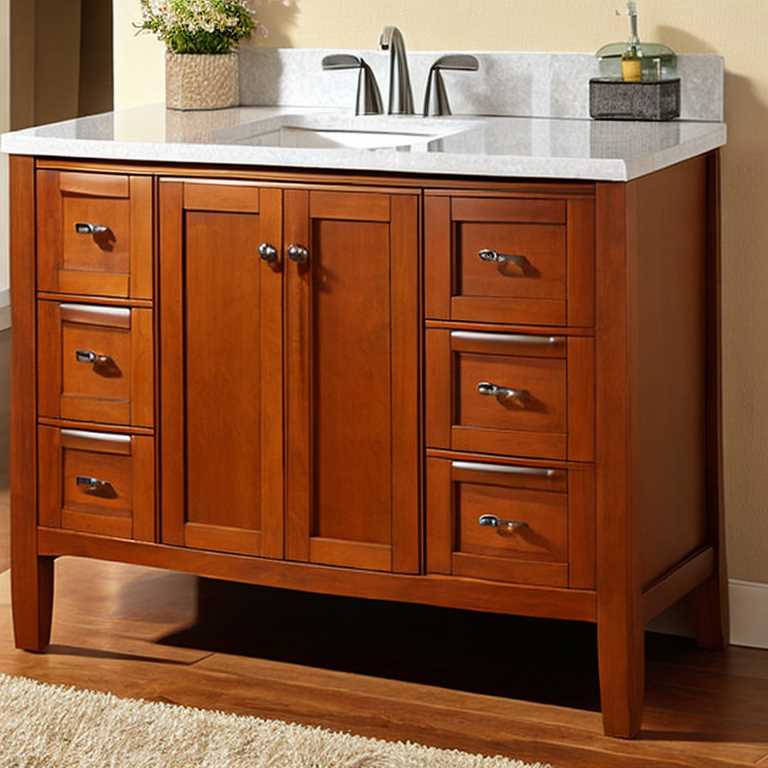
2. Gather Tools and Materials
Once you have planned and designed your vanity, gather all the necessary tools and materials. Some of the essential tools include a saw, drill, jigsaw, sander, clamps, measuring tape, level, and safety glasses. The materials you will need include wood boards for the frame, plywood for the sides and back, screws, glue, hinges, drawer slides, handles or knobs, and countertop material.
3. Cut Wood Boards to Size
Using a saw, cut the wood boards to the desired length for the frame of the vanity. The frame should be sturdy enough to support the weight of the countertop and sink. Cut additional boards for the shelves and drawers.
4. Assemble the Frame
Using screws and glue, assemble the frame of the vanity. Use clamps to hold the pieces together while they dry. Ensure that everything is level and square before proceeding.
5. Cut Plywood for Sides and Back
Using a jigsaw or circular saw, cut plywood to size for the sides and back of the vanity.
6. Attach Plywood to Frame
Attach the plywood to the frame using screws and glue. Ensure that everything is level and square before proceeding.
7. Cut Holes for Sink and Faucet
Using a jigsaw, cut a hole in the countertop for the sink and faucet. Make sure the hole is the correct size for your sink and faucet.
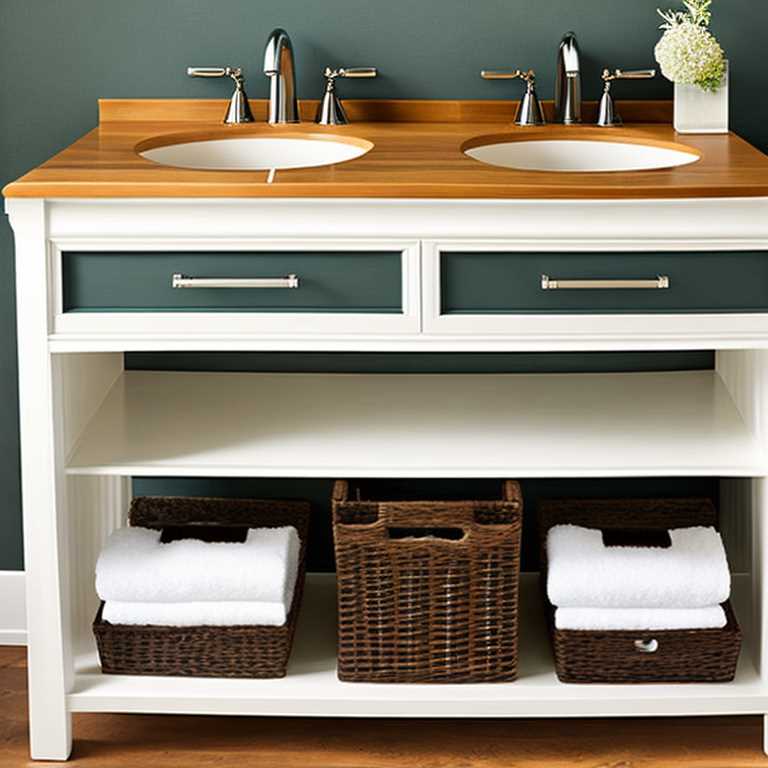
8. Sand and Finish
Sand the vanity thoroughly to remove any rough edges, and apply a finish of your choice. A clear coat or paint can be used to protect the wood from moisture damage.
9. Install Countertop, Sink, and Faucet
Install the countertop, sink, and faucet according to the manufacturer’s instructions. Attach the handles or knobs to the drawers and cabinets.
10. Install Drawer Slides
Install drawer slides to the drawers according to the manufacturer’s instructions. Test the drawers to ensure they slide in and out smoothly.
11. Mount Vanity to Wall
Mount the vanity to the wall using brackets or screws. Ensure that it is level and secure.
Building a bathroom vanity can be a fun and rewarding project that adds value to your home while creating a custom piece that is unique to your style. With careful planning, attention to detail, and a little bit of patience, anyone can build their own bathroom vanity.
Some Tips:
– Measure carefully before cutting any materials.
– Use safety glasses when using power tools.
– Sand all surfaces thoroughly before finishing.
– Choose a finish that is resistant to moisture.
– Test all drawers and cabinets before installation.
– Make sure the vanity is level before installation.
– Use brackets or screws to secure the vanity to the wall.
– Always follow manufacturer’s instructions when installing components such as faucets, sinks, and drawer slides.
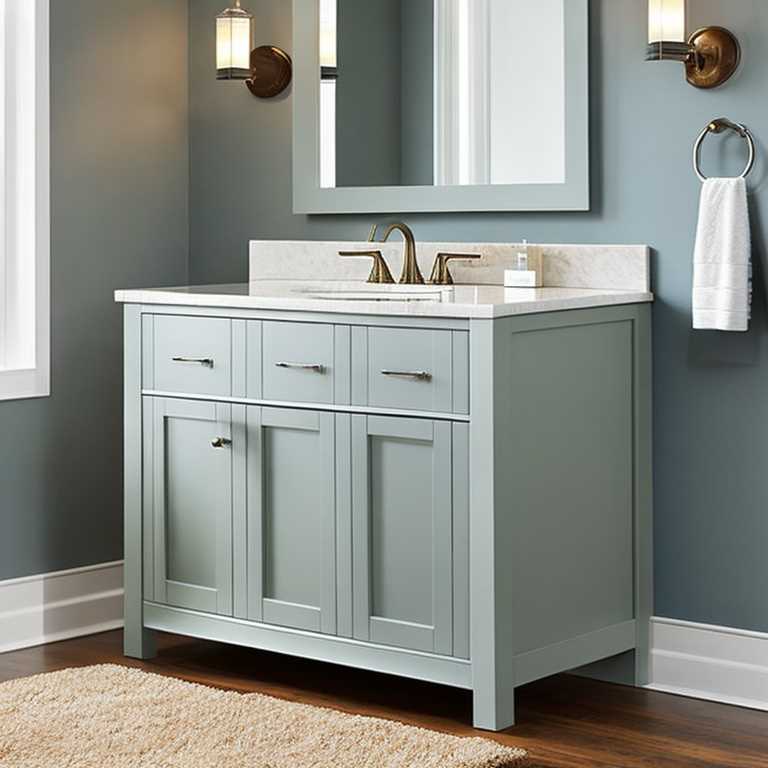
Building your own bathroom vanity can be a great way to add a personal touch to your bathroom while providing additional storage space. With some basic woodworking skills and the right tools and materials, anyone can create a custom vanity that meets their needs and complements their décor. By following these steps, you can build a beautiful and functional bathroom vanity that will last for years to come.
