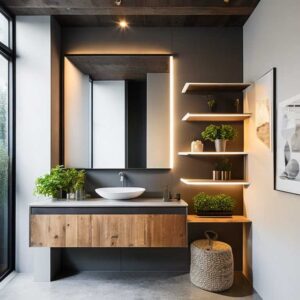
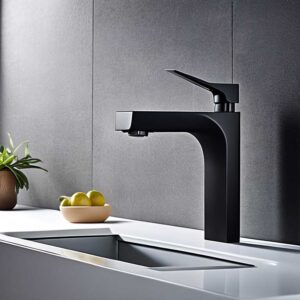
Finishing a basement bathroom can be a daunting task, especially if you have rough-in plumbing already in place. However, with the right tools, materials, and know-how, you can easily complete this project and create a functional and beautiful space. In this article, we will walk you through the steps on how to finish a basement bathroom with rough-in plumbing.
Step 1: Plan Your Layout
Before starting any work, you need to plan out the layout of your bathroom. Consider the size of the space, the location of the rough-in plumbing, and any other fixtures or features you want to include. Make sure to measure the area carefully and draw up a detailed floor plan.
Step 2: Install the Drainage System
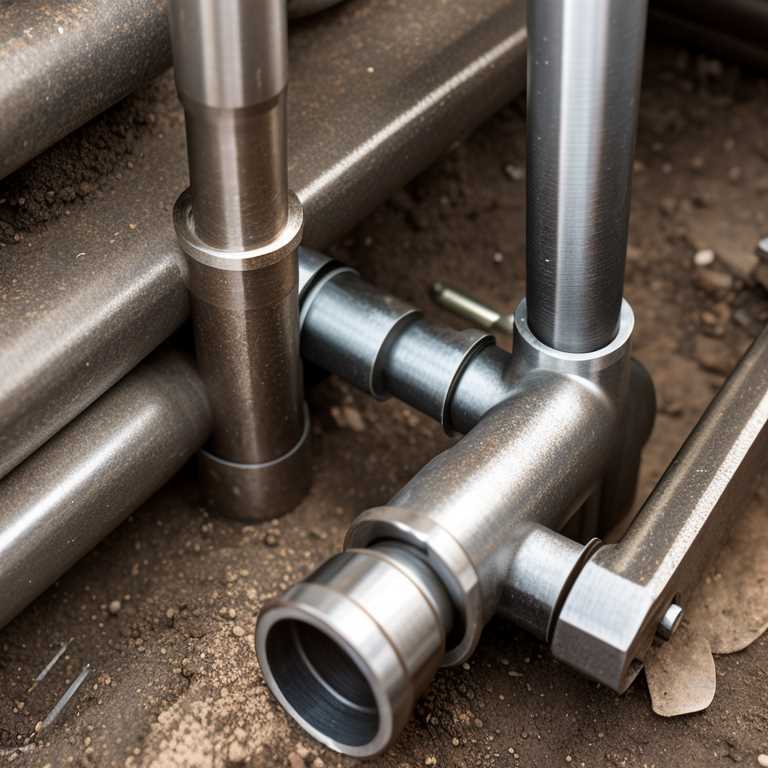
The first step in finishing your basement bathroom is to install the drainage system. This involves connecting the rough-in plumbing to the main sewer line. If you are not familiar with plumbing work, it is best to hire a professional plumber to do this for you.
Step 3: Install the Water Supply Lines
Next, you will need to install the water supply lines for your bathroom fixtures. This involves running pipes from your main water supply to your bathroom location. Again, if you are not experienced in plumbing work, it is best to hire a professional plumber for this step.
Step 4: Install Electrical Wiring
Once the plumbing work is complete, you will need to install electrical wiring for your bathroom fixtures. This includes wiring for lights, outlets, and switches. It is important to hire a licensed electrician for this step as working with electricity can be dangerous.
Step 5: Frame the Walls
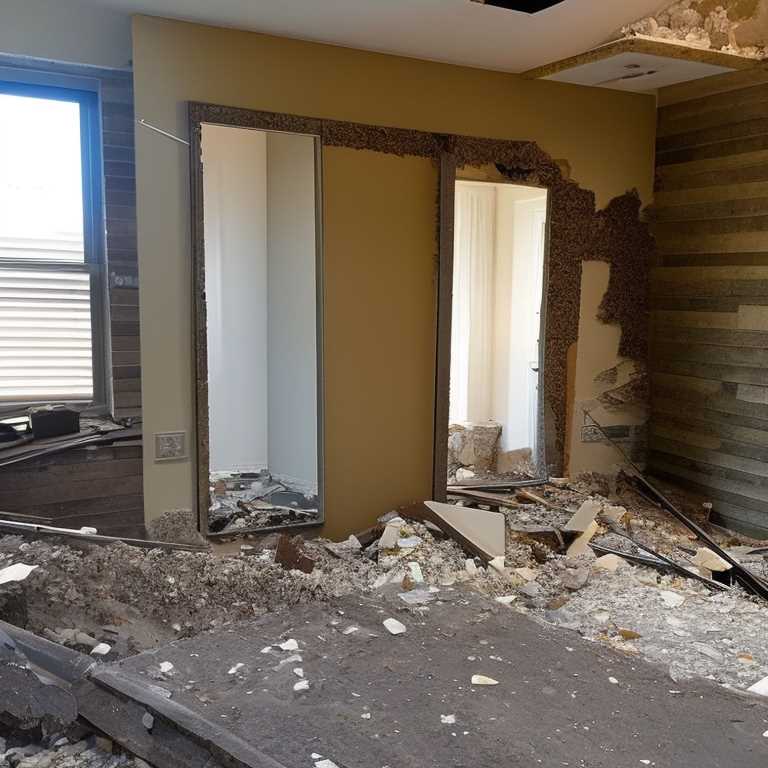
With the plumbing and electrical work complete, it is time to frame the walls of your bathroom. Use 2x4s or 2x6s to create a sturdy frame for your walls. Make sure to space your studs 16 inches apart and use a level to ensure they are straight.
Step 6: Install Insulation
After framing the walls, you will need to install insulation. This will help keep your bathroom warm and reduce noise. Use fiberglass insulation and make sure to wear protective clothing and a mask while handling it.
Step 7: Hang Drywall
Once the insulation is in place, it is time to hang drywall. Use a drywall lift to make the job easier and ensure that your walls are straight and level. Use screws to attach the drywall to the framing.
Step 8: Install Flooring
With your walls in place, it is time to install flooring. Choose a waterproof material such as tile or vinyl flooring. Make sure to measure carefully and use a level to ensure that your flooring is even.
Step 9: Install Fixtures
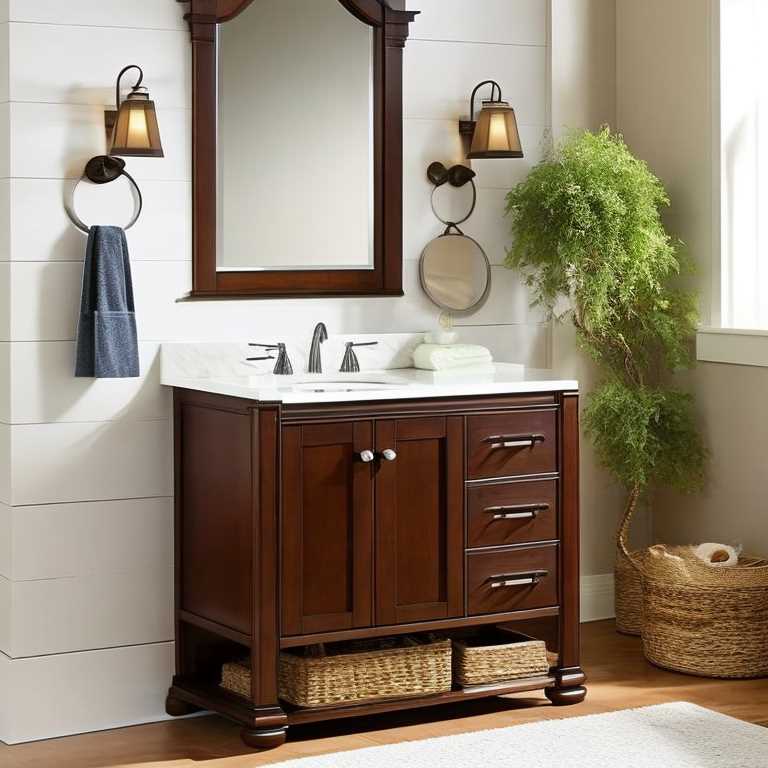
With the walls and floor complete, it is time to install your bathroom fixtures. This includes your toilet, sink, shower or bathtub, and any other accessories you want to include. Make sure to follow the manufacturer’s instructions carefully and hire a plumber if necessary.
Step 10: Paint and Decorate
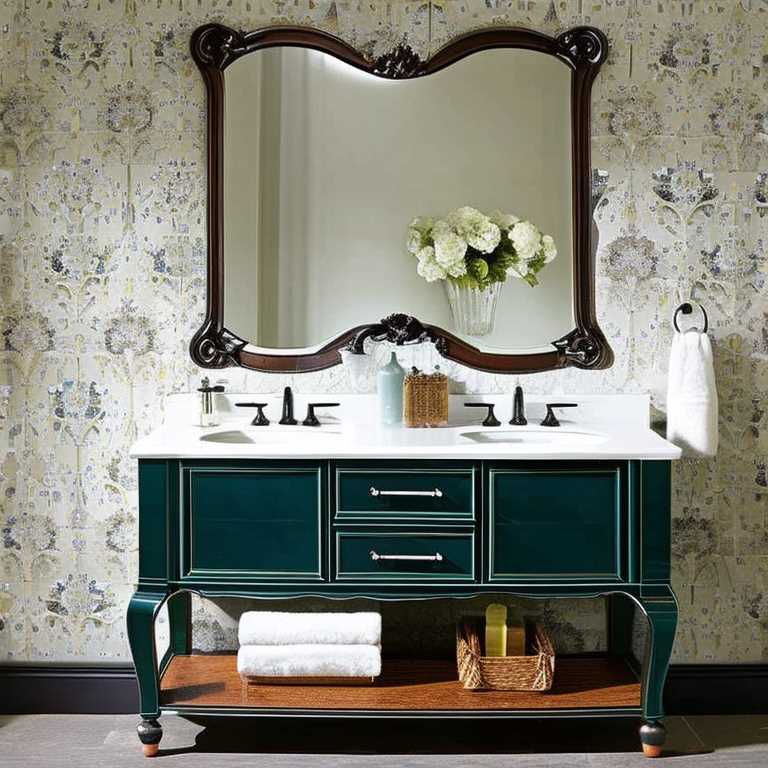
It is time to paint and decorate your new bathroom. Choose a color scheme that complements your fixtures and add decorative touches such as artwork or plants. Don’t forget to install proper ventilation to prevent mold and mildew growth.
Finishing a basement bathroom with rough-in plumbing can seem like a daunting task, but with the right tools, materials, and know-how, you can easily complete this project. Make sure to plan out your layout carefully, hire professional contractors when needed, and take your time with each step. By following these steps, you can create a functional and beautiful space that you will enjoy for years to come.
