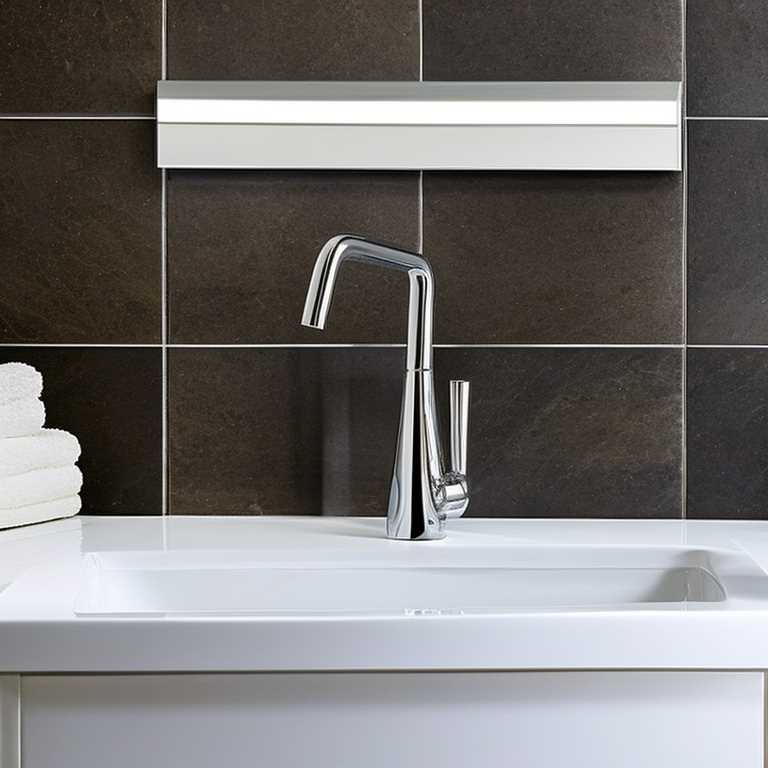
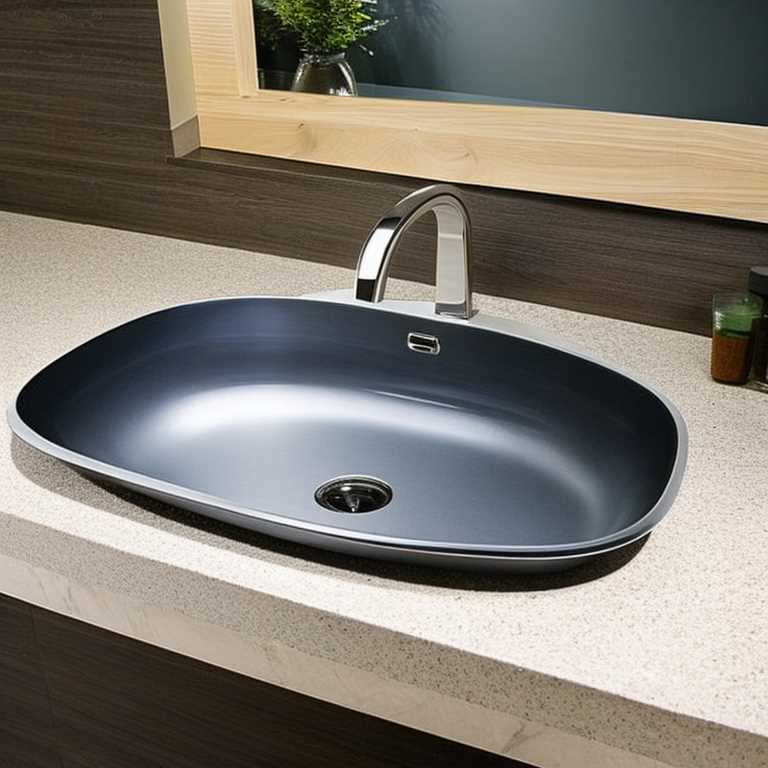
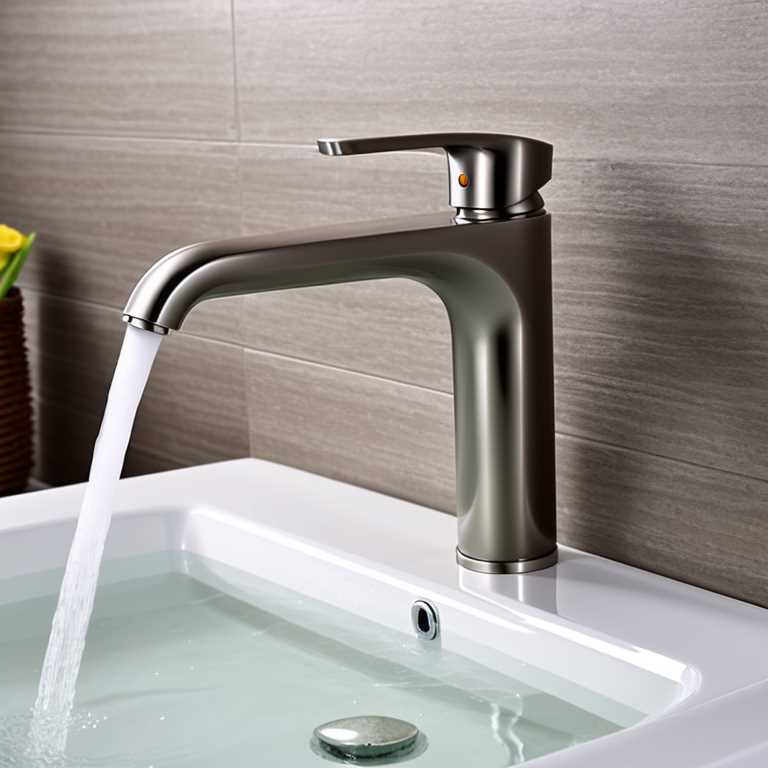
A bathroom sink stopper is a small but important part of your sink drain system. It helps you control the flow of water down the drain, and it also prevents water from backing up into the sink basin. However, over time, stoppers can become damaged or clogged with hair and other debris, making them ineffective at stopping water flow. In such cases, you may need to remove the stopper to clean or replace it. In this article, we will discuss how to remove a bathroom sink stopper.
Before you begin, it’s important to make sure you have the right tools for the job. You’ll need a pair of pliers and a screwdriver. You may also need a bucket or container to catch any water that may spill out when you remove the stopper.
Step 1: Locate the Stopper
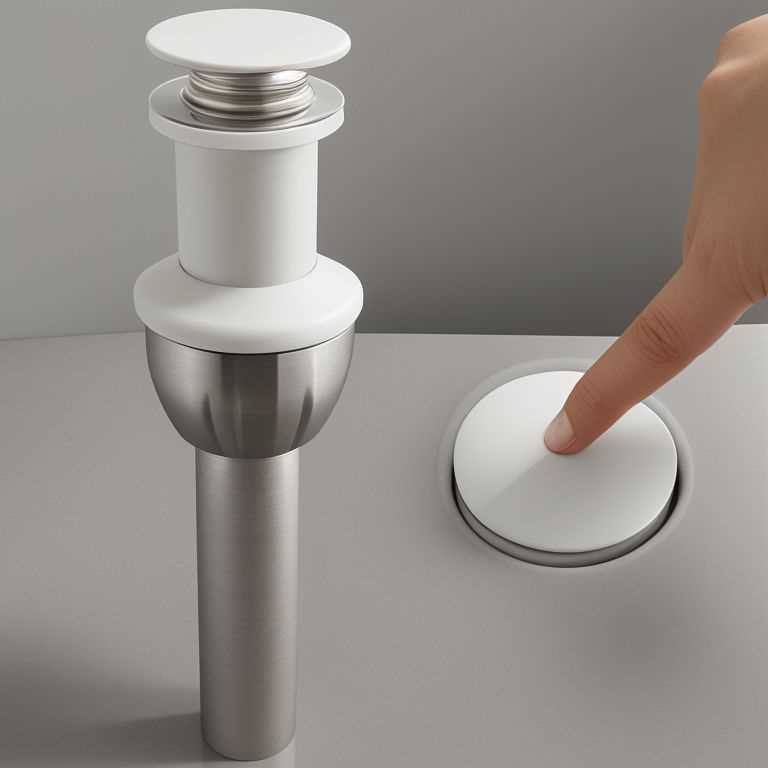
The first step in removing a bathroom sink stopper is to locate it. Depending on the type of stopper you have, this may be easy or difficult. Some sink stoppers are visible and easy to find, while others are hidden under the sink or inside the drain pipe.
If your stopper is visible, look for a small lever or knob near the faucet. This lever or knob controls the stopper’s movement. If your stopper is not visible, you may need to crawl under the sink and look for it inside the drain pipe.
Step 2: Check for Screws
Once you’ve located the stopper, check to see if it has any screws holding it in place. Some sink stoppers are secured with screws that can be removed with a screwdriver. If your stopper has screws, use your screwdriver to remove them.
Step 3: Disconnect the Stopper from the Pivot Rod
If your sink stopper is connected to a pivot rod, you’ll need to disconnect it before you can remove it. The pivot rod is a long metal rod that connects the stopper to the sink drain. To disconnect the stopper from the pivot rod, look for a small clip or nut near the base of the rod. Use your pliers to loosen the clip or nut, and then slide the stopper off the pivot rod.
Step 4: Remove the Stopper
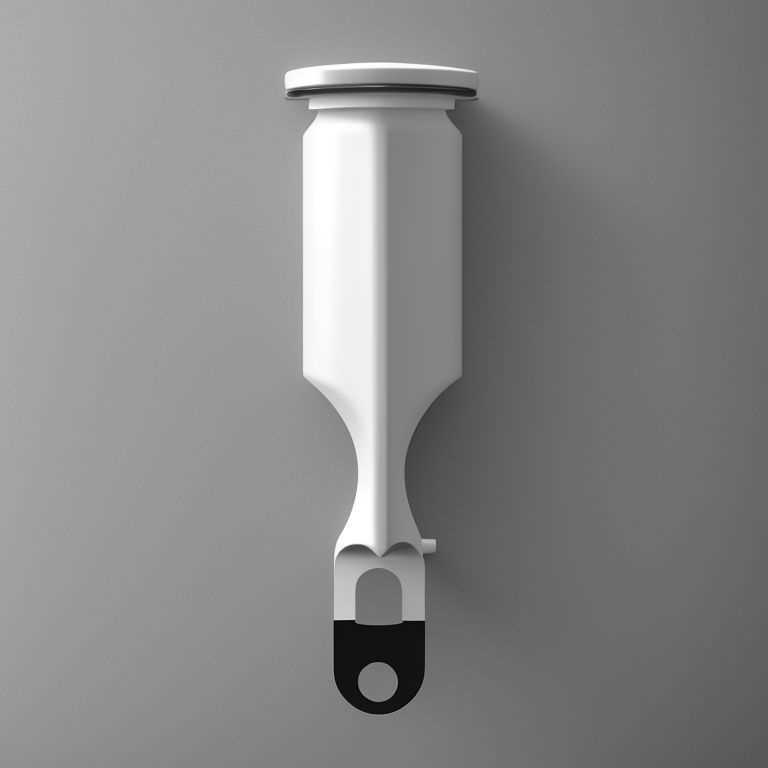
Once you’ve disconnected the stopper from the pivot rod, you should be able to remove it from the sink drain. If your stopper is a simple pop-up design, you may be able to lift it out of the drain by hand. If your stopper is more complex, you may need to use your pliers to wiggle it loose.
Be careful when removing the stopper, as there may be water and debris trapped inside the drain. Use your bucket or container to catch any water that spills out.
Step 5: Clean or Replace the Stopper
After you’ve removed the stopper, take a close look at it to see if it needs cleaning or replacement. If your stopper is clogged with hair or other debris, you can clean it by soaking it in a mixture of hot water and vinegar. If your stopper is damaged or worn out, you’ll need to replace it with a new one.
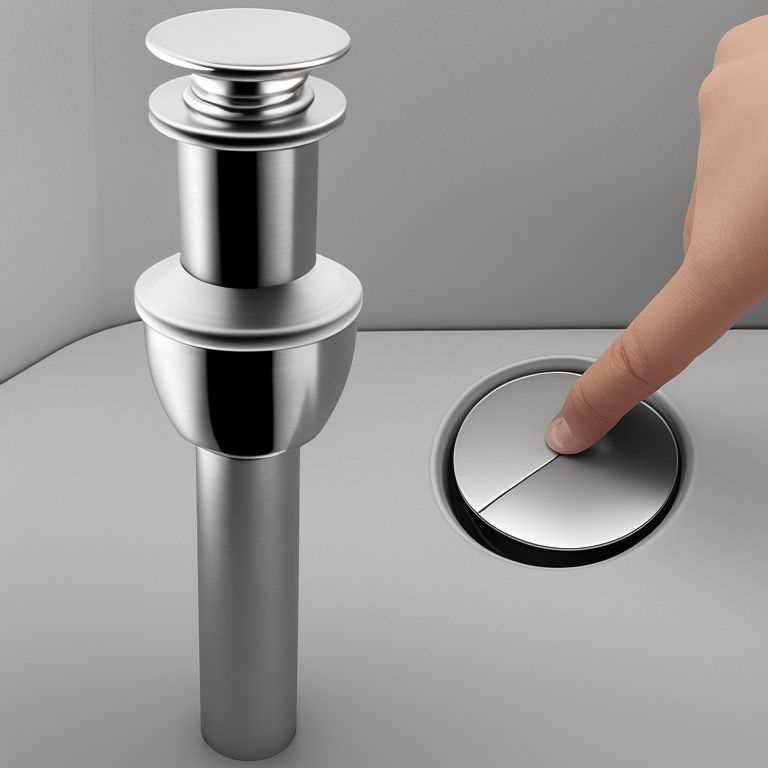
To replace a sink stopper, simply reverse the steps above. Install the new stopper onto the pivot rod, reconnect it to the sink drain, and secure any screws or clips that hold it in place.
Removing a bathroom sink stopper may seem like a daunting task, but with the right tools and some basic knowledge, it can be done quickly and easily. Remember to take your time and be careful when removing the stopper, as there may be water and debris trapped inside the drain. And if you’re unsure about any of these steps or encounter any problems along the way, don’t hesitate to call a professional plumber for assistance.

