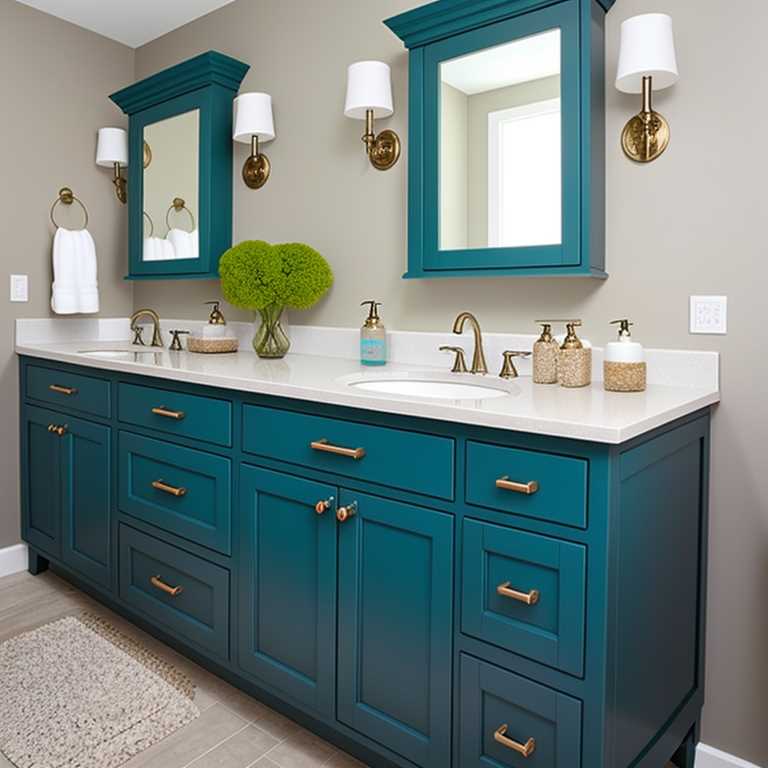
Bathroom cabinets are an important part of your bathroom’s aesthetics. They can elevate the entire look of your bathroom and make it look more organized and polished. However, over time, bathroom cabinets can start to look worn out and dirty. If you’re tired of looking at your old bathroom cabinets and want to give them a fresh new look, then painting them is a great option. In this article, we’ll show you how to paint bathroom cabinets and give them a new lease of life.
1. Remove the doors and hardware
Before you start painting, you need to remove the cabinet doors and hardware. This will make it easier for you to paint the cabinets and ensure that the paint goes on smoothly. Use a screwdriver to remove the hinges and handles from the doors. Put all the hardware in a plastic bag so that you don’t lose anything.
2. Clean the cabinets
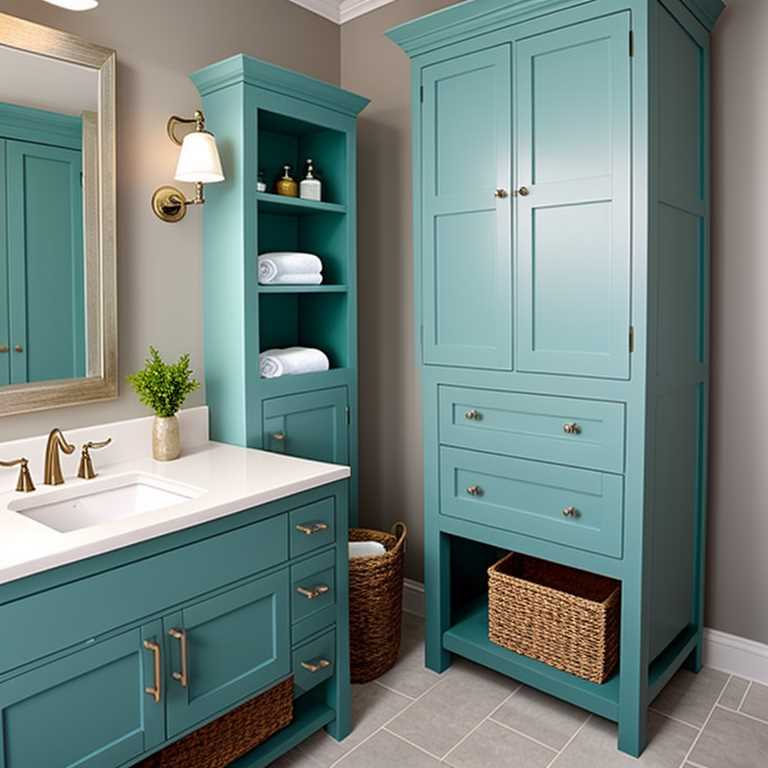
Once the doors and hardware are removed, it’s time to clean the cabinets. Use a mixture of warm water and mild soap to clean the cabinet surfaces thoroughly. Make sure to remove any dirt or grime that has accumulated on the cabinets over time. You can also use a degreaser to get rid of any stubborn stains.
3. Sand the cabinets
After cleaning the cabinets, it’s time to sand them down. Use fine-grit sandpaper (220-grit) to sand the cabinet surfaces lightly. This will help the paint adhere better to the surface of the cabinets. Make sure to sand in the direction of the wood grain.
4. Fill any holes or scratches
If there are any holes or scratches on the cabinet surfaces, use wood filler to fill them in. Once you’ve filled in all the holes and scratches, wait for it to dry completely. Then, use fine-grit sandpaper (220-grit) to sand down any excess wood filler until it’s flush with the surface of the cabinets.
5. Prime the cabinets
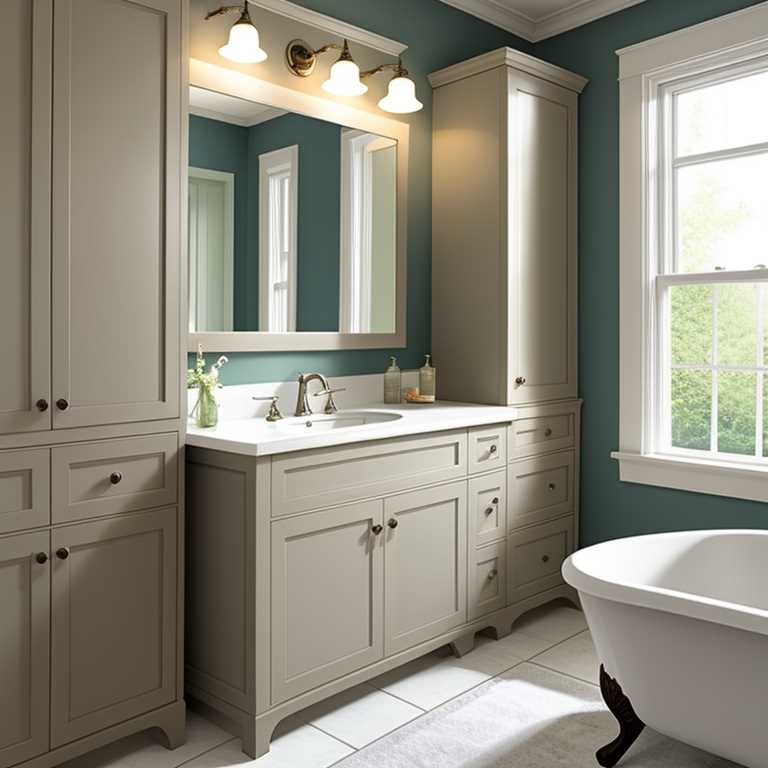
Before you can start painting the cabinets, you need to prime them. Use a high-quality primer that’s specifically designed for cabinets. Apply the primer evenly to the cabinet surfaces using a paintbrush or roller. Make sure to cover all the surfaces, including the edges and corners. Wait for the primer to dry completely before moving on to the next step.
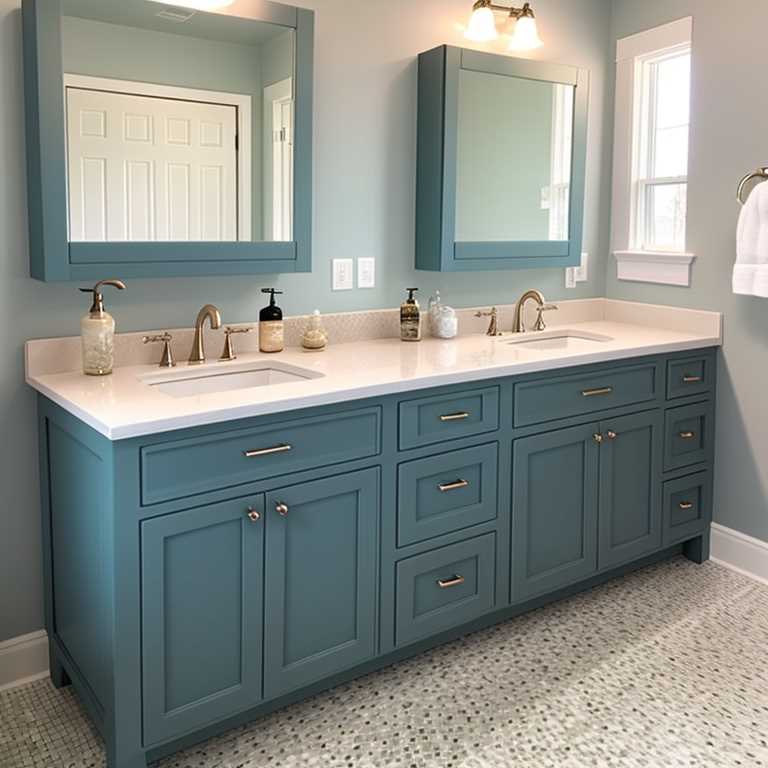
6. Paint the cabinets
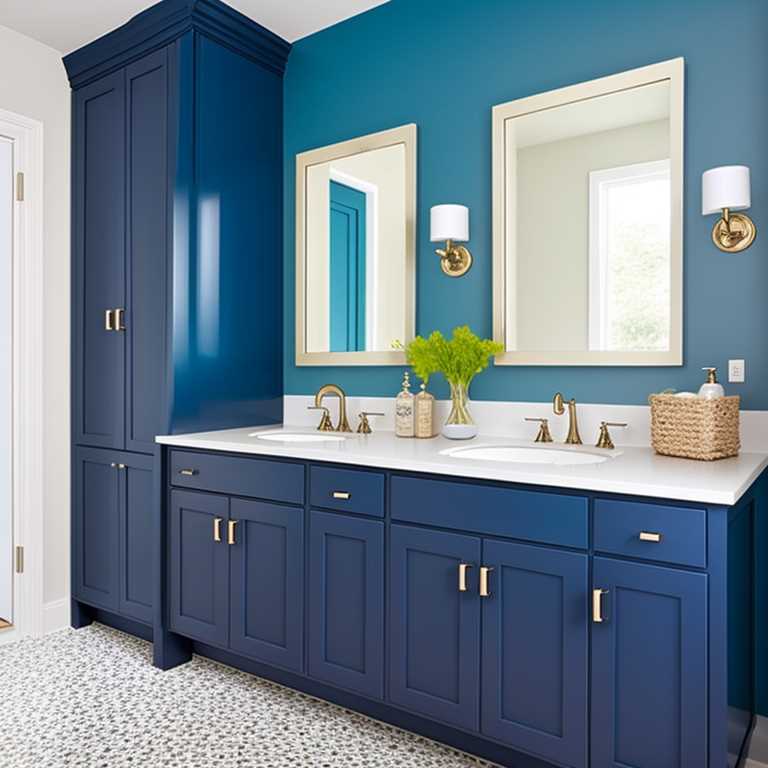
Now it’s time to paint the cabinets. Choose a high-quality paint that’s specifically designed for cabinets. Use a paintbrush or roller to apply the paint evenly to the cabinet surfaces. Make sure to cover all the surfaces, including the edges and corners. Wait for the first coat of paint to dry completely before applying the second coat. If necessary, apply a third coat of paint.
7. Reinstall the doors and hardware
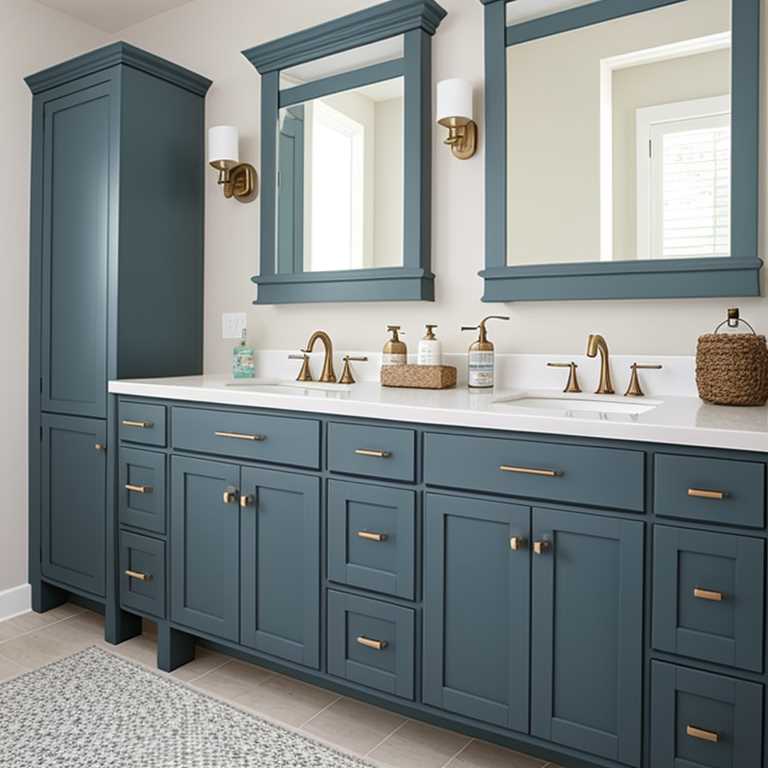
Once the paint has dried completely, it’s time to reinstall the doors and hardware. Use a screwdriver to attach the hinges and handles back onto the doors. Make sure that everything is aligned properly and tightened securely.
8. Clean up
After you’ve finished painting and reinstalling everything, it’s time to clean up. Dispose of any leftover paint and clean your brushes and rollers thoroughly with soap and water. Put away all your tools and equipment in their proper places.
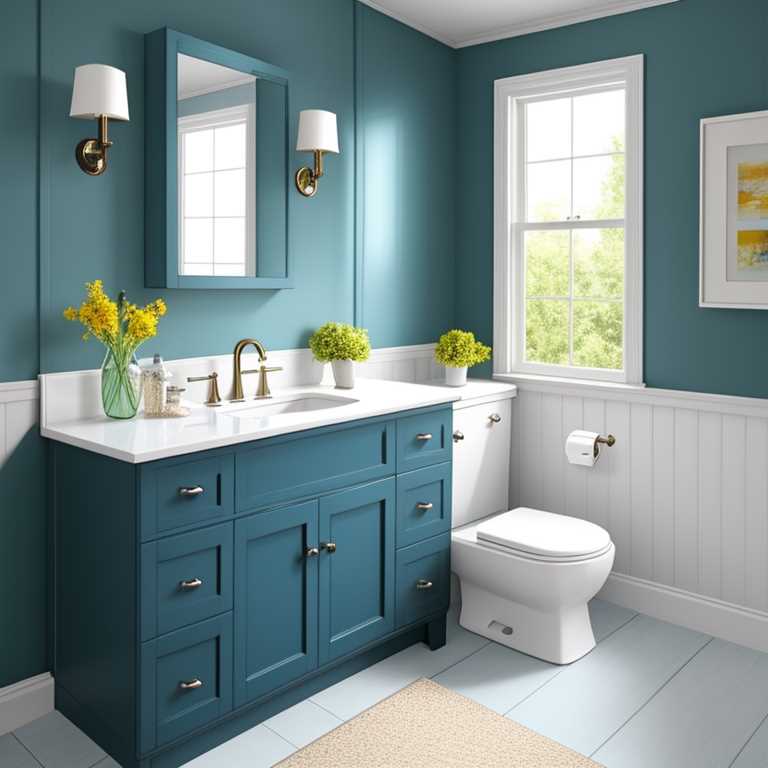
Painting bathroom cabinets is a great way to give them a new lease of life and transform your bathroom’s aesthetics at a fraction of the cost of replacing them entirely. Follow these steps, and you’ll have beautiful, freshly painted bathroom cabinets in no time!
