Bathroom mirrors can add a lot of elegance and functionality to any bathroom. However, there may come a time when you need to remove the mirror due to damage or renovation. Removing a bathroom mirror with clips may seem like a daunting task, but it is actually fairly simple if you follow the right steps.
Here is a step-by-step guide on how to remove a bathroom mirror with clips:
Step 1: Gather the necessary tools and equipment
Before you begin removing your bathroom mirror with clips, you need to gather the necessary tools and equipment. You will need a screwdriver, a putty knife or scraper, safety goggles, gloves, and a drop cloth or old sheet to protect your bathroom floor from any broken glass.
Step 2: Prepare the area
Once you have gathered all of your tools and equipment, you need to prepare the area around the bathroom mirror. Remove any items from the sink or vanity area that could be damaged during the removal process. Cover the sink and countertop with a drop cloth or old sheet to protect them from any debris that may fall during the removal.
Step 3: Locate the clips
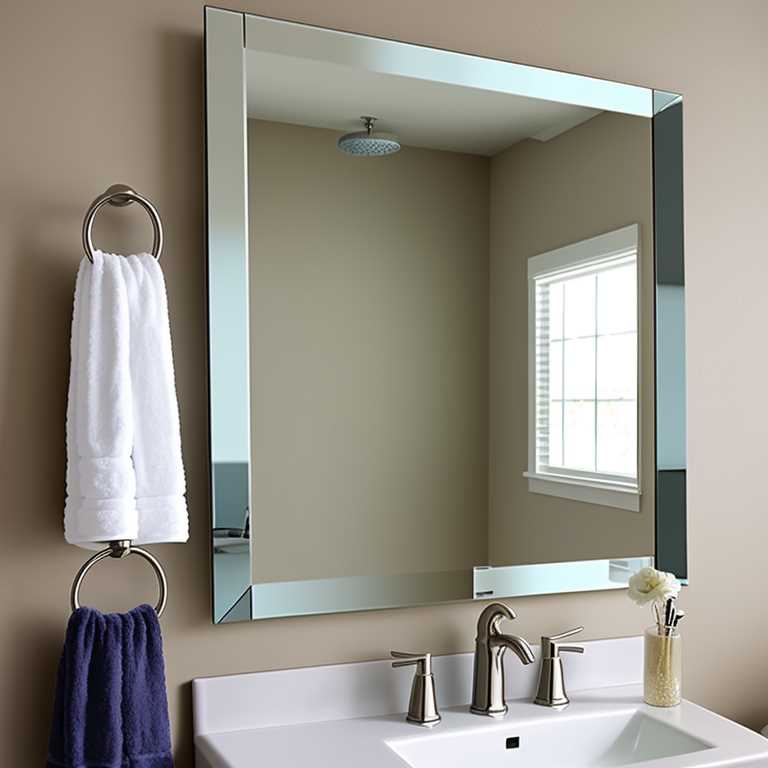
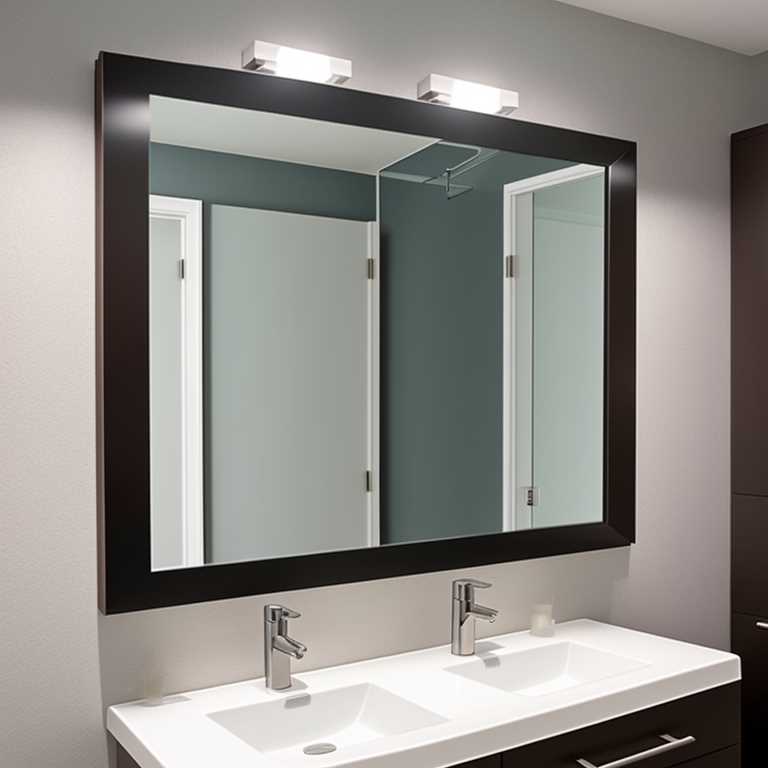
The next step is to locate the clips that are holding your bathroom mirror in place. These clips are usually located on the top and bottom of the mirror, but they can also be found on either side. Look for small metal or plastic clips that are holding the mirror against the wall.
Step 4: Remove the screws
Using your screwdriver, carefully remove the screws that are holding the clips in place. Be sure to hold onto the clips as you remove the screws so that they do not fall down behind the wall. If you are having difficulty removing the screws, try using pliers to hold onto them as you turn the screwdriver.
Step 5: Insert a putty knife
Once all of the screws have been removed, insert a putty knife or scraper between the mirror and the wall. Gently pry the mirror away from the wall by moving the putty knife back and forth along the edge of the mirror. Be sure to wear safety goggles and gloves during this step in case any glass breaks.
Step 6: Remove any adhesive
After you have removed all of the clips and pried the mirror away from the wall, there may still be some adhesive left behind on the wall. Use your putty knife or scraper to remove any remaining adhesive from both the wall and the back of the mirror.
Step 7: Clean up
Once you have removed all of the adhesive, clean up any debris or broken glass that may have fallen during the removal process. Be sure to dispose of broken glass properly by placing it in a paper bag or other appropriate container before throwing it away.
Removing a bathroom mirror with clips is not as difficult as it may seem. By following these simple steps and taking proper safety precautions, you can safely remove your bathroom mirror without causing any damage to your walls or fixtures. Remember to take your time and be patient during this process, as rushing can lead to accidents or mistakes.
