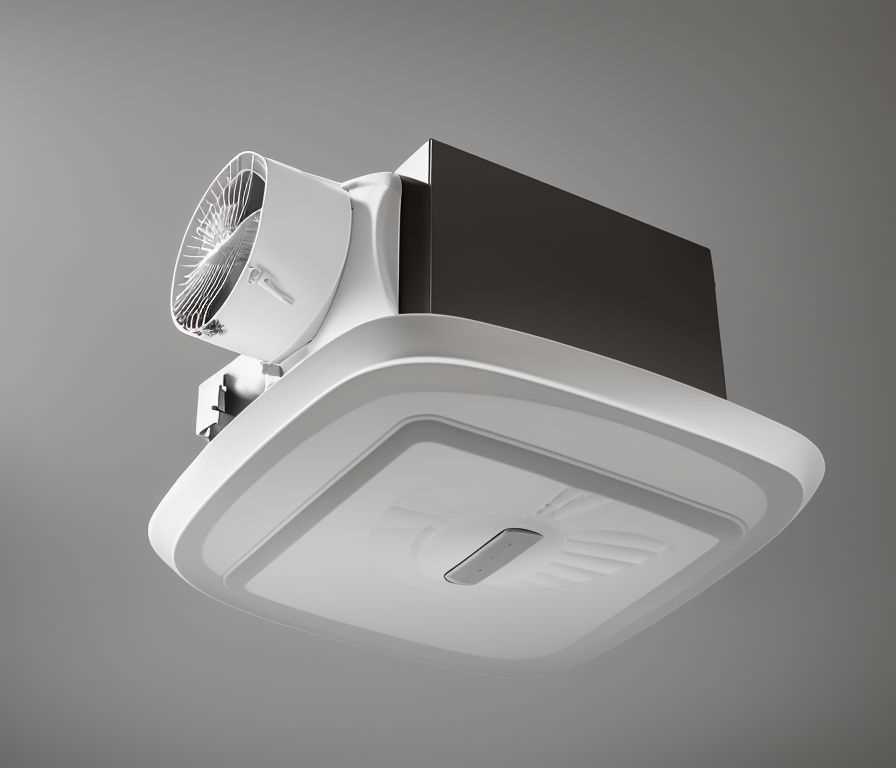
Installing a bathroom fan is essential to maintain good indoor air quality and to prevent mold growth. However, installing a bathroom fan without attic access can be a bit more challenging. In this article, we’ll explore two options for installing a bathroom fan without attic access: cutting the ceiling and venting through a wall.
Option 1: Cutting the Ceiling
Cutting the ceiling is the most common method for installing a bathroom fan without attic access. Here are the steps to follow:
Step 1: Choose the Right Location
The first step is to choose the right location for your bathroom fan. Ideally, you want to install it in an area where moisture tends to accumulate, such as above the shower or bathtub. It’s also important to choose a location that is close to an electrical source.
Step 2: Turn Off Electricity
Before you start cutting, be sure to turn off the electricity to the area where you will be working.
Step 3: Mark Your Cutout
Use a stud finder to locate any ceiling joists. You don’t want to cut through them. Mark your cutout on the ceiling with a pencil or marker.
Step 4: Cut the Hole
Using a drywall saw, cut along the marked lines. Be sure to wear safety goggles and a mask to protect yourself from dust and debris.
Step 5: Install Your Bathroom Fan
Once you’ve cut your hole, it’s time to install your bathroom fan. Follow the manufacturer’s instructions for installation. Be sure to secure your fan to the ceiling joists or use an adjustable bracket.
Step 6: Connect Electrical Wiring
Connect the electrical wiring according to the manufacturer’s instructions. If you’re not comfortable with electrical work, it’s best to hire a professional.
Step 7: Seal Any Gaps
To prevent air leaks and drafts, seal any gaps between the fan housing and ceiling with caulk or foam.
Option 2: Venting Through a Wall
If cutting through your ceiling is not an option, another alternative is venting through an exterior wall. Here’s how:
Step 1: Choose the Right Location
Choose a location on an exterior wall that is close to your bathroom and where it’s easy to access electrical wiring.
Step 2: Turn off Electricity
As with cutting through your ceiling, turn off electricity before beginning work.
Step 3: Mark Your Hole
Using a stud finder, locate any studs in the wall where you will be installing your bathroom fan. Mark your hole on the exterior wall with a pencil or marker.
Step 4: Cut Your Hole
Using a reciprocating saw or jigsaw, cut along your marked lines. Be sure to wear safety goggles and a mask to protect yourself from dust and debris.
Step 5: Install Your Bathroom Fan
Install your bathroom fan according to manufacturer’s instructions. Be sure to secure it properly to the wall studs or use an adjustable bracket.
Step 6: Connect Electrical Wiring
Connect electrical wiring according to manufacturer’s instructions. If you’re not comfortable with electrical work, it’s best to hire a professional.
Step 7: Install Ducting
Install ducting from your bathroom fan through your exterior wall. Use insulated ducting if your ducting will be exposed to cold temperatures.
Step 8: Seal Any Gaps
To prevent air leaks and drafts, seal any gaps between the ducting and wall with caulk or foam.
While installing a bathroom fan without attic access can be challenging, it is certainly possible. Cutting through your ceiling or venting through an exterior wall are both viable options. Whichever method you choose, be sure to follow safety guidelines and manufacturer’s instructions carefully. If you’re not comfortable with DIY work or electrical wiring, it’s best to hire a professional. A properly installed bathroom fan will help keep your indoor air healthy and prevent mold growth in your bathroom.


