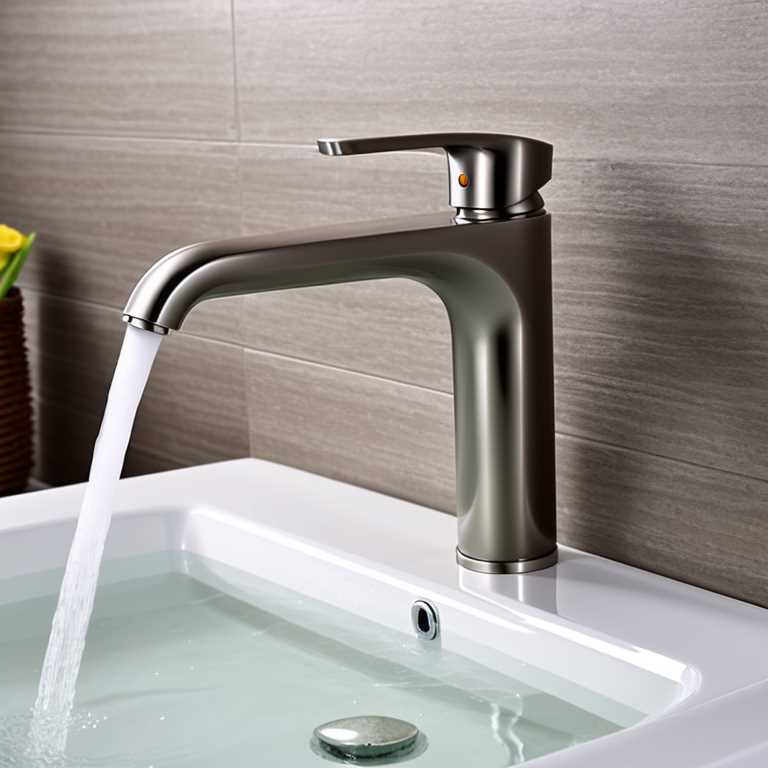
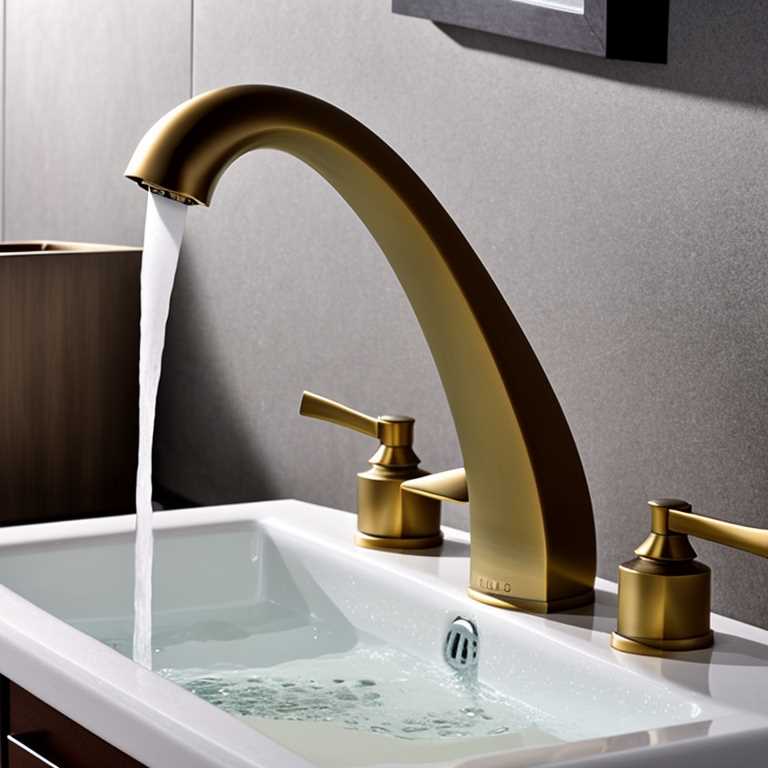
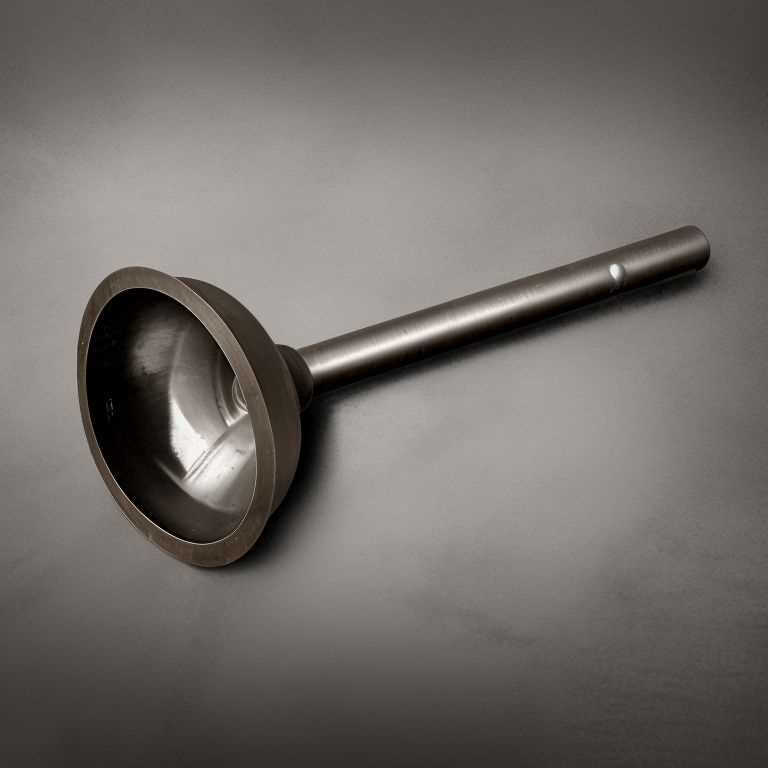
Replacing a bathroom faucet can be a challenging task if you don’t have any experience or knowledge about plumbing. However, it is a necessary project to undertake if your faucet is leaking or outdated. Replacing your bathroom faucet can also give your bathroom an updated and fresh look. In this article, we will guide you through the process of replacing your bathroom faucet.
Step 1: Gather your Tools and Materials
Before beginning the project, make sure you have all the necessary tools and materials. These include a new faucet, basin wrench, adjustable wrench, pliers, Teflon tape, silicone sealant, bucket, towels, and a flashlight. You may also need a screwdriver or Allen wrench depending on the type of faucet.
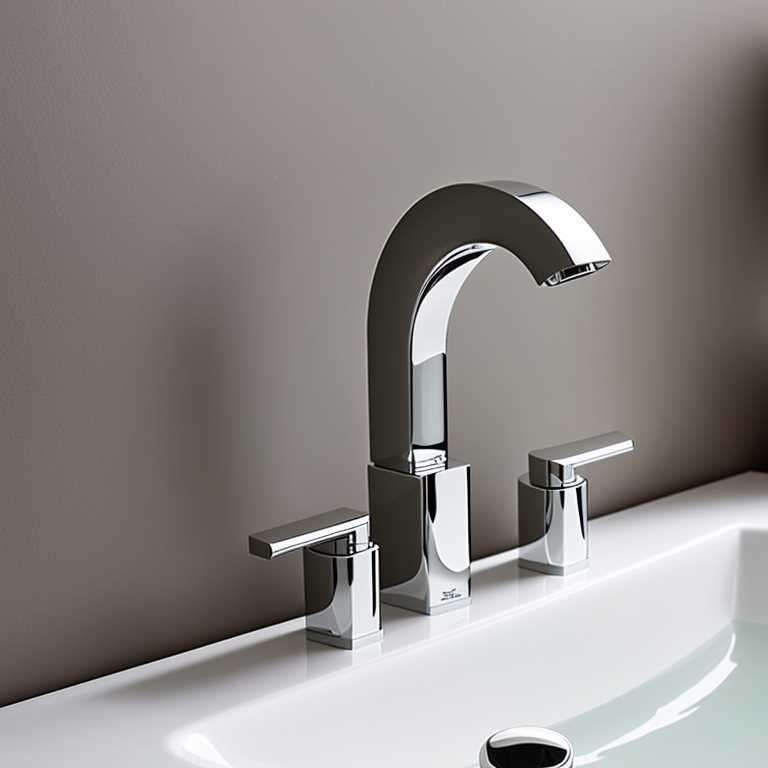
Step 2: Turn off Water Supply
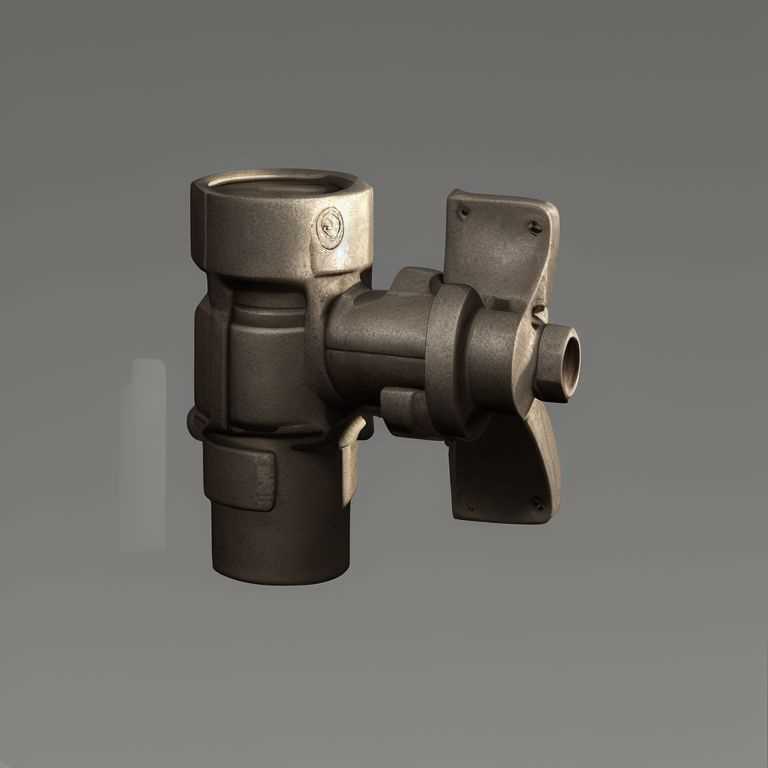
The first step in replacing your faucet is to turn off the water supply to your bathroom. Locate the shut-off valves under the sink and turn them clockwise until they stop. If there are no shut-off valves under the sink, you may need to turn off the main water supply to your home.
Step 3: Remove Old Faucet
Once you have turned off the water supply, remove the old faucet by loosening the mounting nuts located under the sink. Use a basin wrench or pliers to loosen the nuts and then remove them by hand. You may need to use a screwdriver or Allen wrench to remove any screws or bolts holding the faucet in place.
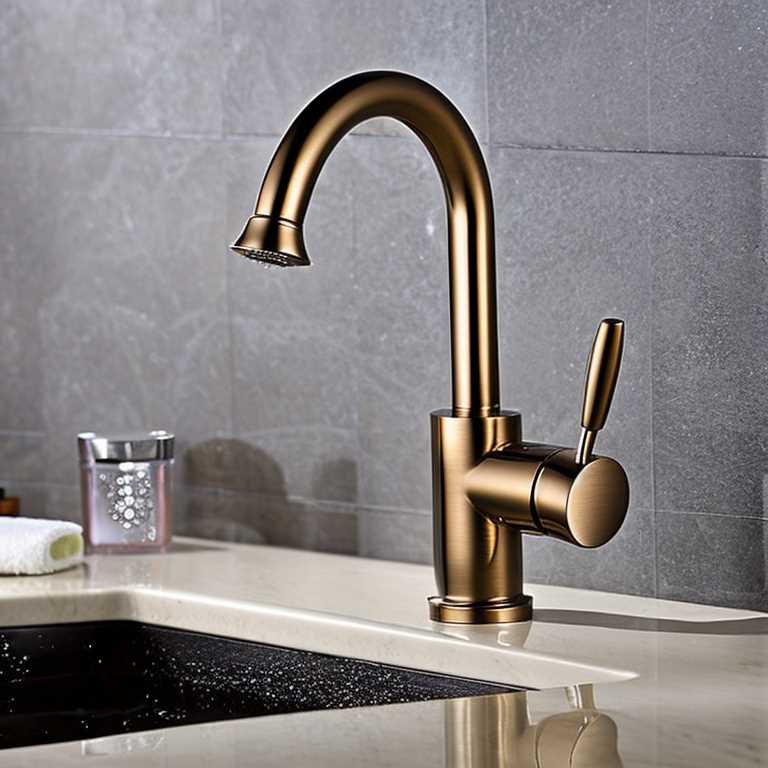
Step 4: Clean the Sink
After removing the old faucet, clean the sink thoroughly with soap and water. Remove any old silicone sealant or debris from around the holes where the faucet was mounted.
Step 5: Install New Faucet
With the sink cleaned and prepared, it’s time to install your new faucet. Begin by placing a small amount of Teflon tape around the threads of each water supply line. This will help create a tight seal and prevent leaks.
Next, position your new faucet over the mounting holes in your sink. Make sure that it is centered and level before tightening the mounting nuts underneath with a basin wrench or pliers. Be careful not to over-tighten as this can damage the sink or cause leaks.
Step 6: Connect Water Supply Lines

After securing the new faucet in place, connect the water supply lines to their corresponding valves. Tighten each connection with an adjustable wrench, taking care not to overtighten and cause damage.
Step 7: Test for Leaks
Before turning on the water supply, double-check all connections for leaks. Turn on the water supply slowly and check for any leaks around your new faucet. If you notice any leaks, tighten the connections until they are snug.
Step 8: Apply Silicone Sealant
Once you have verified that there are no leaks, apply silicone sealant around the base of your new faucet. This will help create a watertight seal between the sink and faucet.
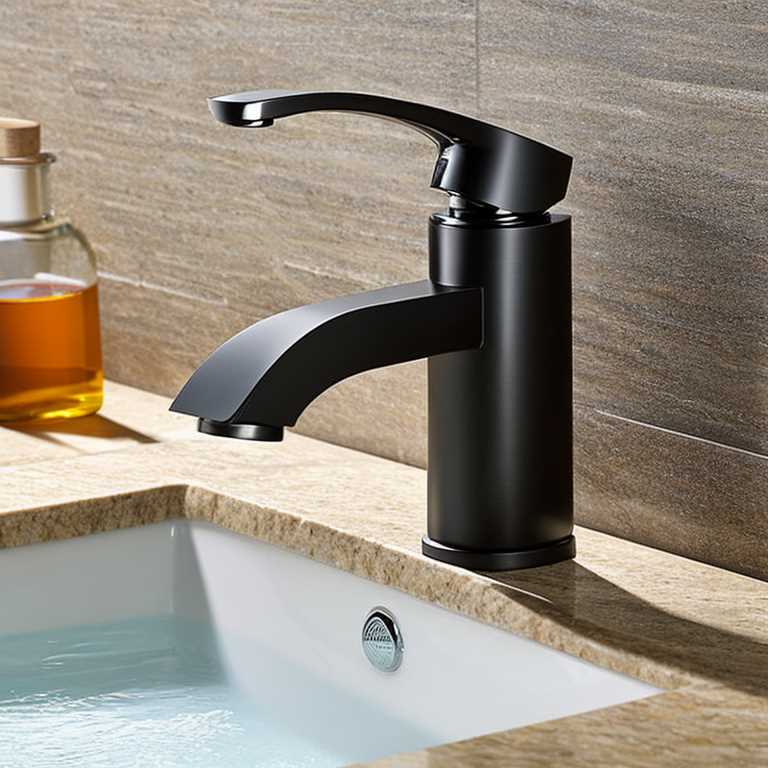
Step 9: Reattach Drain Stopper
If you removed your drain stopper during installation, reattach it by following its specific instructions.
Step 10: Clean Up
Clean up any debris or excess silicone sealant from around your new faucet. Wipe down your sink with a towel to remove any dirt or grime that may have accumulated during installation.
Replacing your bathroom faucet can seem daunting at first but with proper preparation and execution it can be done easily within an hour or two. By following these ten simple steps you can update your bathroom fixtures while avoiding costly plumbing bills from professional plumbers. Remember to take precautions while working with water and ensure that everything is properly tightened before turning on any water supplies so you don’t end up with leaks after installation. Happy DIY-ing!
