As we age, our balance and mobility tend to weaken, making us more prone to accidents in the bathroom. The bathroom is one of the most dangerous parts of our homes, especially for seniors and people with disabilities. Installing grab bars in your bathroom can help prevent falls and injuries. Grab bars are an essential safety feature in any bathroom, and they are easy to install if you follow the right steps.
Here’s how to install grab bars in a bathroom:
1. Choose the Right Grab Bar
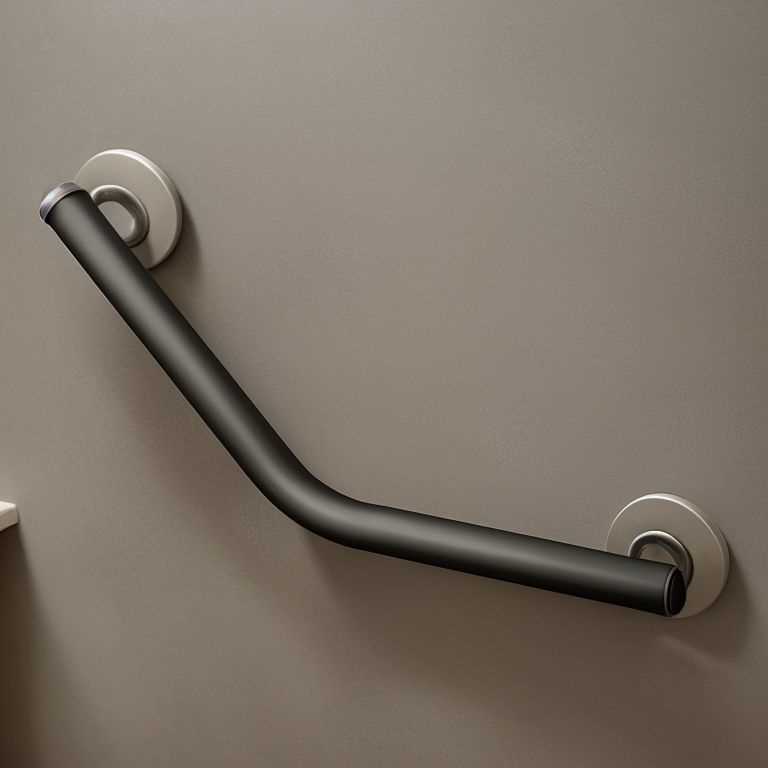
The first step is to choose the right grab bar for your bathroom. There are many types of grab bars available in the market, with different lengths, finishes, and shapes. Choose a grab bar that matches your bathroom’s decor and complements your bathroom’s fixtures.
The most common types of grab bars are straight, angled, and curved. Straight grab bars are ideal for mounting vertically or horizontally, while angled grab bars are designed to provide support at an angle. Curved grab bars are perfect for mounting near the shower or bathtub.
Make sure to choose a grab bar that can support your weight. Look for grab bars that can hold at least 250 pounds or more. Consider the length of the grab bar as well. A longer grab bar will provide more support than a shorter one.
2. Determine the Placement
Once you have chosen the right grab bar, the next step is to determine its placement. The location of the grab bar is crucial for its effectiveness in preventing falls and injuries.
Grab bars should be installed in areas where there is a risk of slipping or falling, such as near the toilet, shower, or bathtub. Make sure to install the grab bar at a height that is comfortable for you to reach. A good rule of thumb is to install the grab bar at a height between 33 and 36 inches from the floor.
3. Find the Studs
Before installing the grab bar, you need to find the studs in the wall. Grab bars need to be anchored securely to the wall studs to ensure they can support your weight.
Use a stud finder to locate the wall studs in the area where you want to install the grab bar. Mark the location of the studs with a pencil.
4. Mark the Drill Holes
Once you have found the studs, mark the drill holes for the grab bar. Hold the grab bar against the wall and use a pencil to mark where you need to drill the holes.
Make sure to mark the holes that align with the studs. If you can’t align all the holes with studs, use toggle bolts or other suitable anchors for the remaining holes.
5. Drill Holes
Now it’s time to drill holes for the grab bar. Use a drill bit that is slightly smaller than the screws that came with your grab bar.
Drill holes into the wall at the marked locations. Make sure to drill into the studs if possible. If not, use appropriate anchors for the remaining holes.
6. Install Grab Bar
Insert screws into the drilled holes and tighten them with a screwdriver. Make sure that the screws are tight and secure.
Attach the grab bar to the screws by sliding it over them and securing it in place with screws or bolts.
7. Test and Adjust
After installing the grab bar, it’s important to test its stability by pulling on it with your full weight. If it feels loose or wobbly, you may need to adjust it or tighten the screws.
Make sure that the grab bar is level and straight before using it.
Installing grab bars in your bathroom is an easy and effective way to prevent falls and injuries. By following these steps, you can install grab bars in your bathroom with ease and ensure that they are securely anchored to the wall.
Remember to choose a grab bar that matches your bathroom’s decor and complements your bathroom’s fixtures. Determine its placement carefully, find and mark the studs, drill holes, install the grab bar, test and adjust it, and enjoy your new safety feature in your bathroom!
