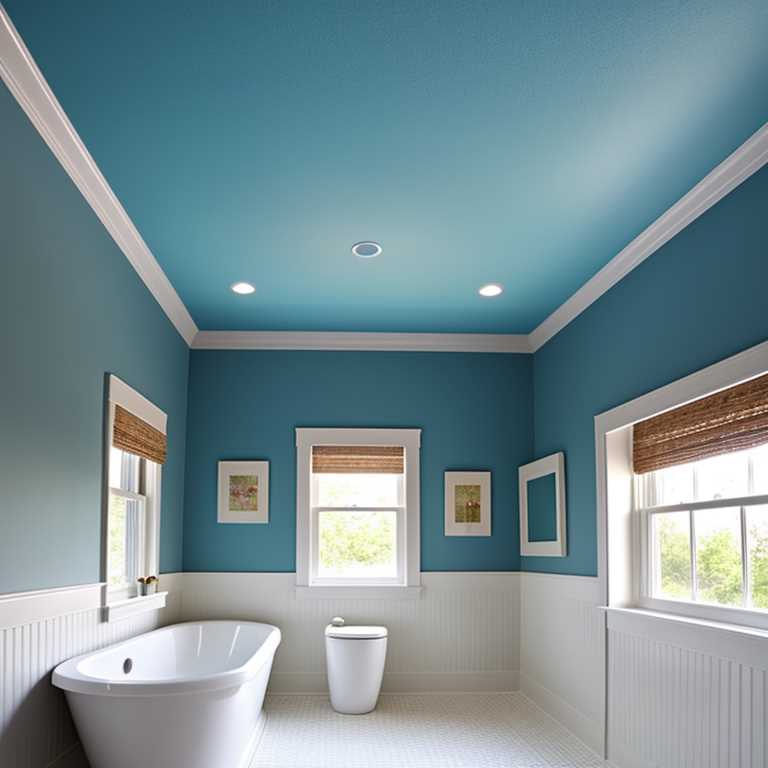
Painting a bathroom ceiling is a task that can be both rewarding and challenging. The bathroom is a place that undergoes a lot of wear and tear, and the ceiling is no exception. A fresh coat of paint can make a big difference in the appearance of your bathroom. However, painting a bathroom ceiling requires certain techniques and considerations that differ from other rooms in your home. In this article, we will guide you through the process of painting a bathroom ceiling.
1. Choose the Right Paint
The first step in painting a bathroom ceiling is choosing the right paint. Bathrooms are high-moisture areas, so it is important to use a paint that is resistant to mildew and mold. Look for paints that are specifically designed for bathrooms and have antimicrobial properties. These paints are formulated to resist moisture and prevent the growth of mold and mildew.
2. Prepare the Ceiling
Before you start painting, you need to prepare the ceiling. Start by removing any fixtures, such as light fixtures or vents, from the ceiling. Cover the fixtures with plastic or painter’s tape to protect them from paint splatters.
Next, clean the ceiling thoroughly. Use a mild detergent and water to remove any dirt, grime, or mildew. Allow the ceiling to dry completely before moving on to the next step.
If there are any cracks, holes, or imperfections in the ceiling, you will need to repair them before painting. Use spackling compound to fill any holes or cracks, and sand the surface smooth once the compound has dried. If there are any water stains on the ceiling, use a stain-blocking primer to cover them.
3. Prime the Ceiling
Once the ceiling is clean and dry, it’s time to prime it. Priming the ceiling will help the paint adhere better and provide a more even finish. Use a primer that is specifically designed for bathrooms and has antimicrobial properties.
Apply the primer using a roller or paintbrush, working in sections of about 3 feet by 3 feet. Use long strokes to apply the primer, working in one direction. Once you have covered the entire ceiling with primer, allow it to dry completely.
4. Paint the Ceiling
Now it’s time to paint the ceiling. Use a roller or paintbrush to apply the paint, working in sections of about 3 feet by 3 feet. Use long strokes to apply the paint, working in one direction.
Be sure to apply a thin coat of paint, as thick coats can lead to drips and uneven surfaces. Allow each coat of paint to dry completely before applying another coat.
You may need to apply two or three coats of paint to achieve the desired finish. Be sure to allow each coat of paint to dry completely before applying another coat.
5. Clean Up
Once you have finished painting the bathroom ceiling, it’s time to clean up. Remove any plastic or painter’s tape from fixtures that you covered earlier.
Clean your brushes or rollers thoroughly with soap and water or a solvent if you used oil-based paint. Store your brushes or rollers in a dry place until you need them again.
Painting a bathroom ceiling can be a challenging task, but with the right tools and techniques, it can also be very rewarding. Be sure to choose a paint that is specifically designed for bathrooms and has antimicrobial properties.

Prepare the ceiling thoroughly by cleaning it and repairing any imperfections. Prime the ceiling before painting to help the paint adhere better and provide a more even finish.
When painting the ceiling, work in sections of about 3 feet by 3 feet and apply thin coats of paint. Allow each coat of paint to dry completely before applying another coat.
Clean up your tools and materials once you have finished painting the ceiling. With these tips in mind, you can successfully paint your bathroom ceiling and enjoy a fresh new look for your bathroom.
