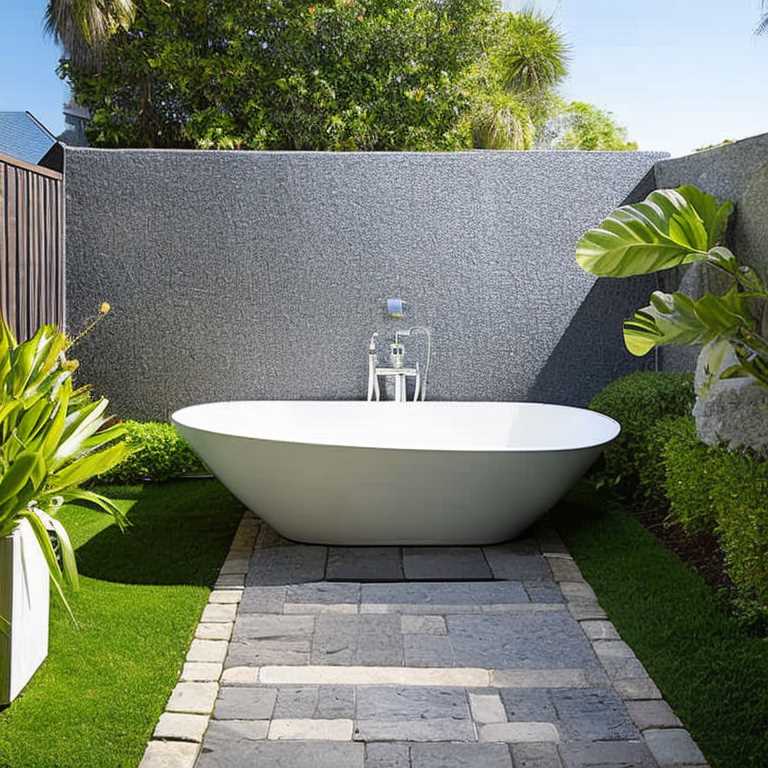
Building an outdoor bathroom can be a fantastic addition to your home, especially if you love spending time outdoors. Whether you have a pool, hot tub, or outdoor kitchen, an outdoor bathroom can make all the difference in terms of convenience and comfort. However, it’s important to plan everything out carefully to ensure that you end up with a functional and attractive space that meets your needs. Here’s a step-by-step guide on how to build an outdoor bathroom.
1. Choose a location
The first step in building an outdoor bathroom is to choose the right location. Ideally, it should be close to your pool or hot tub, but not so close that water from these features can splash into the bathroom. You’ll also want to make sure that the location is private and shielded from view by fencing, shrubs or trees.
2. Determine the size
Once you’ve chosen a location, it’s time to determine the size of your outdoor bathroom. Consider your needs and how many people will be using the space at any given time. You’ll want to have enough room for a toilet, sink, and shower, as well as any storage you might need.
3. Plan the layout
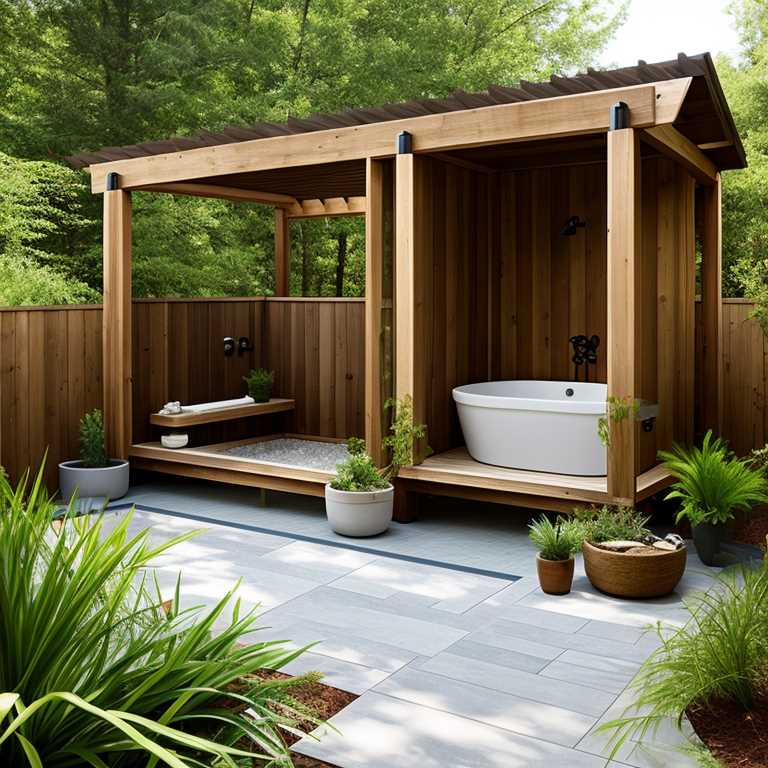
With the size determined, you can now start planning the layout of your outdoor bathroom. Consider where each fixture will be placed and how they will be arranged. It’s important to ensure that there is enough space between each fixture and that everything is easily accessible.
4. Install plumbing
One of the most important steps in building an outdoor bathroom is installing plumbing. Since you’ll be dealing with outdoor conditions, it’s essential that you use weather-resistant materials such as PVC pipes and brass fittings. You’ll also need to plan for drainage and make sure that water can flow away from the bathroom.
5. Build the structure
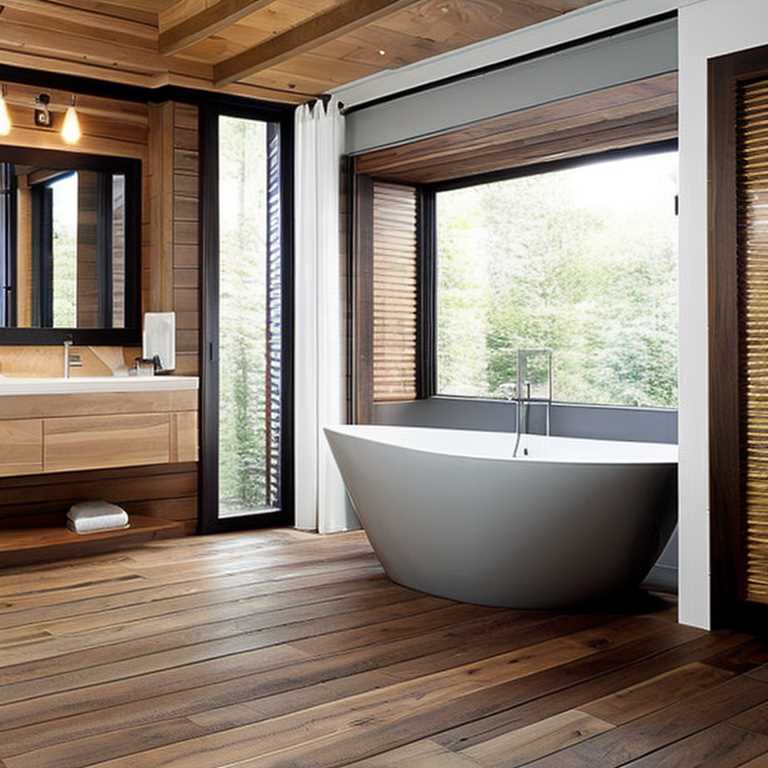
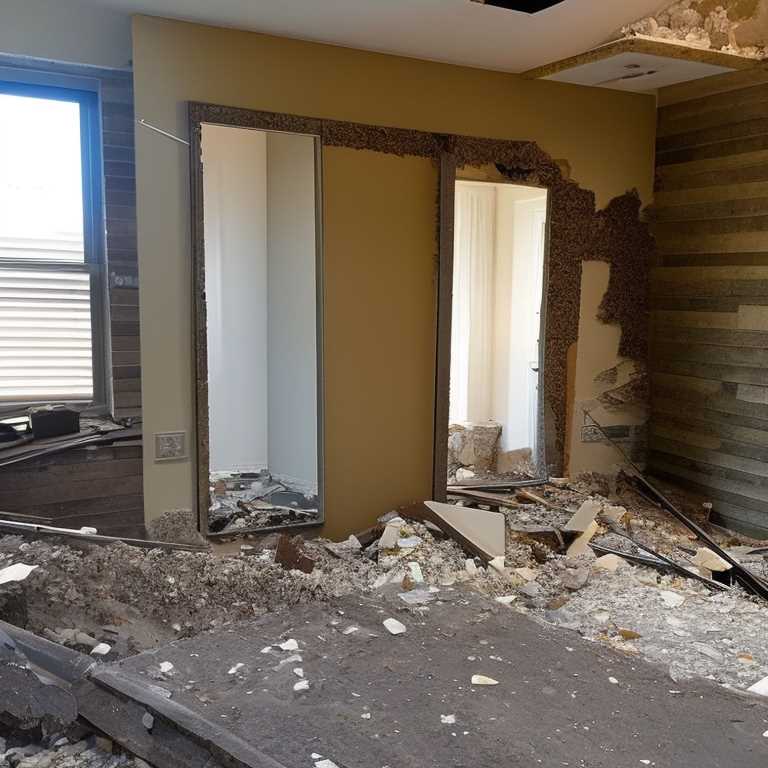
With the plumbing in place, it’s time to start building the structure of your outdoor bathroom. You can use a variety of materials such as brick, stone, or wood to create walls and a roof. Make sure that everything is securely fastened and that the structure is stable.
6. Install fixtures
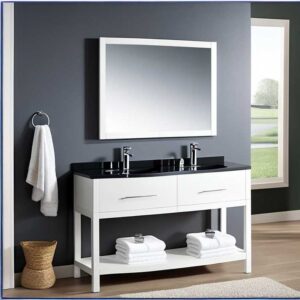
Now that the structure is complete, you can start installing fixtures such as a toilet, sink, and shower. Make sure that everything is level and properly connected to the plumbing system. You’ll also want to install lighting fixtures and electrical outlets if necessary.
7. Add finishing touches
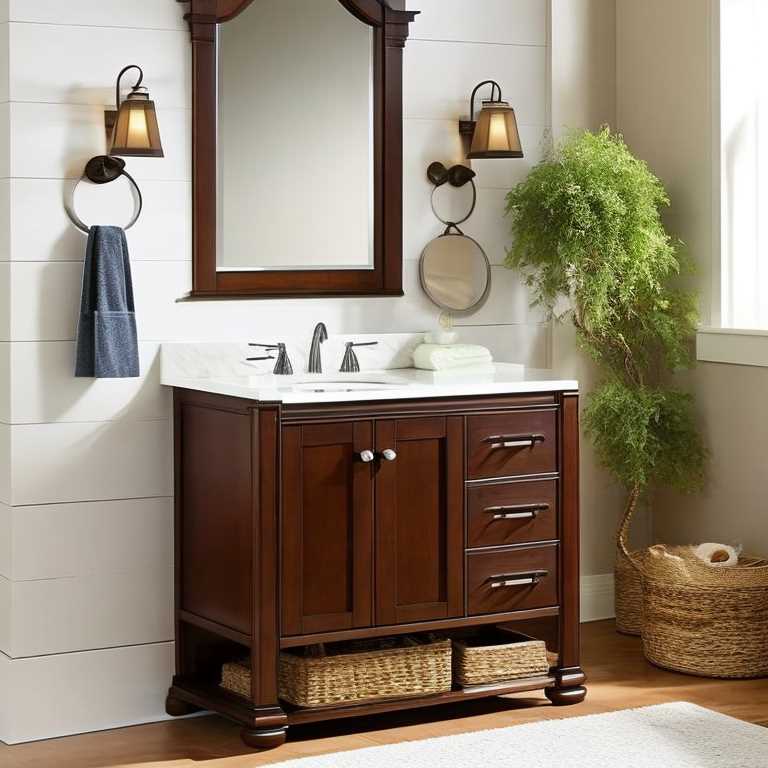
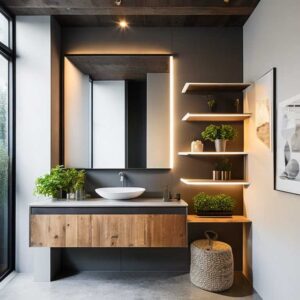
It’s time to add finishing touches to your outdoor bathroom. This can include things like painting or staining the walls and adding decorative elements such as plants or artwork. You might also want to add some storage solutions such as shelves or cabinets to keep towels and other essentials organized.
Tips for building an outdoor bathroom
– Choose weather-resistant materials such as PVC pipes and brass fittings for plumbing.
– Make sure that water can flow away from the bathroom to prevent water damage.
– Consider using solar-powered lighting fixtures to save energy.
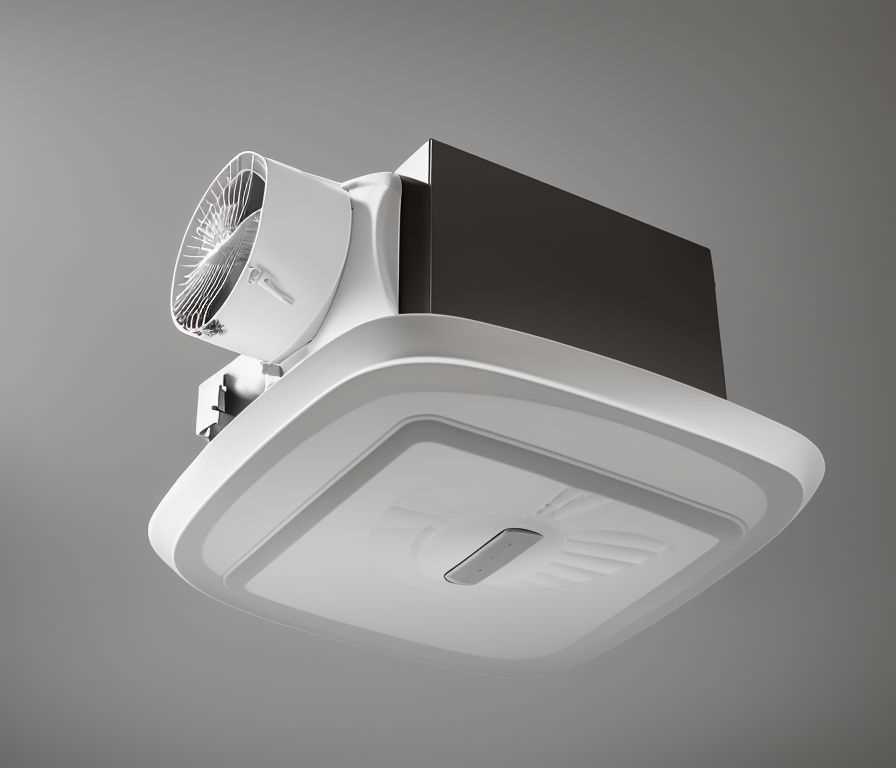
– Install a ceiling fan to keep the space cool in hot weather.
– Add privacy screens or curtains for additional privacy.
Building an outdoor bathroom can be a fun and rewarding project that adds value to your home. With careful planning and attention to detail, you can create a functional and attractive space that meets your needs. Remember to choose the right location, determine the size, plan the layout, install plumbing, build the structure, install fixtures, and add finishing touches. With these steps in mind, you’ll be well on your way to enjoying your very own outdoor oasis.
