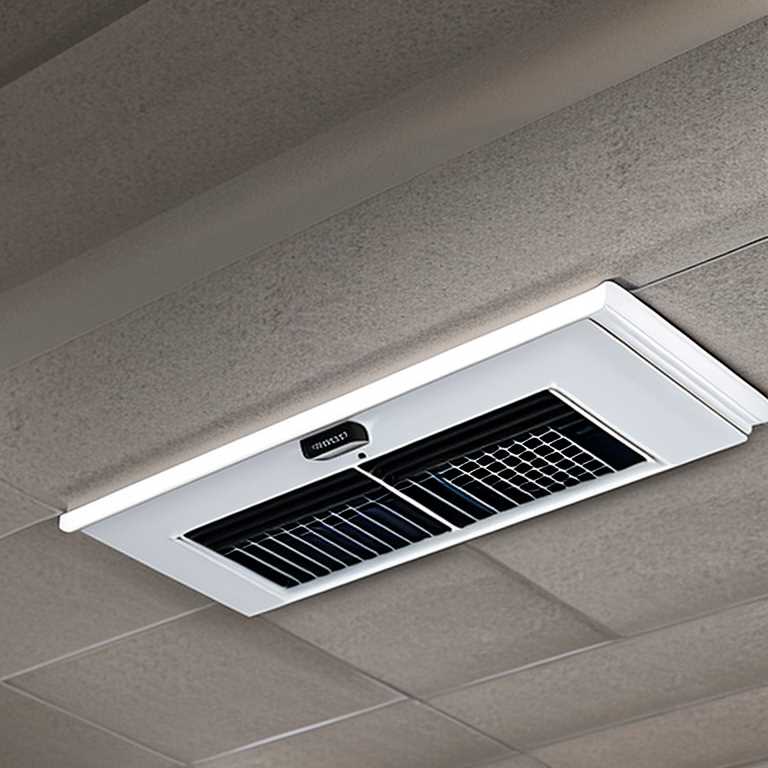
Bathroom exhaust fans are essential in keeping the air in your bathroom fresh and free from moisture. They help prevent mold and mildew from forming and also remove unpleasant odors. Proper installation of these fans is crucial for optimal performance. In this article, we will guide you on how to wire a bathroom exhaust fan.
Before you start wiring, make sure you have all the necessary tools and materials. You will need a screwdriver, wire cutters, wire strippers, a voltage tester, electrical tape, cable staples, and a cable clamp. You will also need a 14-2 NM cable with ground and a junction box.
Step 1: Turn Off the Power
The first step is to turn off the power to the bathroom circuit. This is important to prevent electric shock. Locate the circuit breaker or fuse that controls the bathroom power and switch it off.
Step 2: Choose the Location
Choose the location where you want to install the fan. It should be near the shower or bathtub to effectively remove moisture. Also, make sure there is an accessible electrical source nearby.
Step 3: Install the Junction Box
Install a junction box near the fan’s location. Use screws to attach it to the ceiling or wall. Make sure it is securely attached.
Step 4: Run the Cable
Run the 14-2 NM cable with ground from the junction box to the fan’s location. Use cable staples to secure it in place. Make sure to leave enough slack at both ends.
Step 5: Install the Cable Clamp
Install a cable clamp on the junction box to protect the cable from damage. Use a screwdriver to tighten it securely.
Step 6: Strip the Wires
Strip about ¾ inch of insulation from the end of each wire in the cable. You should have three wires – black, white, and green (or bare copper).
Step 7: Connect the Wires
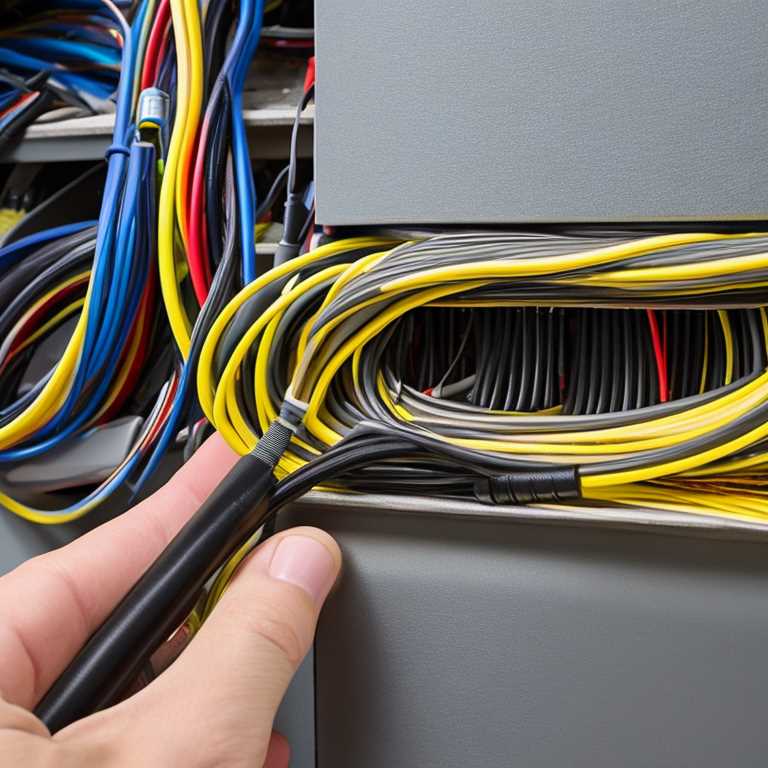
Connect the black wire from the cable to the black wire from the fan using a wire nut. Do the same for the white wires and green (or bare copper) wires.
Step 8: Install the Fan
Install the fan according to the manufacturer’s instructions. Use screws to attach it to the ceiling or wall. Make sure it is securely attached.
Step 9: Connect the Ground Wire
Connect the green (or bare copper) wire from the cable to the green (or bare copper) wire from the fan using a wire nut. Make sure it is securely attached.
Step 10: Test the Wiring
Turn on the power to the bathroom circuit and test the wiring using a voltage tester. Make sure there is power at the wires before proceeding.
Step 11: Secure the Wiring
Secure the wiring inside the junction box using cable clamps or other approved methods. Make sure there are no loose wires or exposed conductors.
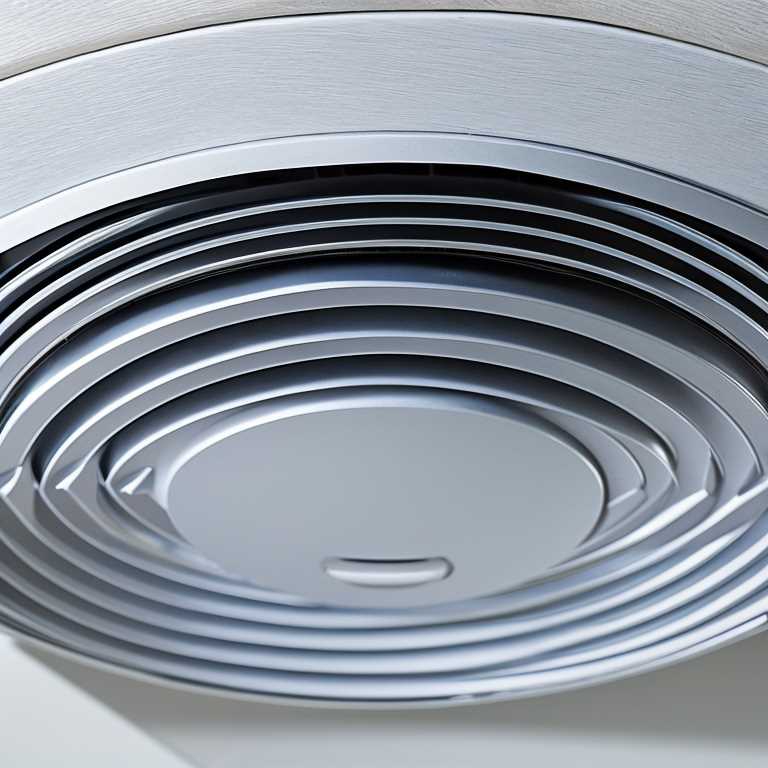
Step 12: Install the Cover Plate
Install the cover plate on the fan according to the manufacturer’s instructions.
Congratulations! You have successfully wired your bathroom exhaust fan.
It is important to note that bathroom exhaust fans should be vented outside to ensure proper ventilation. Make sure to install a vent duct that is properly sized for your fan’s CFM rating. Also, make sure to follow local building codes and regulations when installing electrical wiring.
Installing a bathroom exhaust fan is a simple and straightforward process that can be done by anyone with basic electrical knowledge. By following these steps, you can ensure that your fan is properly wired for optimal performance and safety. Remember to always turn off the power before working with electrical wiring and to follow all safety precautions.
