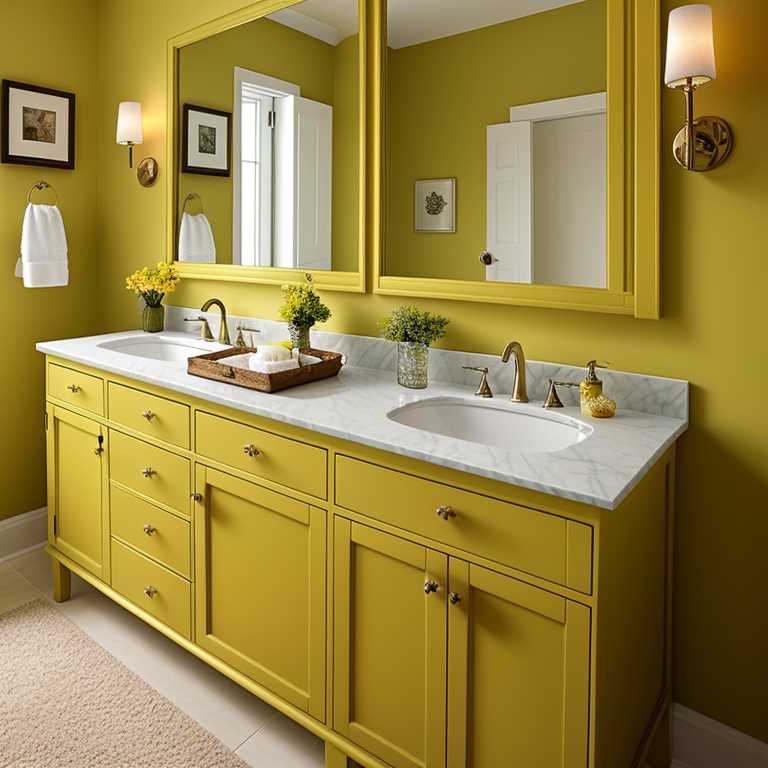
A bathroom vanity is an essential piece of furniture that adds character and functionality to your bathroom. However, over time, it may lose its charm and appeal due to wear and tear, scratches, or stains. In such cases, painting the vanity can give it a fresh, new look without replacing it altogether. In this article, we’ll go through the steps and tips to paint a bathroom vanity.
Step 1: Prepare the Space
Before you start painting your bathroom vanity, make sure you prepare the space by removing all the items from it, including the sink, hardware, and drawers. Then, cover the floors and walls with drop cloths or newspaper to prevent paint splatters.

Step 2: Clean and Sand the Vanity
The next step is to clean the vanity thoroughly to remove any dirt, grease or grime. Use a mild soap solution and a scrub brush or an abrasive sponge to scrub it down. Once cleaned, rinse it with water and let it dry completely.
Now, sand the vanity with a fine grit sandpaper to roughen up the surface. This will help the primer and paint adhere better. After sanding, vacuum and wipe down the vanity with a damp cloth to remove any dust.
Step 3: Prime the Vanity
To ensure that the paint adheres well and lasts longer, it’s essential to prime the vanity before painting. Apply a thin coat of primer on the vanity using a brush or a roller. Make sure to cover all the surfaces evenly, including the edges and corners. Let the primer dry completely before applying the paint.
Step 4: Paint the Vanity
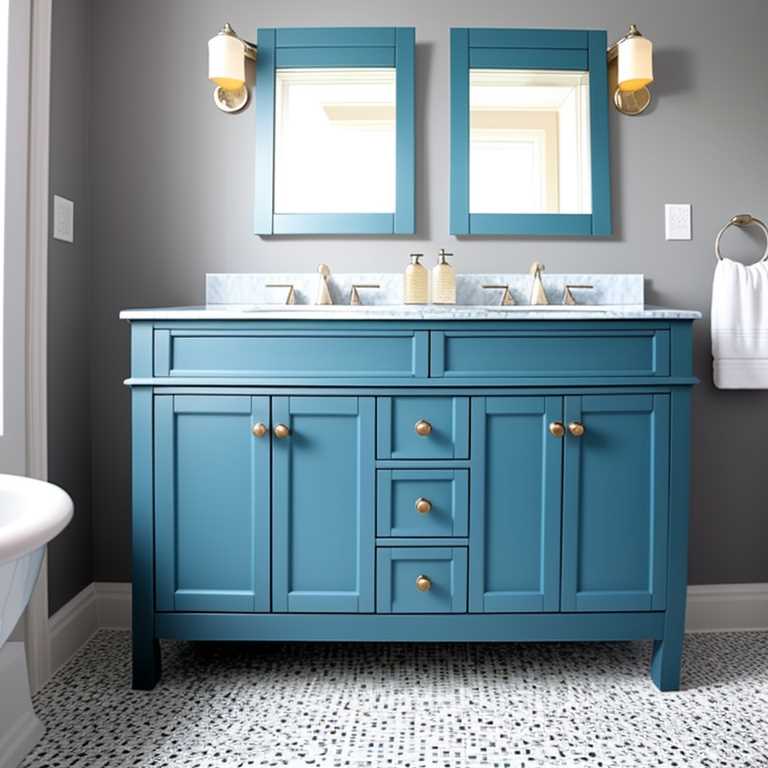
Now, it’s time to paint the vanity. Select a paint color that complements your bathroom decor and style. You can use either a brush or a roller to apply the paint. Start by painting the edges and corners of the vanity first and then move on to the larger surfaces.
Make sure to apply thin coats of paint, allowing each coat to dry completely before applying another. This will prevent drips and ensure a smooth finish. Once you’ve completed painting, let the vanity dry for at least 24 hours before reinstalling the sink and hardware.
Step 5: Seal the Vanity
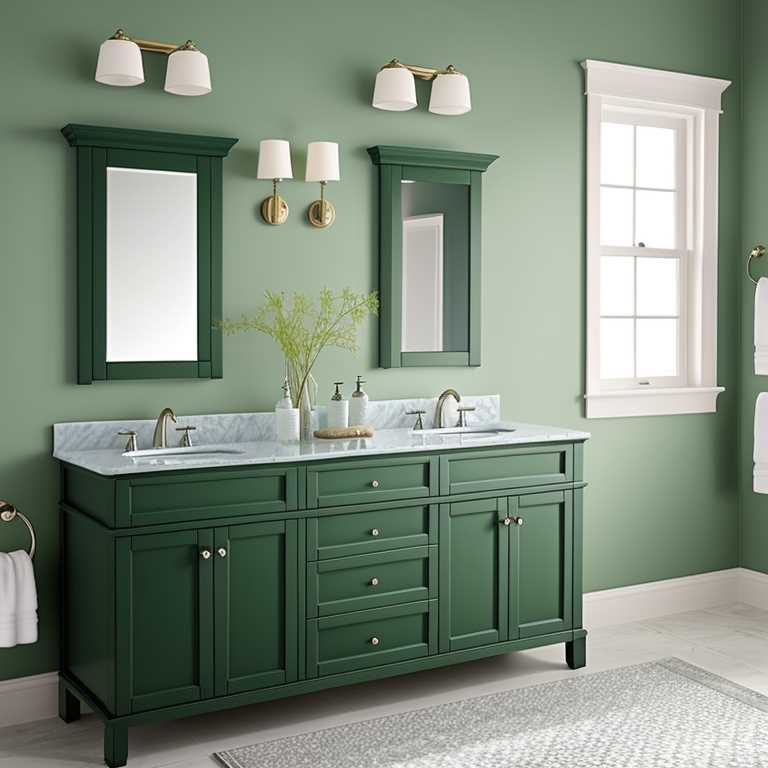
To protect the paint from moisture and stains, it’s important to seal the vanity with a clear topcoat. Apply a thin coat of polyurethane or varnish using a brush or a roller. Make sure to cover all surfaces evenly and let it dry completely before reattaching the hardware.
Tips for Painting a Bathroom Vanity
1. Choose high-quality paint and primer that are specifically designed for bathroom fixtures. These paints are moisture-resistant and durable, which makes them ideal for bathroom vanities.
2. For a smooth finish, use a foam roller instead of a brush. Foam rollers leave fewer brush marks and provide an even coat of paint.
3. If your bathroom vanity has intricate details or carvings, use a small brush to paint those areas.
4. If you’re painting over an existing painted surface, it’s important to sand it thoroughly to remove any loose or flaking paint.
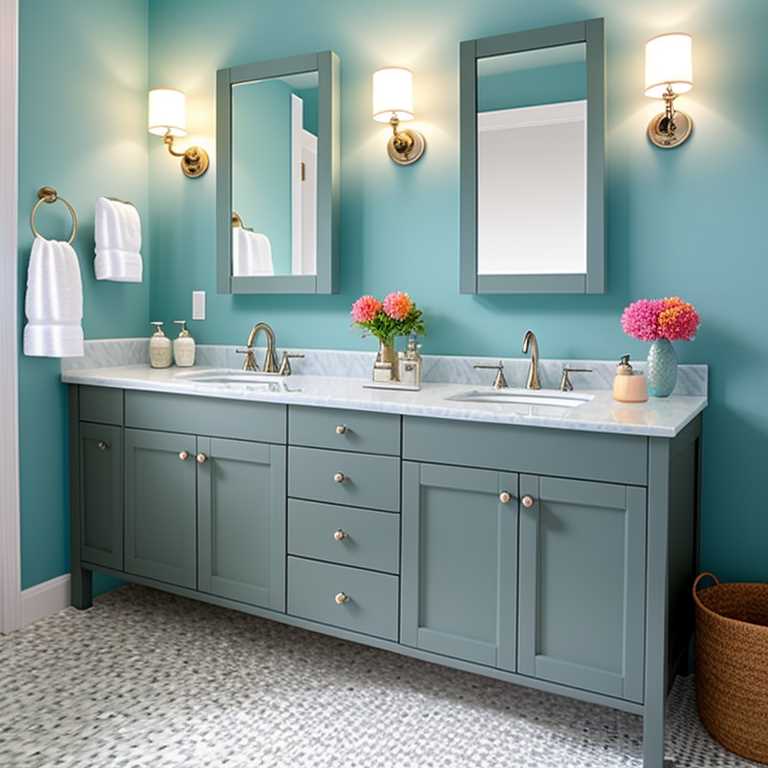
5. When painting the doors and drawers of the vanity, remove them first and paint them separately. This will make it easier to reach all surfaces and prevent drips.
6. To prevent paint from getting on your hands while painting, wear disposable gloves.
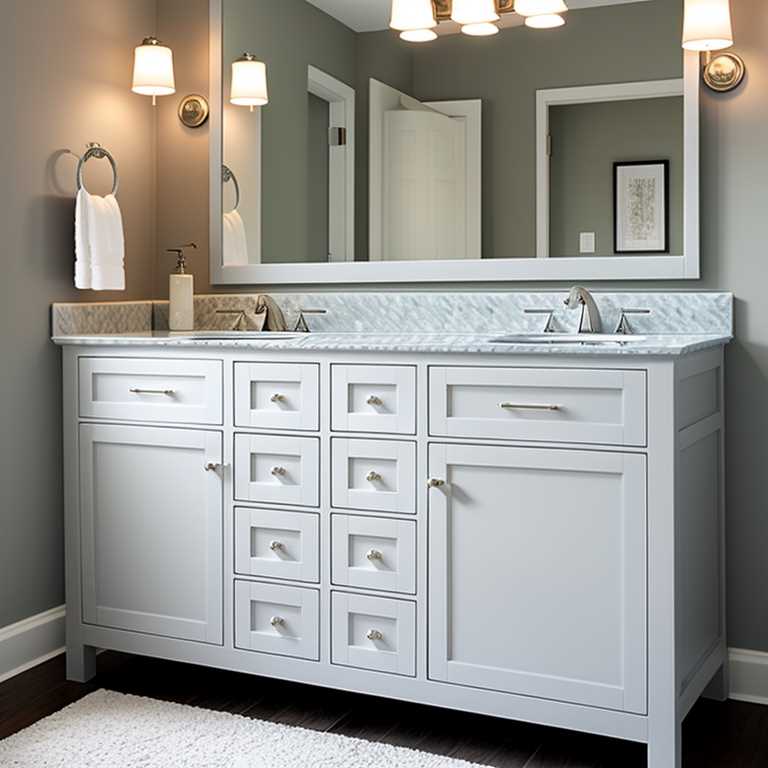
7. Allow ample time for the paint and primer to dry between coats.
Painting your bathroom vanity is an easy and affordable way to give your bathroom a fresh new look without breaking the bank. With proper preparation, high-quality materials, and attention to detail, you can achieve a smooth and flawless finish that will last for years to come. By following these steps and tips, you’ll be able to transform your old bathroom vanity into a beautiful piece of furniture that adds charm and character to your bathroom.
