Replacing a bathroom countertop can be a daunting task, but with the right tools and some patience, it can be done easily. The bathroom is an essential part of the house, and the countertop is one of the most used fixtures. It is important to maintain it and replace it when needed. Here is a step-by-step guide on how to replace a bathroom countertop.
Step 1: Prepare the Area
Before starting the process of replacing the bathroom countertop, you need to prepare the area. Remove all items from the countertop, including soap dispensers, toothbrush holders, and any other accessories. Turn off the water supply to the sink and disconnect the plumbing. You will also need to remove the sink and faucet from the old countertop.
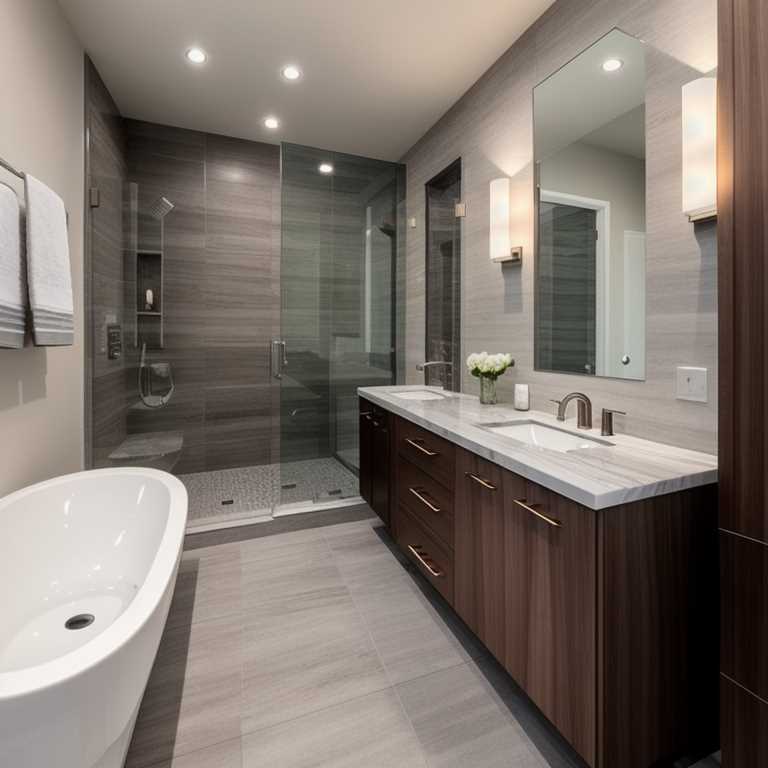
Step 2: Measure the Space
Measure the space where the new countertop will be placed. Take accurate measurements of the length, width, and depth of the countertop. When choosing a new countertop, make sure that it fits perfectly into the space. It is best to take these measurements with you to the store to ensure that you purchase a countertop that is the right size.
Step 3: Choose a New Countertop
Choose a new countertop that suits your style and budget. The most popular materials for bathroom countertops are granite, marble, quartz, and laminate. These materials come in different colors, patterns, and finishes. Each material has its pros and cons, so it is important to choose one that suits your needs.
Granite is a popular choice because it is durable and comes in many colors and patterns. Marble is also durable but requires more maintenance than granite. Quartz is low maintenance and comes in many colors and finishes. Laminate is affordable and comes in many colors and patterns but is not as durable as other materials.
Step 4: Install the New Countertop
Once you have chosen a new countertop, it is time to install it. Place the new countertop onto the vanity and make sure it fits perfectly. If it needs to be trimmed, use a circular saw to cut it to size. Once you have the right size, apply a bead of silicone adhesive along the top edge of the vanity.

Place the new countertop onto the vanity and press down firmly to ensure that it adheres to the adhesive. Wipe off any excess adhesive with a damp cloth. Allow the adhesive to dry for at least 24 hours before installing the sink and faucet.
Step 5: Install the Sink and Faucet
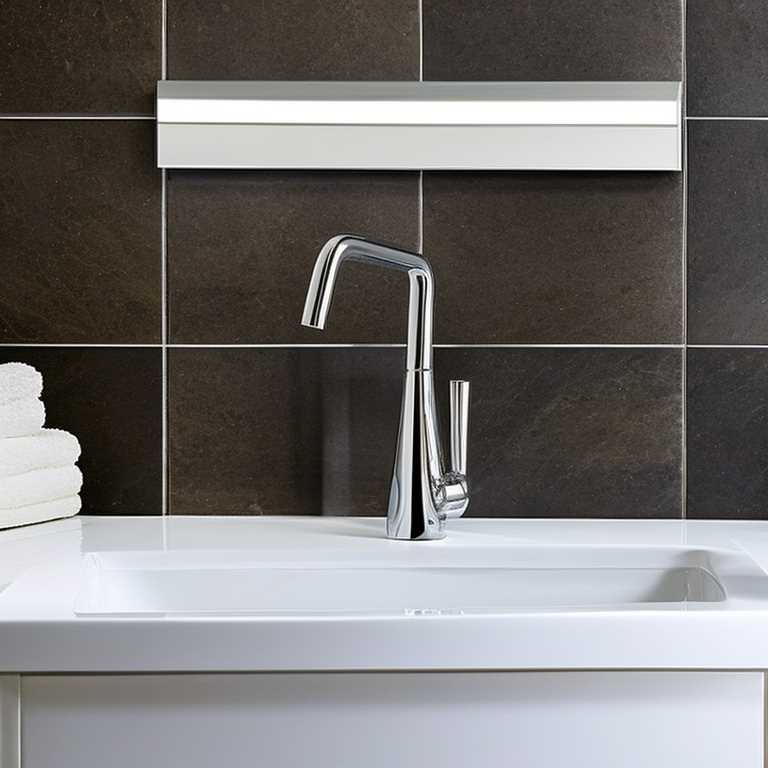
Install the sink and faucet onto the new countertop. Apply a thin bead of silicone adhesive around the bottom edge of the sink and position it onto the hole in the countertop. Tighten the mounting clips under the sink with a screwdriver to secure it in place.
Connect the water supply lines to the faucet and turn on the water supply. Check for leaks and tighten any connections that are loose.

Step 6: Finish Up
Once you have installed the sink and faucet, you can finish up by installing any other accessories you removed earlier. This includes soap dispensers, toothbrush holders, and any other accessories.
Clean up any debris from the installation process and dispose of it properly. You can now enjoy your new bathroom countertop.
Replacing a bathroom countertop may seem like a daunting task, but with these steps, it can be done easily. Remember to measure accurately, choose a countertop that suits your style and budget, install it properly, and finish up by installing any accessories you removed earlier. With these steps, you will have a new bathroom countertop that will add value to your home and make your bathroom look great.
