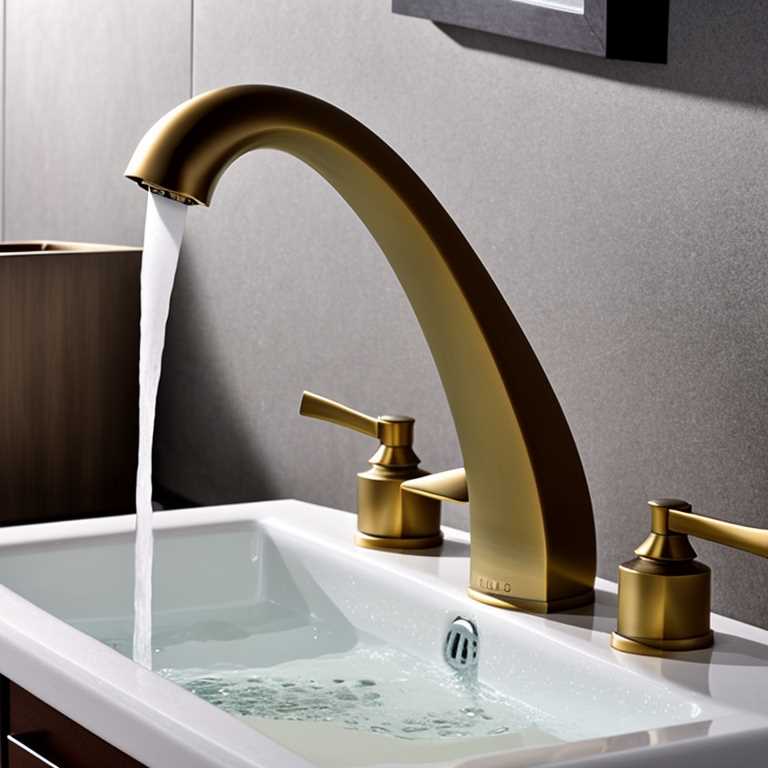
A dripping bathroom faucet can be a nuisance, and it can also lead to wasted water and an increase in your water bill. Fortunately, fixing a dripping bathroom faucet is often a simple task that can be completed with just a few basic tools and some basic knowledge. In this article, we will walk you through the steps to fix a dripping bathroom faucet.
Step 1: Turn off the Water Supply
Before you begin any work on your bathroom faucet, it is important to turn off the water supply. You can usually find the water shut-off valve under the sink. Turn the valve clockwise to turn off the water supply. If you cannot find the shut-off valve, turn off the main water supply to your home.
Step 2: Remove the Faucet Handle
Once you have turned off the water supply, you can begin removing the faucet handle. The method for removing the handle will vary depending on the type of faucet you have. Most faucets will have a decorative cap that covers the screw that holds the handle in place. Use a flathead screwdriver to gently pry off the cap.
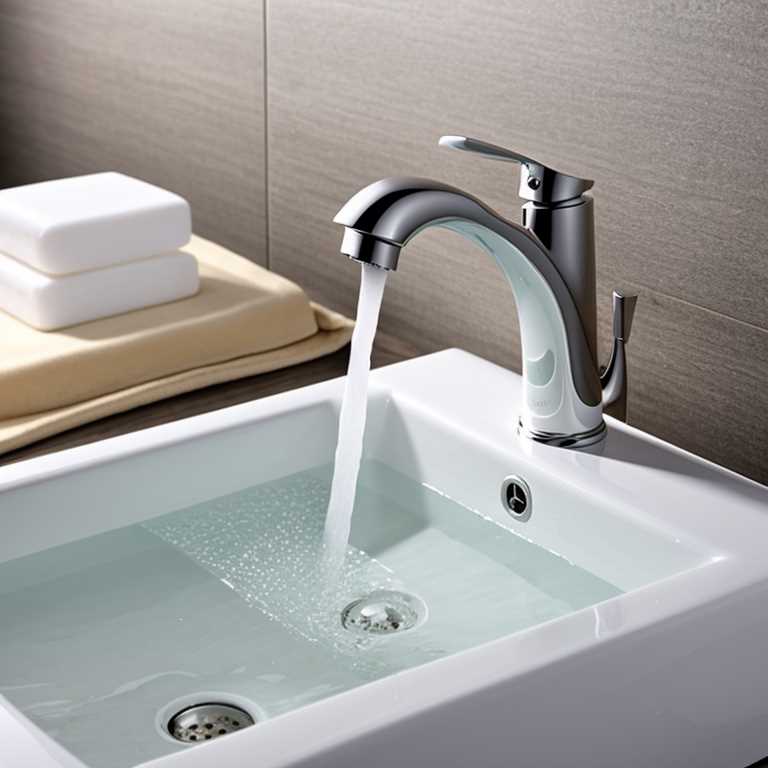
Next, use a screwdriver to remove the screw that holds the handle in place. Once the screw is removed, you should be able to lift the handle off of the faucet. If your faucet has a lever handle, you may need to use an Allen wrench to remove the set screw that holds the handle in place.
Step 3: Inspect the Faucet Components
With the handle removed, you should be able to see the faucet components. Take a moment to inspect the components for any signs of damage or wear. Look for cracks, corrosion, or mineral deposits that may be causing the faucet to drip.
Step 4: Replace the O-Ring
The most common cause of a dripping bathroom faucet is a worn or damaged O-ring. The O-ring is a small rubber ring that sits between the spout and the base of the faucet. Over time, this ring can become worn or damaged, and it will no longer create a tight seal.
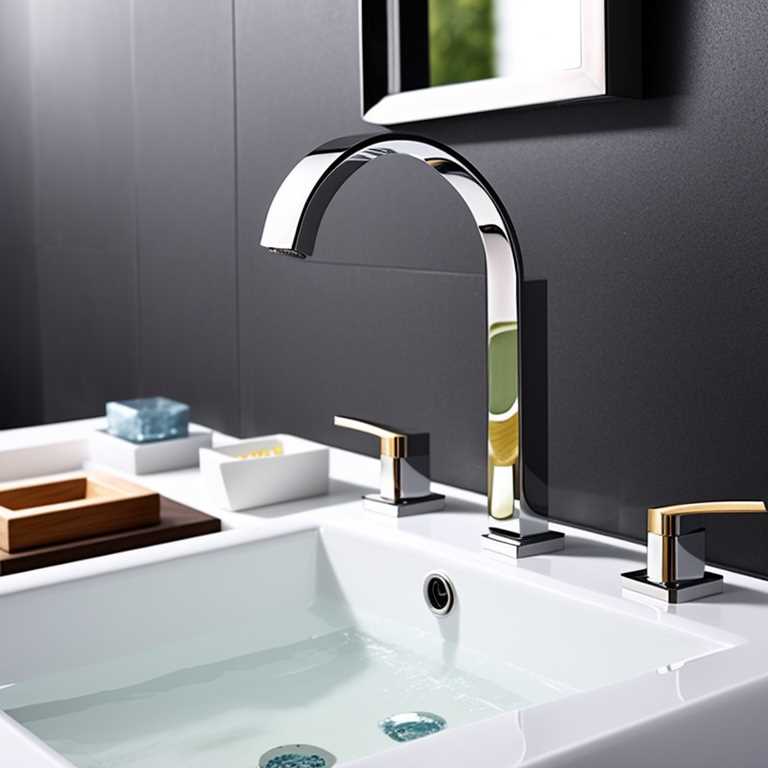
To replace the O-ring, use a pair of pliers to remove the spout from the base of the faucet. Once the spout is removed, you should be able to see the O-ring. Carefully remove the old O-ring and replace it with a new one. Reassemble the faucet components in reverse order.
Step 5: Replace the Washer
If replacing the O-ring did not solve the problem, there may be an issue with the washer. The washer is a small rubber disc that sits at the bottom of the valve stem. Like the O-ring, this washer can become worn or damaged over time, leading to a leaking faucet.
To replace the washer, you will need to remove the valve stem from the faucet body. Use an adjustable wrench to unscrew the packing nut that holds the valve stem in place. Once the packing nut is removed, you should be able to pull out the valve stem.
Inspect the washer for any signs of damage or wear. If it is damaged, replace it with a new washer. Reassemble the faucet components in reverse order.
Step 6: Check for Loose Connections
If neither replacing the O-ring nor replacing the washer solved the problem, there may be loose connections causing your faucet to drip. Check all connections and tighten any loose ones with an adjustable wrench.
Step 7: Reassemble and Test
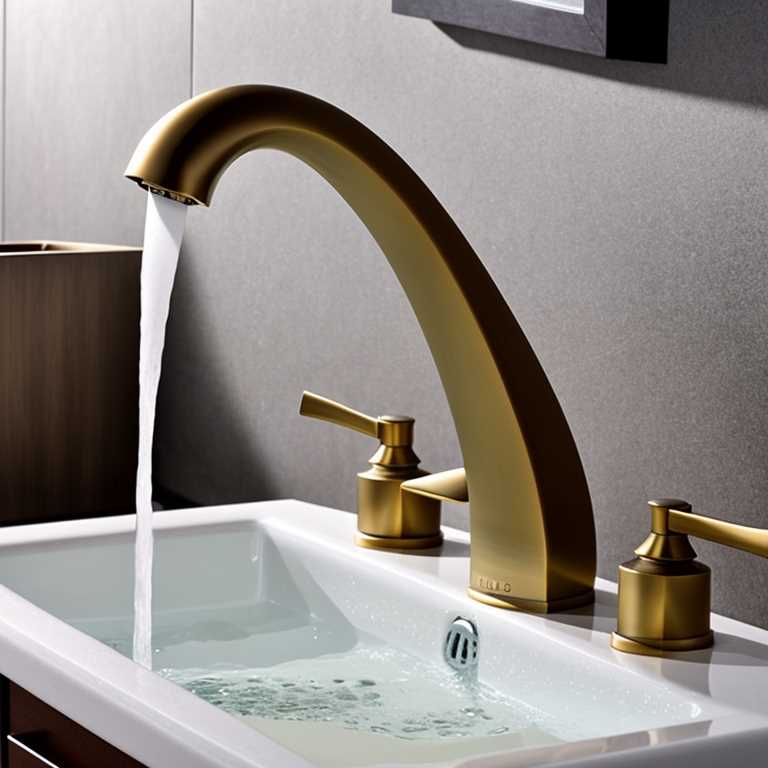
Once you have completed all necessary repairs, reassemble your faucet and turn on the water supply. Turn on your faucet and check for any leaks or drips. If there are no leaks or drips, then congratulations! You have successfully fixed your dripping bathroom faucet.
Fixing a dripping bathroom faucet can be a simple task that can save you money on your water bill and prevent water waste. Remember to turn off the water supply before making any repairs, inspect all components for damage or wear, and replace any worn or damaged parts as needed. With these simple steps, you can fix your dripping bathroom faucet like a pro.
