Wiring a bathroom fan and light on one switch is a common project for homeowners who want to save space and simplify their bathroom’s electrical layout. This task requires basic electrical knowledge and some tools, but with a few easy steps, you can complete the job in no time. In this article, we will guide you through the process of wiring a bathroom fan and light on one switch, providing you with all the necessary information and tips to complete the job safely and efficiently.
Step 1: Turn Off the Power
Before starting any electrical work, it is crucial to turn off the power. Locate the circuit breaker panel and turn off the circuit that powers the bathroom’s electrical system. To ensure that no one turns on the power while you are working, place a piece of tape over the circuit breaker switch.
Step 2: Install the Fan and Light
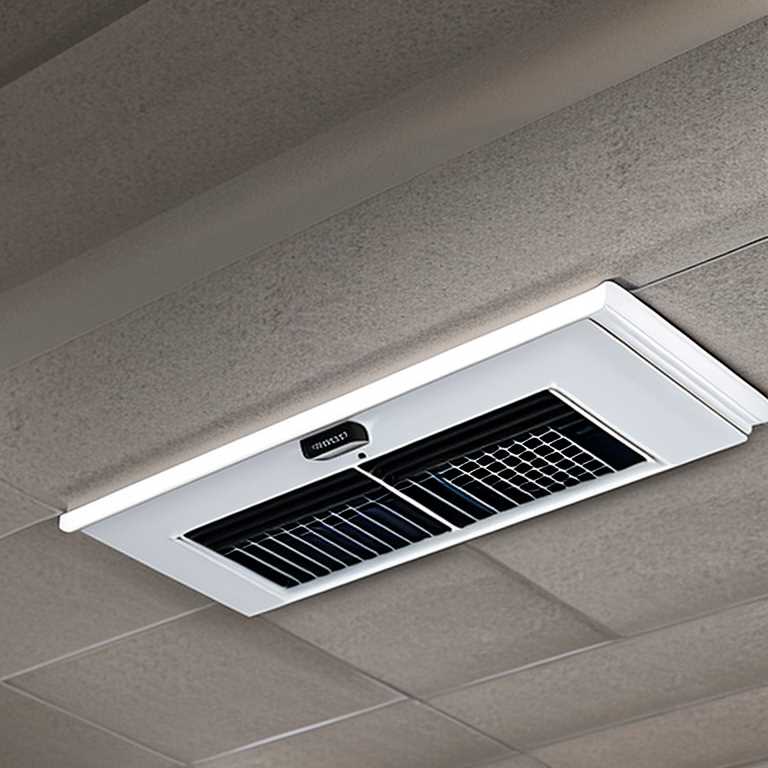
The first step in wiring a bathroom fan and light on one switch is to install the fan and light fixtures. Follow the manufacturer’s instructions for installing the fixtures, making sure to secure them properly to the ceiling or wall. Connect the wiring from the fan and light to the junction box in the ceiling or wall, using wire connectors to secure the connections.
Step 3: Run an Electrical Cable If Needed
After installing the fan and light fixtures, you need to run an electrical cable from the switch box to the junction box. Drill a hole in the wall or ceiling where you want to mount the switch box, and run a cable from the switch box to the junction box. Make sure to leave enough slack in the cable to connect it to the switch and junction box.
Step 4: Connect the Cable to the Junction Box If Needed
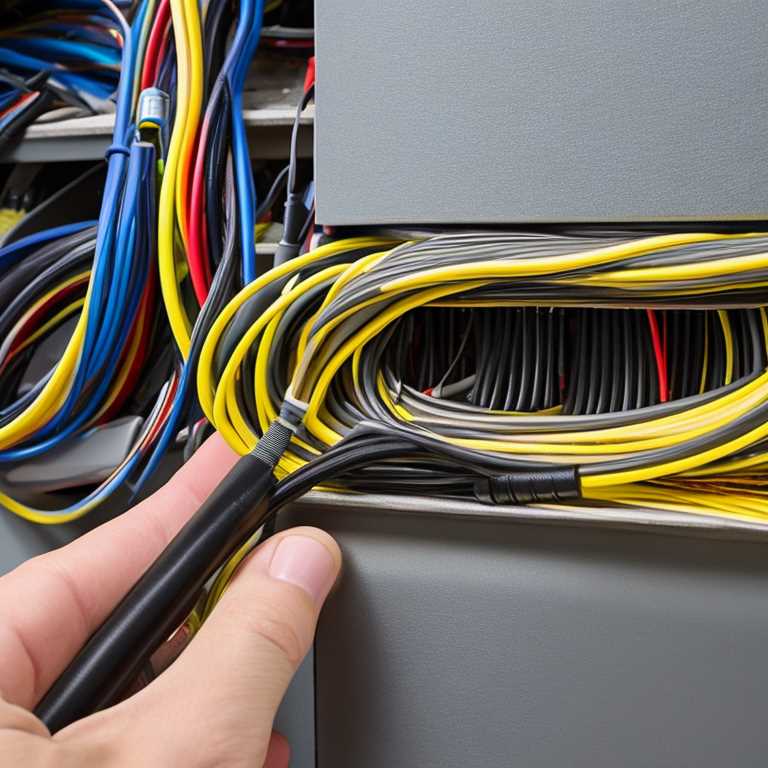
Once you have run the cable from the switch box to the junction box, remove the cover from the junction box and connect the cable to the existing wiring. Use wire connectors to secure the connections, making sure that each wire is connected to its corresponding color.
Step 5: Install the Switch
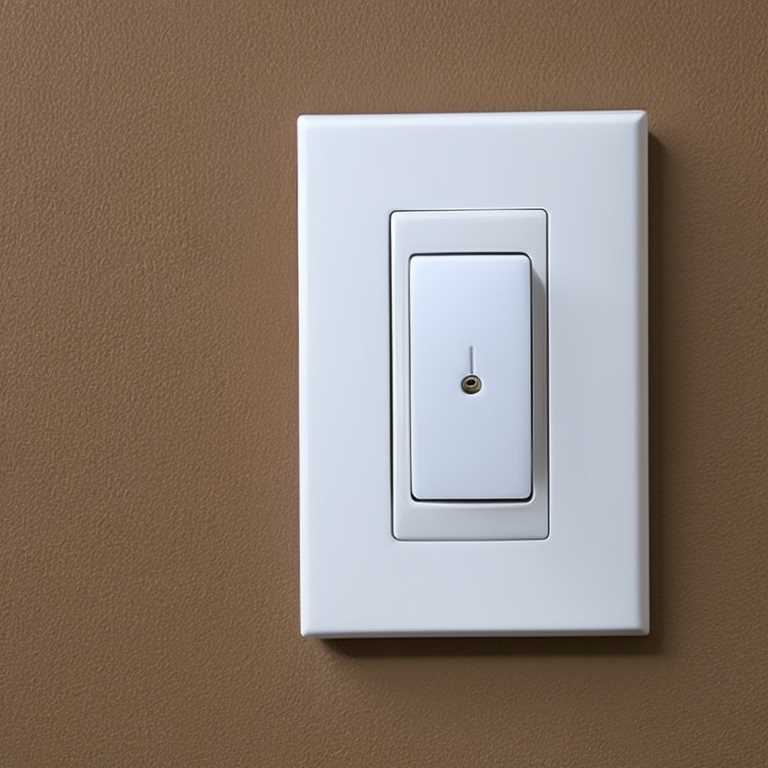
Next, install the switch in the switch box. Connect the black wire from the cable to one of the switch terminals, and connect the white wire from the cable to the other terminal. If your switch has a ground terminal, connect the green or bare wire from the cable to it. If you already have wires from the fan and the switch to your switch box, it’s just a matter of connecting them to the switch. If you have a dual switch, you will need to buy a single one and install it.
Step 6: Check the Wiring
Inspect all the connections and wires that you can see. Look for any signs of damage, wear, or corrosion. Check for any loose connections or exposed wires that may be a potential hazard. When checking the connections, it’s important to pull them slightly to ensure they are stable and securely attached. Loose connections can cause power surges, which can damage electrical equipment and create a fire risk.
If you notice any damage or loose connections, it’s important to address them immediately. This may involve replacing the damaged wires or connections or tightening any loose ones. It’s also important to ensure that all wires are properly insulated to prevent any contact with metal or other conductive materials.
If you’re unsure about any of the wiring or connections, it’s always best to consult with a professional electrician. They can help you identify any potential hazards and provide recommendations for fixing any issues. A professional can also ensure that all wiring is up to code and meets safety standards.
Step 7: Turn on Power
Assuming everything is wired correctly, turn on the circuit breaker switch that powers your bathroom’s electrical system. Test your fan and light by flipping the switch on and off a few times. If they turn on and off correctly, you have successfully wired your bathroom fan and light on one switch.
Wiring a bathroom fan and light on one switch is a relatively simple task that requires only basic electrical knowledge and some tools. However, it is essential to follow all safety procedures and manufacturer’s instructions carefully. Always turn off the power before starting any electrical work, use wire connectors to secure connections, and test your wiring before turning on power. By following these steps, you can save space and simplify your bathroom’s electrical layout while ensuring that your fan and light work correctly.
