When it comes to wiring a bathroom, safety and efficiency are critical factors to consider. Bathrooms are high-moisture areas that require careful attention to detail, and any mistakes in wiring could lead to serious electrical hazards. In this article, we will discuss how to wire a bathroom safely and efficiently.
Step 1: Plan Your Bathroom Wiring
Before you start wiring, it is essential to have a plan for the bathroom’s electrical layout. This plan should include all the outlets, switches, lights, and appliances you want to install in your bathroom. It is recommended that you seek the services of a licensed electrician to help you plan your bathroom’s electrical layout.
Step 2: Choose the Right Wiring and Devices
It is important to use the right wiring and devices for your bathroom. The wiring should be rated for wet locations and should have a ground wire. Grounding helps protect against electrical shock by providing a path for electricity to follow if a fault occurs.
The devices you use in your bathroom should also be rated for wet locations. This includes outlets, switches, and light fixtures. These devices should be installed at least three feet away from any water source to prevent water from getting into the electrical connections.
Step 3: Install a GFCI Circuit Breaker
A ground fault circuit interrupter (GFCI) is a device that protects against electrical shock by shutting off power when it detects a ground fault. In a bathroom, installing a GFCI circuit breaker is mandatory by electrical code. The GFCI circuit breaker should be installed at the main panel and should provide protection to all outlets in the bathroom.
Step 4: Install Ground Fault Circuit Interrupter Outlets
Ground fault circuit interrupter (GFCI) outlets are designed to protect against electrical shock by shutting off power when it detects a ground fault. GFCI outlets should be installed in all outlets within six feet of a water source, as required by electrical code.

Step 5: Use Waterproof Electrical Boxes
Waterproof electrical boxes are essential in wet locations like bathrooms. These boxes are designed to prevent water from getting into the electrical connections, which can cause electrical hazards. Waterproof electrical boxes should be used for all outlets, switches, and light fixtures installed in your bathroom.
Step 6: Install Exhaust Fans
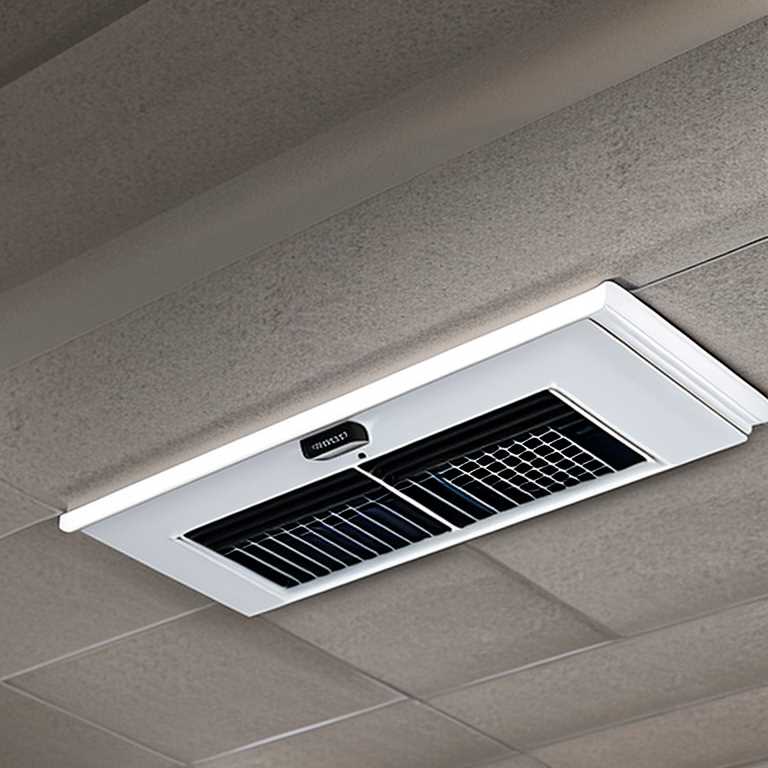
Exhaust fans help remove moisture from your bathroom, which can prevent the growth of mold and mildew. These fans should be installed near the shower or bathtub and should be vented outside to prevent moisture from being trapped inside your home’s walls.
Step 7: Use Cable Clamps
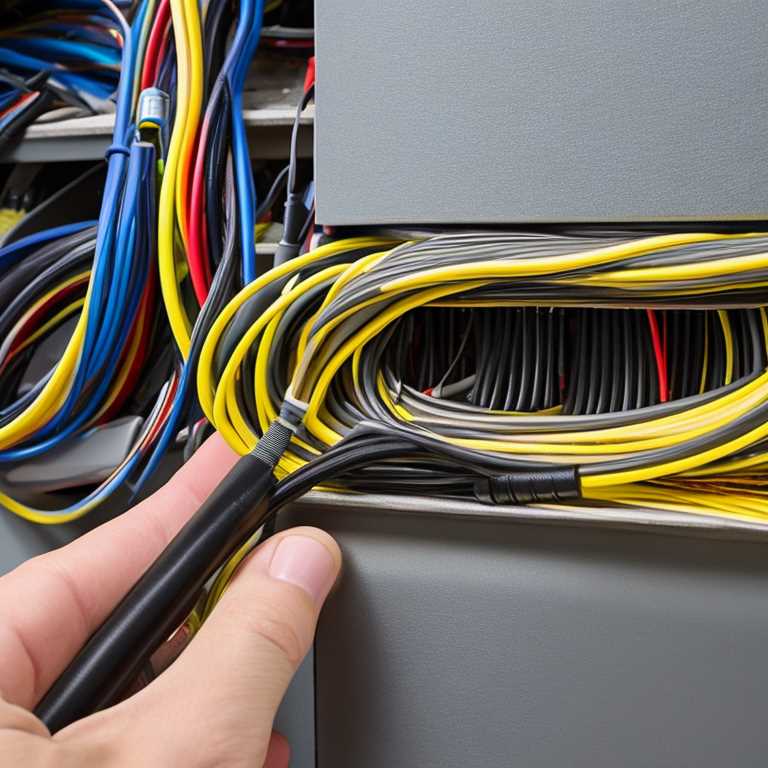
Cable clamps are used to secure wires in place and prevent them from being damaged by sharp edges or rubbing against other materials. Cable clamps should be used wherever wires enter or exit an electrical box.
Step 8: Label Your Circuit Breakers
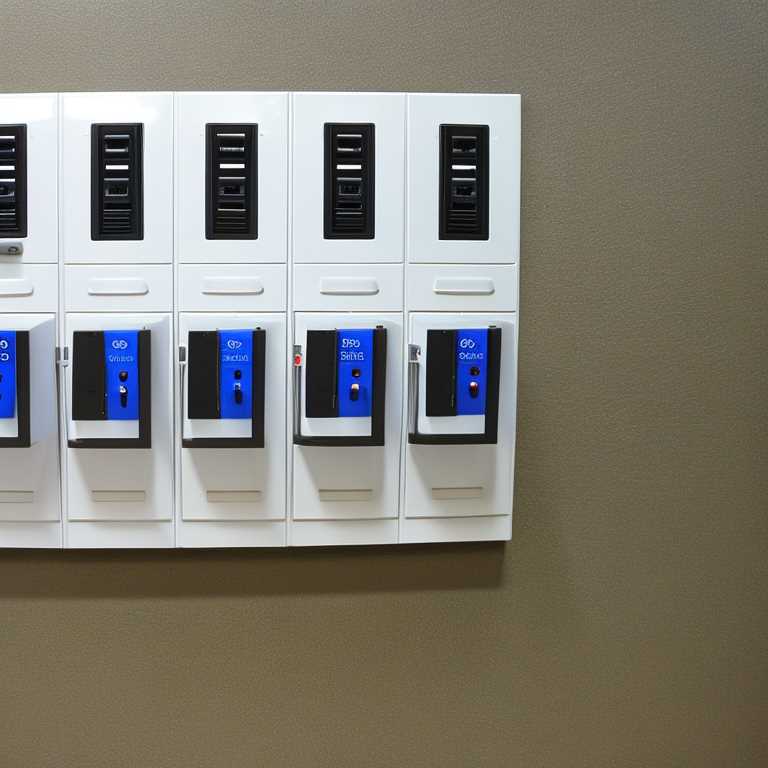
Labeling your circuit breakers helps identify which breaker controls which part of your bathroom’s electrical system. This makes it easier to turn off power when working on the electrical system or in an emergency situation.
Step 9: Hire a Licensed Electrician
If you are not comfortable with wiring your bathroom, it is recommended that you hire a licensed electrician. Licensed electricians have the training and experience necessary to wire your bathroom safely and efficiently.
Wiring a bathroom requires careful planning and attention to detail. It is important to use the right wiring and devices, install GFCI protection, use waterproof electrical boxes, install exhaust fans, use cable clamps, label your circuit breakers, and seek the services of a licensed electrician if necessary. By following these steps, you can ensure that your bathroom is wired safely and efficiently.
