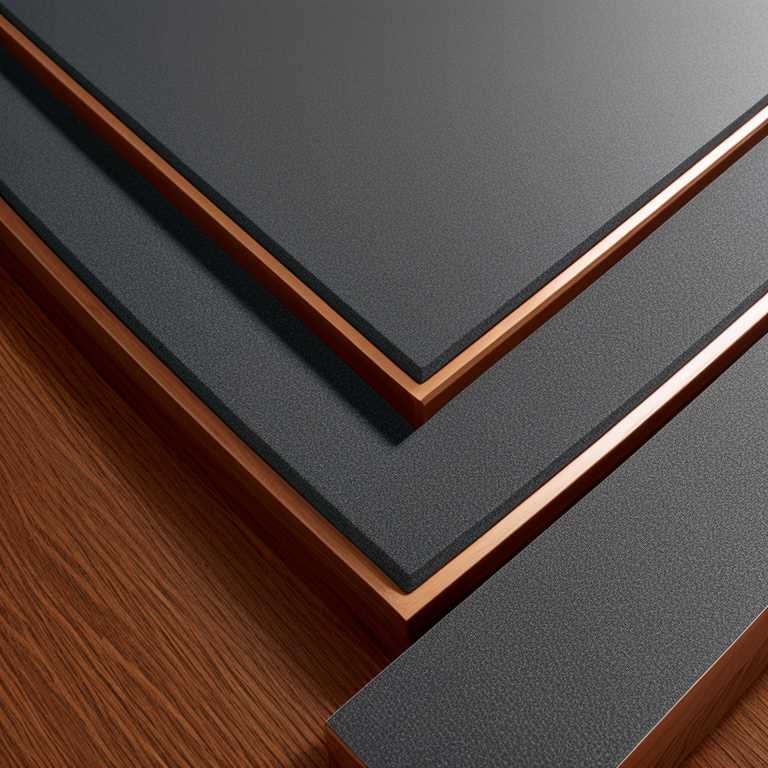
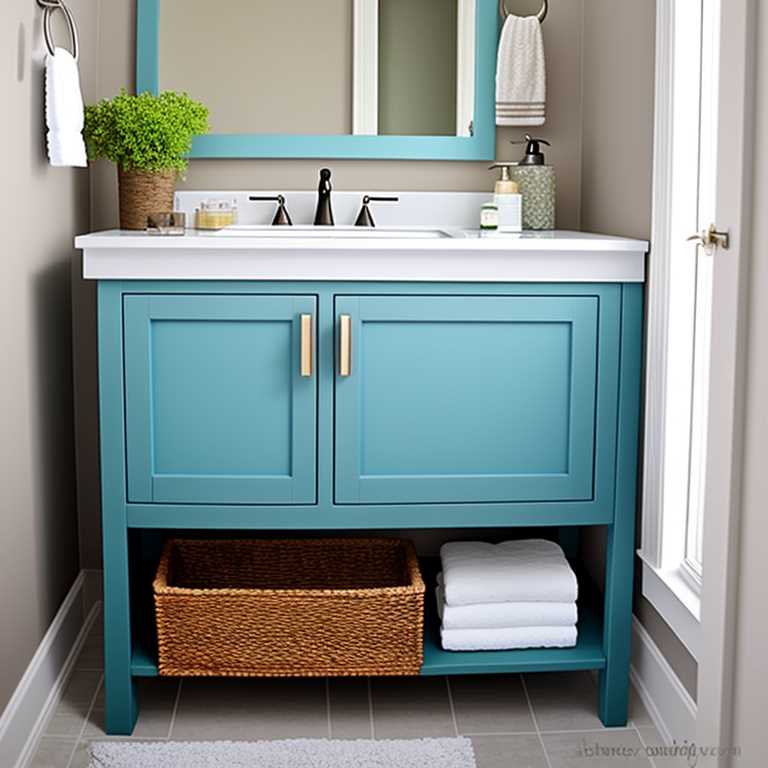
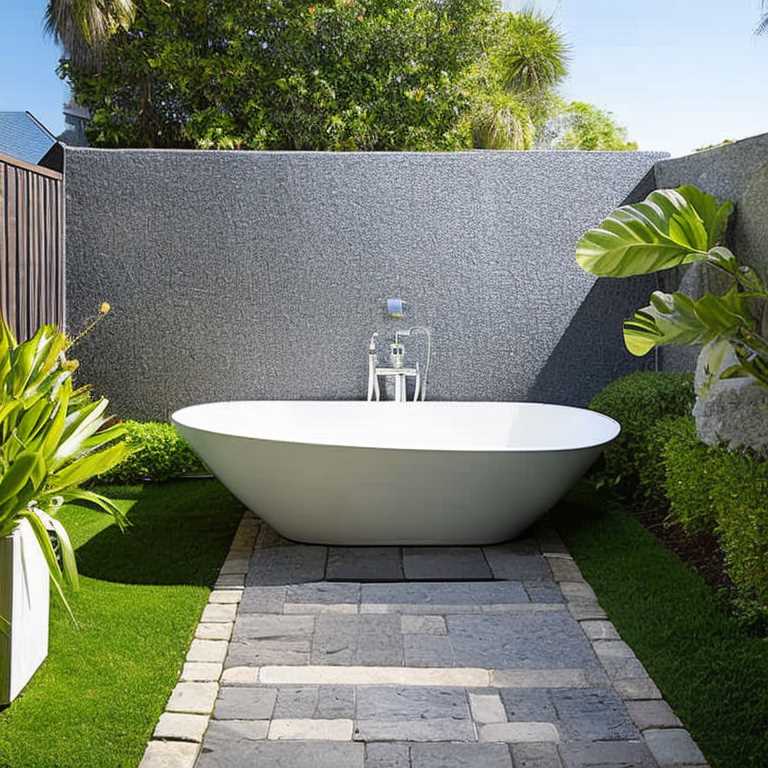
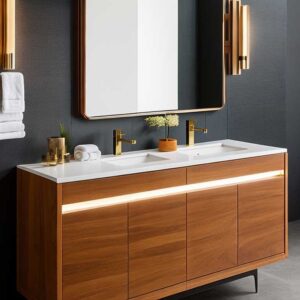
Installing peel and stick tiles in a bathroom is a simple and affordable way to upgrade your bathroom’s appearance. These tiles are self-adhesive, which means that there’s no need to use any special adhesive or grout. This makes the installation process much easier, and it’s a perfect DIY project for those who want to spruce up their bathroom without spending a lot of money. In this article, we’ll discuss how to install peel and stick tiles in a bathroom.
Materials Needed
Before starting the installation process, it’s important to have all the necessary materials on hand. Here’s what you’ll need:
– Peel and stick tiles
– Measuring tape
– Utility knife or scissors
– Level
– Pencil or marker
– Straight edge
– Cleaning solution
– Cloth or sponge
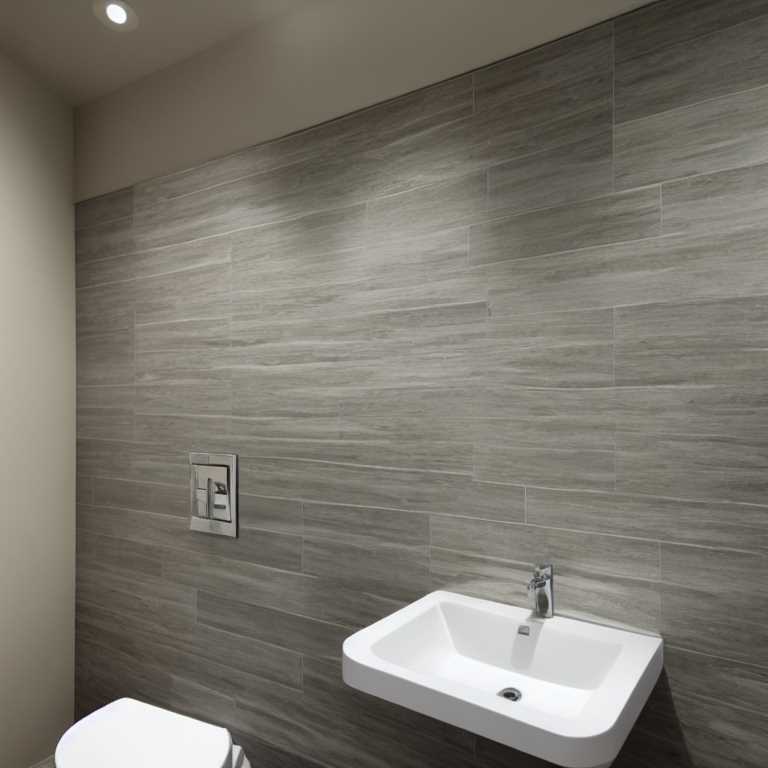
Step-by-Step Guide
1. Clean the Surface
The first step in installing peel and stick tiles is to clean the surface where you’ll be placing the tiles. This is important because any dirt or debris can affect the adhesive’s ability to stick properly. Use a cleaning solution and a cloth or sponge to clean the surface thoroughly. Make sure that the surface is completely dry before moving on to the next step.
2. Measure and Mark
Using a measuring tape, measure the length and width of the area where you’ll be installing the tiles. Use these measurements to determine the number of tiles you’ll need. It’s a good idea to purchase extra tiles in case you make any mistakes.
Once you’ve determined the number of tiles you need, use a straight edge and a pencil or marker to mark the area where you’ll be placing the tiles. Make sure that the lines are straight and level.
3. Start Installing
Start installing the tiles at the center point of your marked area. Peel off the backing from the first tile and place it in the center of your marked area. Press it firmly onto the surface, making sure that it’s level and straight.
4. Continue Installing
Once you’ve installed the first tile, continue installing the rest of the tiles, working your way out from the center of the marked area. Use a straight edge to ensure that each tile is level and straight.
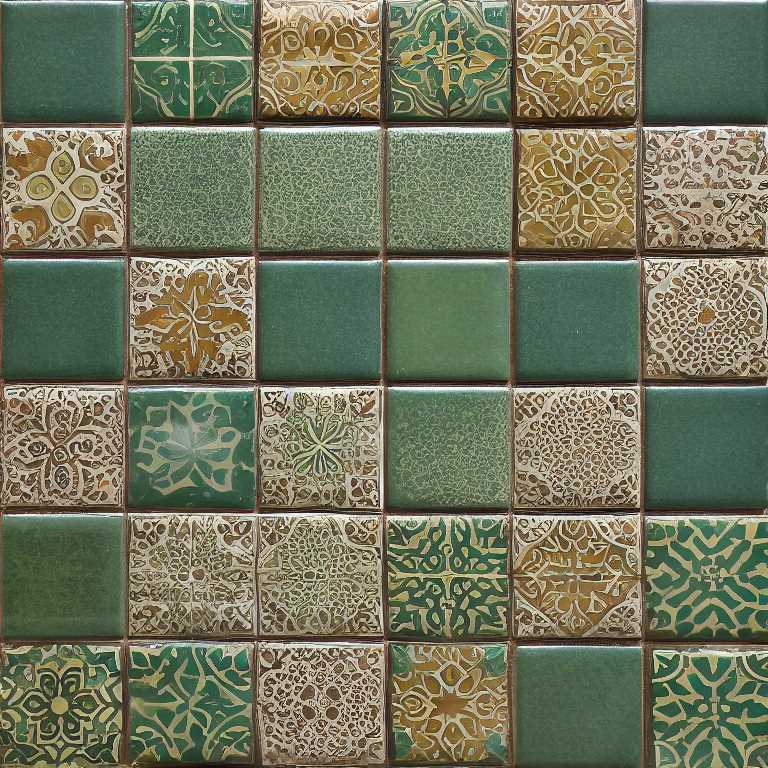
If you need to cut any tiles to fit around corners or edges, use a utility knife or scissors to trim them to size. Make sure that you measure carefully before cutting.
5. Finish Up
Once you’ve installed all of the tiles, go back over them and press them firmly onto the surface. Use a clean cloth or sponge to smooth out any bubbles or wrinkles.
If there are any gaps between the tiles, use a grout pen or caulk to fill them in. This will give your bathroom a finished look.
Tips for Success
Here are some tips to help ensure that your peel and stick tile installation is successful:
– Make sure that the surface you’re installing the tiles on is completely clean and dry.
– Use a straight edge and level when installing the tiles to ensure that they’re straight and level.
– If you need to cut any tiles, make sure that you measure carefully before cutting.
– Use a grout pen or caulk to fill in any gaps between the tiles.
– Don’t rush the installation process – take your time and work carefully.
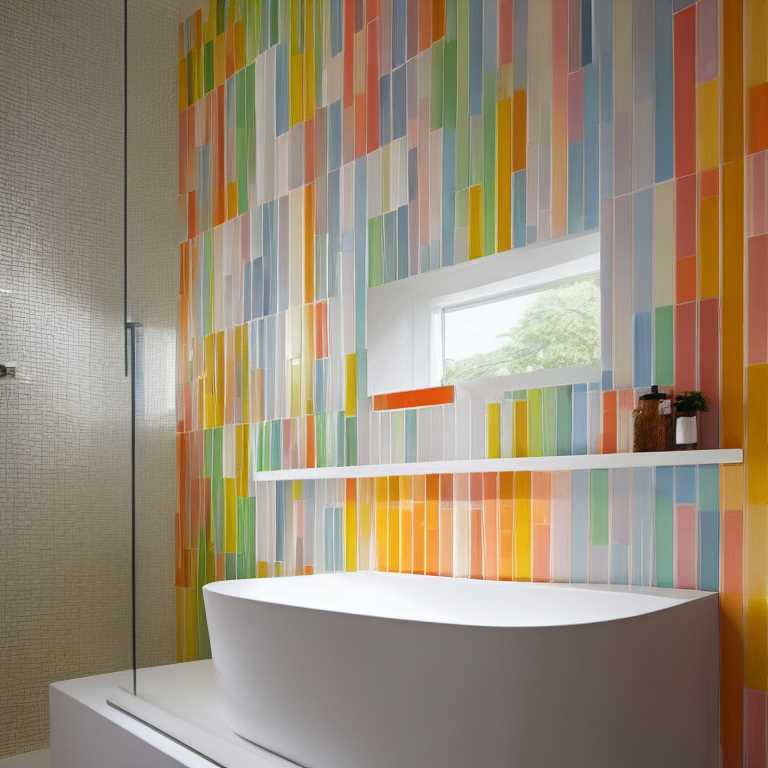
Installing peel and stick tiles in a bathroom is a simple and affordable way to upgrade your bathroom’s appearance. With just a few basic materials and some careful measurements, you can transform your bathroom in just a few hours. Remember to follow these tips for success, and take your time during the installation process. With a little patience and effort, you’ll have a beautiful bathroom that looks like it was professionally installed!

