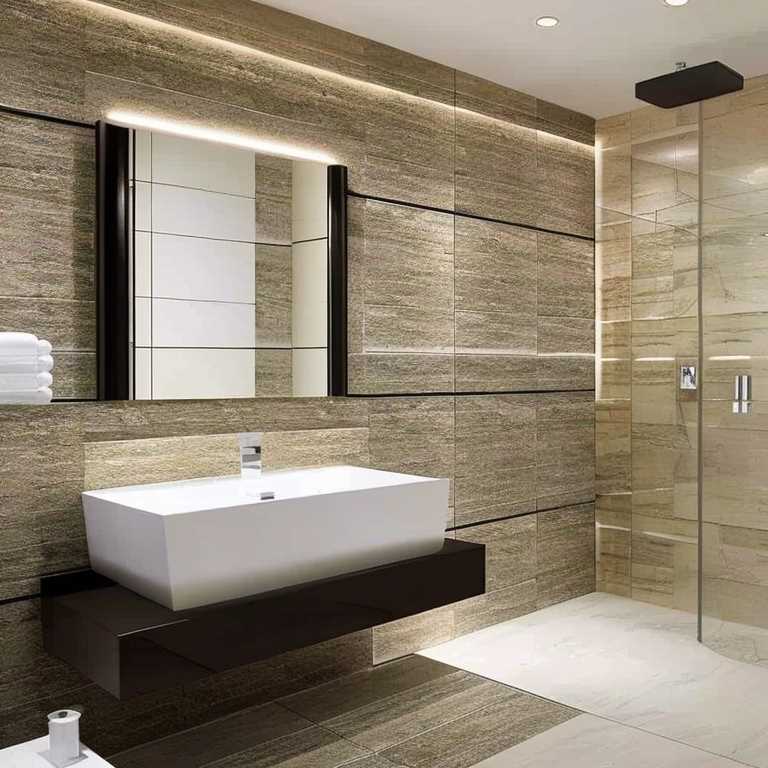
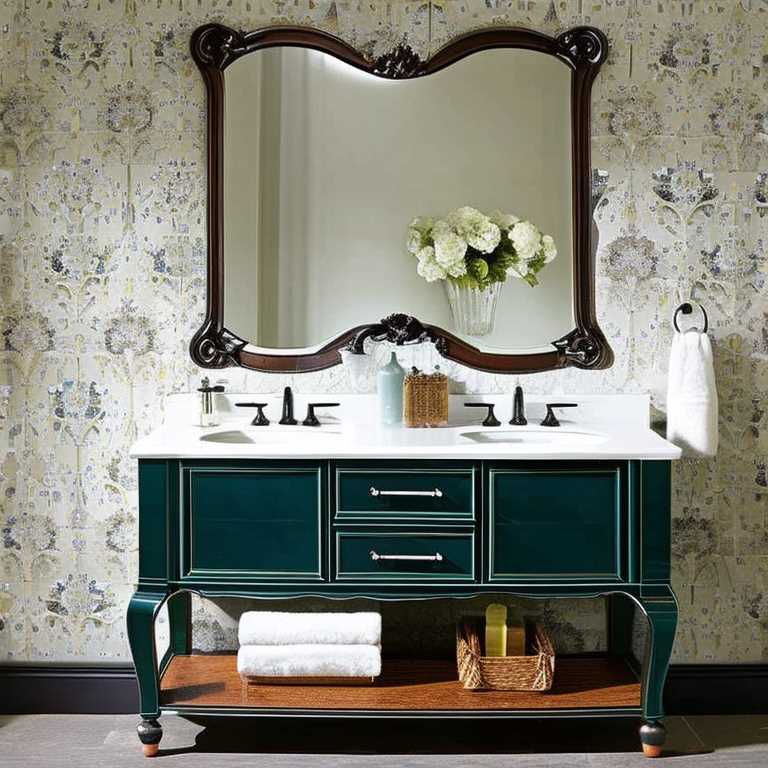
Demoing a bathroom is a crucial step in any bathroom remodeling project. It sets the foundation for the new design by removing all the old fixtures, cabinets, and tiles. A good bathroom demo can make or break the renovation project. If not done properly, it can lead to costly mistakes, delays in the project timeline, and even safety hazards. On the other hand, a well-executed demo can make the renovation process smoother and more efficient, ensuring that the end result meets your expectations. It’s important to take the time to plan and prepare for the demo to ensure that everything goes smoothly.
Tools and Materials Needed for Bathroom Demolition:
When planning a bathroom demo project, it’s essential to have the right tools and materials on hand. Here are some of the tools and materials you’ll need:
Hammer: A hammer is essential for removing fixtures, drywall, and tiles. Look for a hammer with a comfortable grip and a claw for pulling nails.
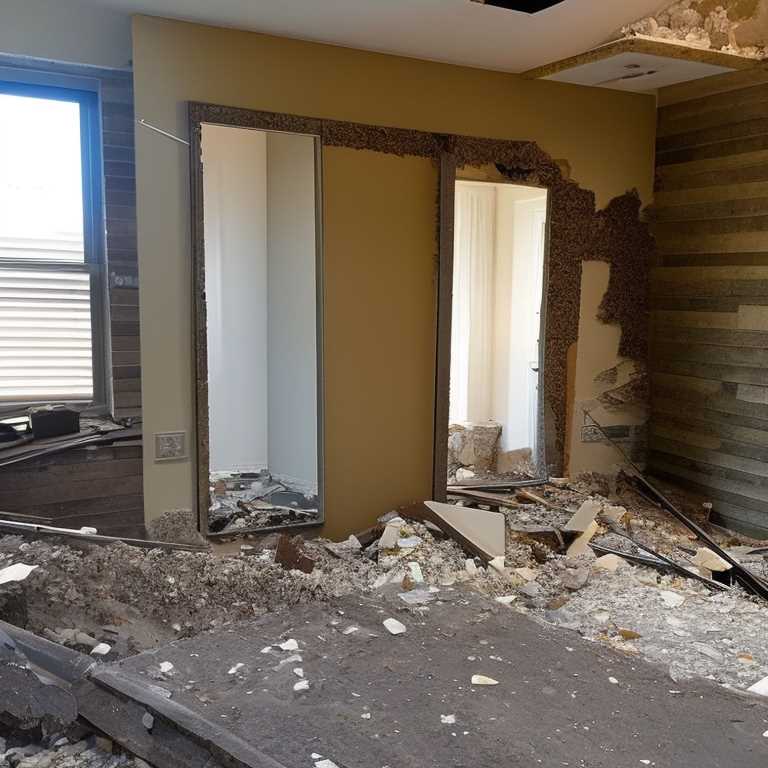
Pry bar: A pry bar is a versatile tool for removing cabinets, baseboards, and tiles. Look for a pry bar with a flat edge and a curved edge for leverage.
Reciprocating saw: A reciprocating saw is a powerful tool for cutting through walls, studs, and pipes. Look for a saw with a variable speed control and a comfortable grip.
Circular saw: A circular saw is useful for cutting through flooring, such as tiles and hardwood. Look for a saw with a guide rail for accurate cuts.
Screwdrivers and pliers: Screwdrivers and pliers are necessary for removing screws, nuts, and bolts. Look for a set with a variety of sizes and types.
Utility knife: A utility knife is useful for cutting through materials, such as drywall and plastic sheeting. Look for a knife with a retractable blade for safety.
Dumpster or trailer: You will need a dumpster or a trailer to dispose of the demo debris. Look for a rental company that offers delivery and pick-up services.
Gloves, safety glasses, and dust masks: Protect yourself from debris and dust by wearing gloves, safety glasses, and dust masks.
Drop cloths, tarps, and plastic sheeting: Protect other areas of your home from dust and debris by using drop cloths, tarps, and plastic sheeting to cover furniture and floors.
Steps to Prepare for Bathroom Demolition:
Before you start your bathroom demo, there are several steps you need to take to prepare. First, turn off the water supply and disconnect all plumbing fixtures. Next, shut off the electricity to the bathroom and remove all electrical fixtures such as light switches and outlets. Cover any exposed wires with electrical tape to prevent accidental shock. Finally, remove any furniture or items from the bathroom and cover any remaining items with plastic sheeting or drop cloths.
Demolition Techniques for Various Bathroom Elements:
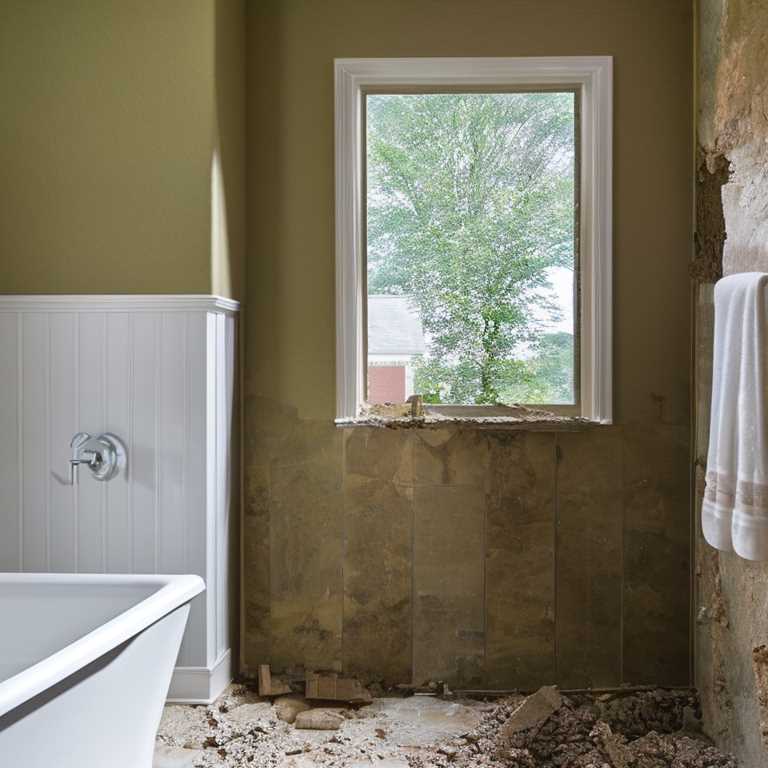
When it comes to demoing a bathroom, there are different techniques for removing different elements. Here are some tips on how to demo each part of the bathroom:
Walls – Start by removing any fixtures attached to the walls, such as towel bars and toilet paper holders. Then use a hammer or pry bar to remove the drywall or plaster. If you encounter any studs or wiring, use a reciprocating saw to cut through them. Be careful not to damage any plumbing or electrical lines that may be hidden inside the walls.
Flooring – Begin by removing the baseboards and any other trim. Then, use a circular saw or reciprocating saw to cut through the tiles or hardwood flooring. If the flooring is glued down, use a scraper or chisel to remove any adhesive or glue. Be careful not to damage any plumbing or electrical lines that may be under the flooring.
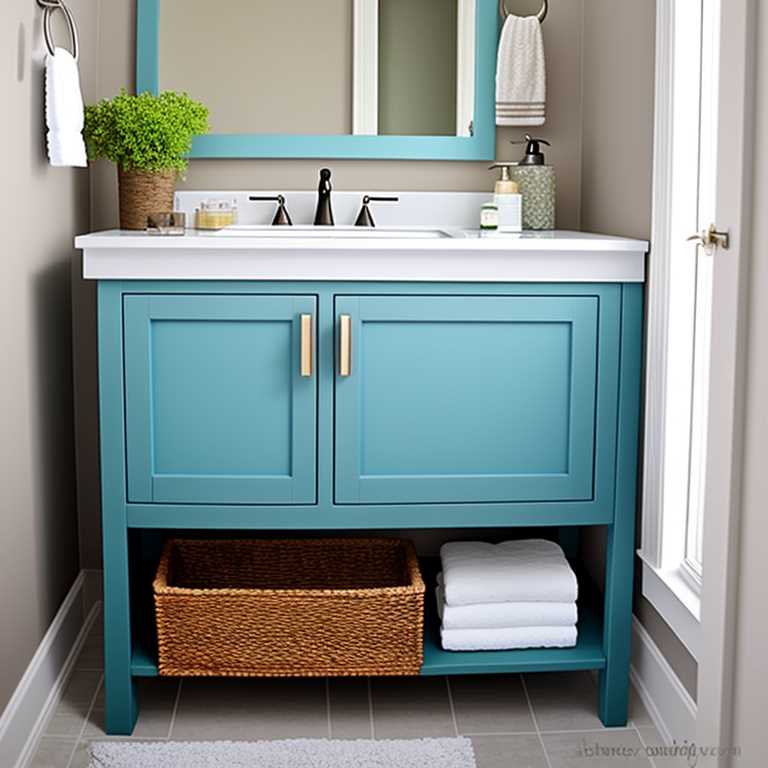
Vanity – Start by removing the countertop and sink. Use a wrench to disconnect the plumbing and then remove the screws that attach the cabinet to the wall. Use a pry bar or hammer to remove the cabinet from the wall.
Bathtub or Shower – First, turn off the water supply and disconnect all plumbing fixtures. Then, use a reciprocating saw to cut through the walls surrounding the bathtub or shower. Once the walls are removed, use a pry bar to remove the tub or shower pan. Be careful not to damage any plumbing or electrical lines that may be under or behind the tub or shower.
Dealing with Plumbing and Electrical During Demolition:
It’s important to be cautious when dealing with plumbing and electrical during demolition. Here are some tips to keep in mind:
Turn off the water supply: Before starting the demo, turn off the water supply to the bathroom. This will prevent any accidental flooding or water damage.
Disconnect all plumbing fixtures: Use a wrench to disconnect all plumbing fixtures, such as the sink, toilet, and bathtub. Make sure you cap any exposed pipes to prevent water from leaking.
Turn off the electricity: Turn off the electricity to the bathroom at the circuit breaker. This will prevent any accidental electrical shocks.
Cover exposed wires: If you encounter any electrical wiring or fixtures, cover any exposed wires with electrical tape to prevent any accidents.
Safety Tips for Bathroom Demolition
When it comes to demolishing a bathroom, safety should be a top priority. Here are some tips to keep you safe during the process:
Wear protective gear: Demolition work generates a lot of dust, debris, and sharp objects that can cause injuries. Always wear gloves, safety glasses, and dust masks to protect your eyes, hands, and lungs.
Use power tools with caution: Power tools like saws and drills can cause serious injuries if not handled properly. Make sure you read the manufacturer’s instructions carefully and use them in the right way. Always keep your fingers and body parts away from the moving parts of the tools.
Turn off all electrical and plumbing fixtures: Before starting the demolition work, make sure you turn off all electrical and plumbing fixtures in the bathroom. This includes shutting off the main water supply and electricity to the bathroom.
Cover exposed wires: If you need to work near exposed wires, cover them with electrical tape to prevent accidental shocks.
Keep children and pets away: Demolition work can be dangerous, so it’s important to keep children and pets away from the work area at all times. Set up a barrier or fence around the area to keep them out.
By following these safety tips, you can ensure that your bathroom demolition project is completed safely and without any injuries.
Disposing of the debris and cleaning up the area after you demo a bathroom is an important step in the process. Here are some tips to ensure that you dispose of the debris properly and clean up the area effectively:
Dispose of the debris: If you have a dumpster or trailer, load all the debris into it for disposal. Make sure that you are following all local regulations for disposing of construction debris. If you don’t have a dumpster or trailer, you can rent one from your local waste management company. You may also be able to arrange for a special pickup by your waste management company.
Sort the debris: Before disposing of the debris, it’s important to sort it into different piles. Separate recyclable materials, such as metal and glass, from non-recyclable materials, such as drywall and plaster.
Clean up the area: Once you have disposed of all the debris, it’s time to clean up the area. Use a broom and dustpan to sweep up any remaining debris. Then use a vacuum cleaner to clean up any dust or debris that may have settled on nearby surfaces. Make sure to vacuum all corners and crevices to ensure a thorough clean-up.
Dispose of hazardous materials: If you encountered any hazardous materials during the demo a bathroom project, such as asbestos or lead paint, you will need to dispose of them properly. Check with your local waste management company for specific instructions on how to dispose of these materials safely.
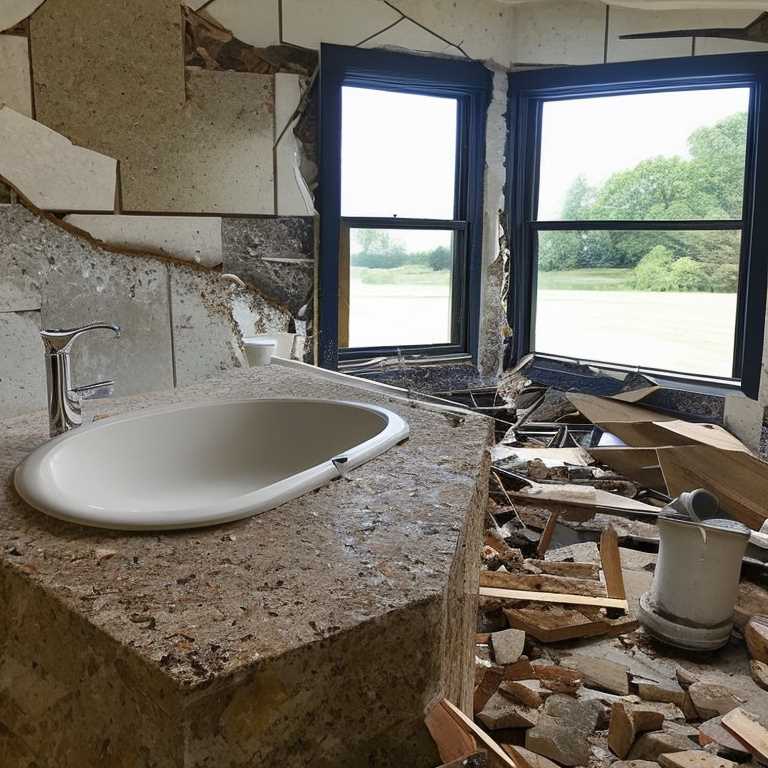
Final inspection: Once the area is clean, do a final inspection to ensure that all debris has been removed and the area is safe to use.
To ensure a successful bathroom demo, it’s important to plan ahead and take your time. Make sure you have all the necessary tools and materials before starting the demo. Take precautions when dealing with plumbing and electrical fixtures. Follow all safety guidelines to protect yourself from injuries. Finally, don’t forget to properly dispose of all debris and clean up the area after the demo is complete. With these tips in mind, you can successfully demo your bathroom and create a blank slate for your new design.
