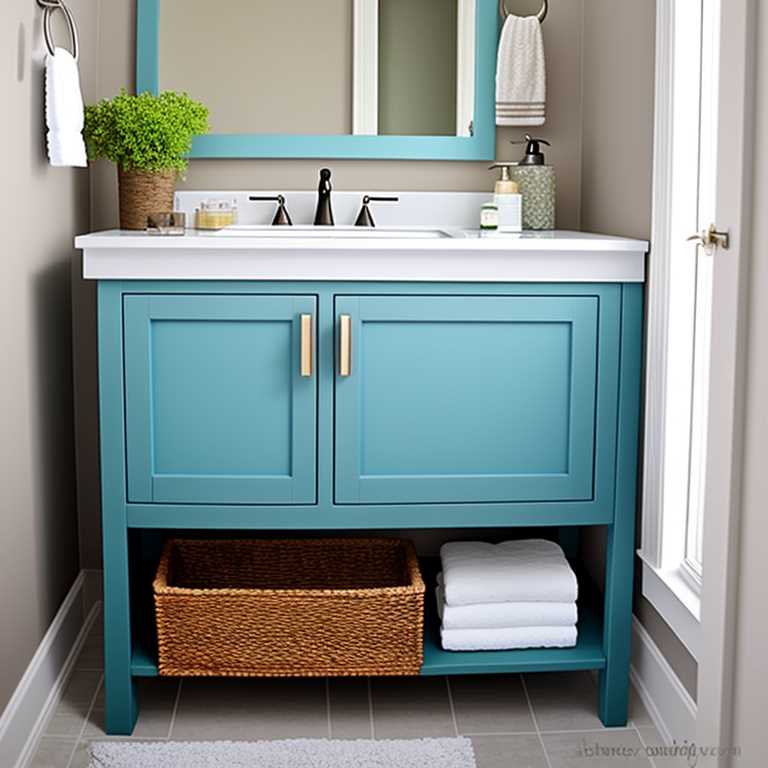
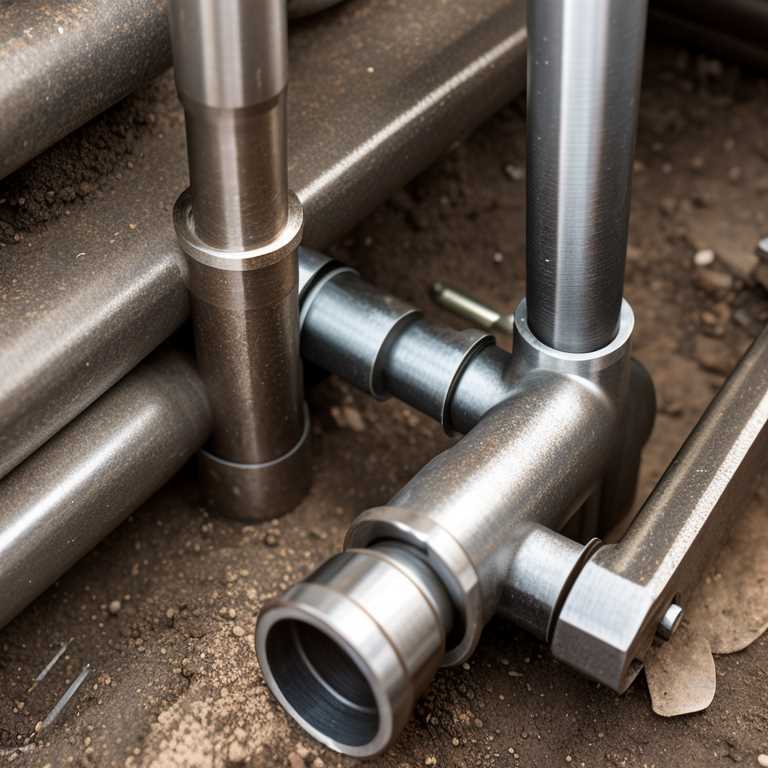
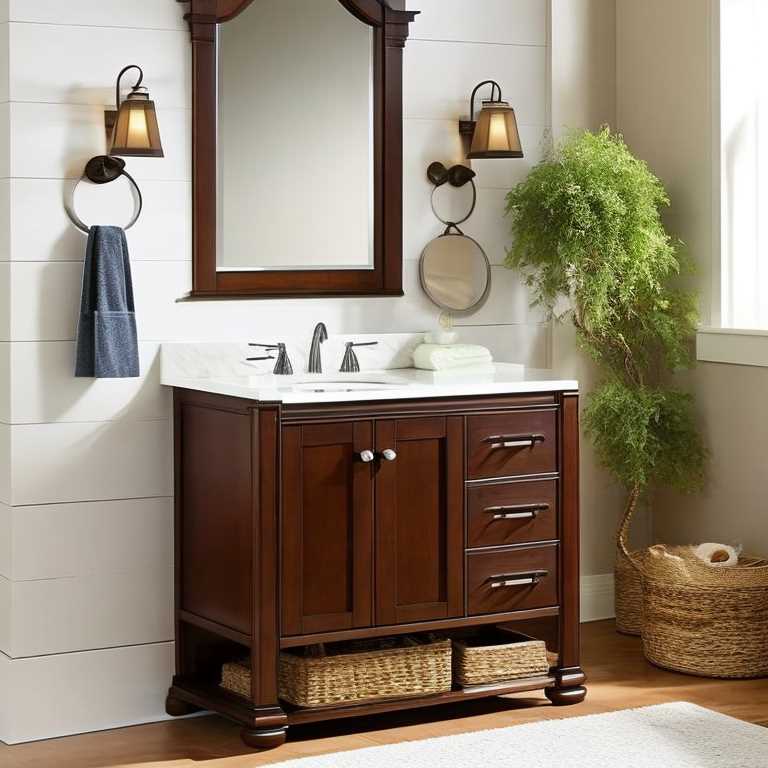
A bathroom vanity is not only a functional piece of furniture but also a design element that can enhance the look of your bathroom. Installing a bathroom vanity can be a little intimidating, but with the right tools and steps, it’s a doable DIY project. In this article, we’ll guide you through the process of how to install a bathroom vanity.
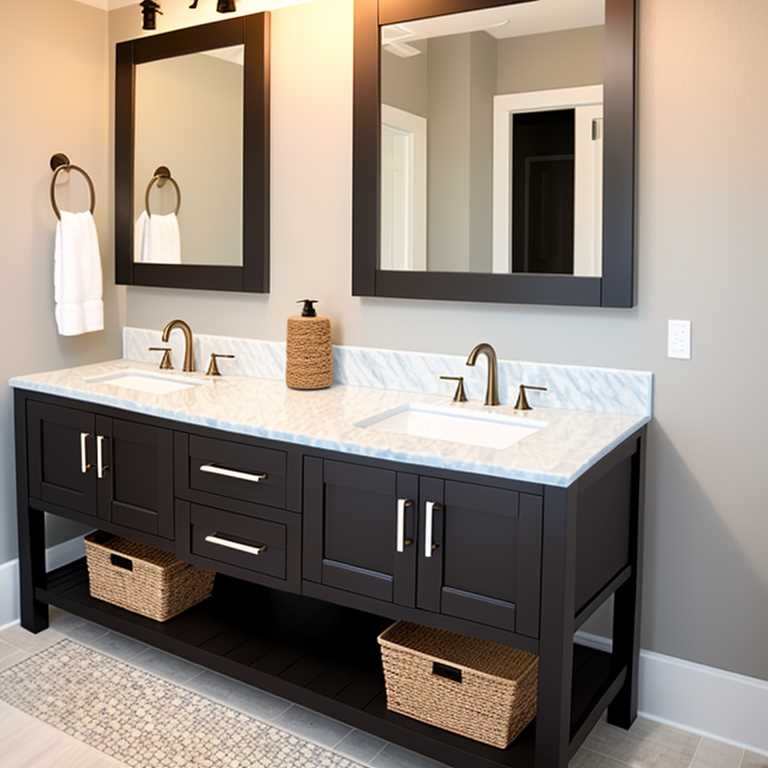
Step 1: Prepare the area
Before you begin the installation process, you need to prepare the area where you will install the vanity. Make sure there is enough space for the vanity and that the plumbing lines are in the right place. If you need to move the plumbing lines, it’s best to hire a professional plumber.
Clear out any items from under the sink or in the surrounding area. You may also want to lay down a drop cloth or old sheet to protect your flooring from any spills or scratches.
Step 2: Measure and mark
Before you start installing the vanity, you need to measure and mark where the vanity will sit. Use a tape measure to measure the width and depth of the vanity, then mark it with a pencil or masking tape.
Next, measure and mark the location of the plumbing lines on the back wall where the vanity will be installed. Make sure the location of the plumbing lines matches the location of the sink drain and water supply lines on the bottom of the vanity.
Step 3: Install the faucet and drain
Now that you’ve marked where the plumbing lines should be, it’s time to install the faucet and drain. Follow the manufacturer’s instructions for installing the faucet and drain onto the sink before placing it into the vanity.
Once the faucet and drain are installed, flip the sink over and apply silicone caulk around the edges of the sink where it will rest on top of the vanity. This will create a watertight seal between the sink and vanity.
Step 4: Attach the vanity to the wall
With your plumbing lines and sink in place, it’s time to attach the vanity to the wall. Most vanities come with mounting brackets or cleats that need to be screwed into place on the back of the vanity.
Measure and mark where you want to attach your brackets to your wall. Using a drill, create pilot holes, then screw in your brackets. Make sure they are level and secure.
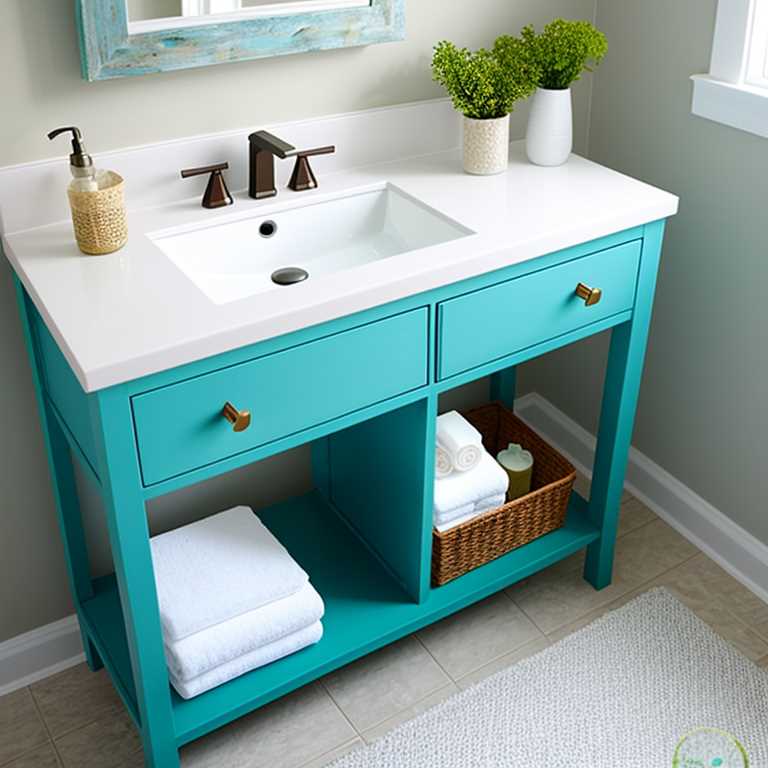
Once your brackets are in place, have someone help you lift your vanity onto them. Make sure it is level before screwing it into place. You may need to use shims to level it out before securing it with screws.
Step 5: Connect plumbing
Now that your vanity is securely attached to the wall, it’s time to connect your plumbing. This means attaching your water supply lines and drain to your sink.
To connect your water supply lines, you’ll need a wrench and some Teflon tape. Wrap Teflon tape around each end of your water supply lines before attaching them to your faucet. Tighten each connection with a wrench until they are snug but not over-tightened.
Next, connect your drain pipe to your sink drain. Apply plumber’s putty around the top of your drain pipe before placing it in the sink drain. Tighten it in place with a wrench until it is snug.
Step 6: Finishing touches
With your plumbing connected, it’s time to add some finishing touches. Apply silicone caulk around the edges of your sink where it meets the vanity to create a watertight seal.

Install any hardware that came with your vanity, such as drawer pulls or knobs. Make sure everything is tightened securely.
Finally, turn on your water supply and check for any leaks. If everything looks good, congratulations! You’ve successfully installed a bathroom vanity.
Installing a bathroom vanity can seem like an intimidating task, but with these steps, you can do it yourself. Remember to prepare your area, measure and mark where everything should go, install your faucet and drain, attach your vanity to the wall, connect your plumbing, and add finishing touches. With patience and attention to detail, you’ll have a functional and stylish new addition to your bathroom in no time!
